by jenn_davis | diy, personal, sunny slide up
This past weekend we were beyond excited to celebrate Stephanie’s pending arrival! Two of my good friends and I, Christine and Muffin, worked together to throw Baby Egan a little welcome party. Since Steph does not know if she is having a boy or a girl I came up with the “Lady or Gentleman” theme and designed the invitations and signs to match!

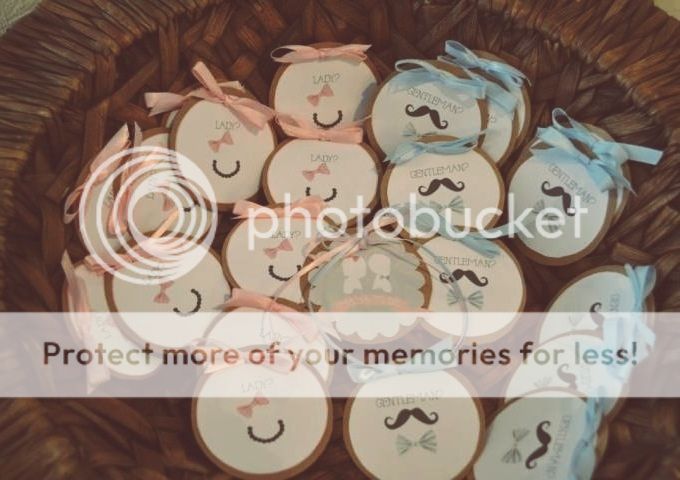
We made Lady or Gentleman name tags so everyone could wear the gender they are predicting!
Christine put together the adorable favors! Mini champagne bottles with personalized labels!


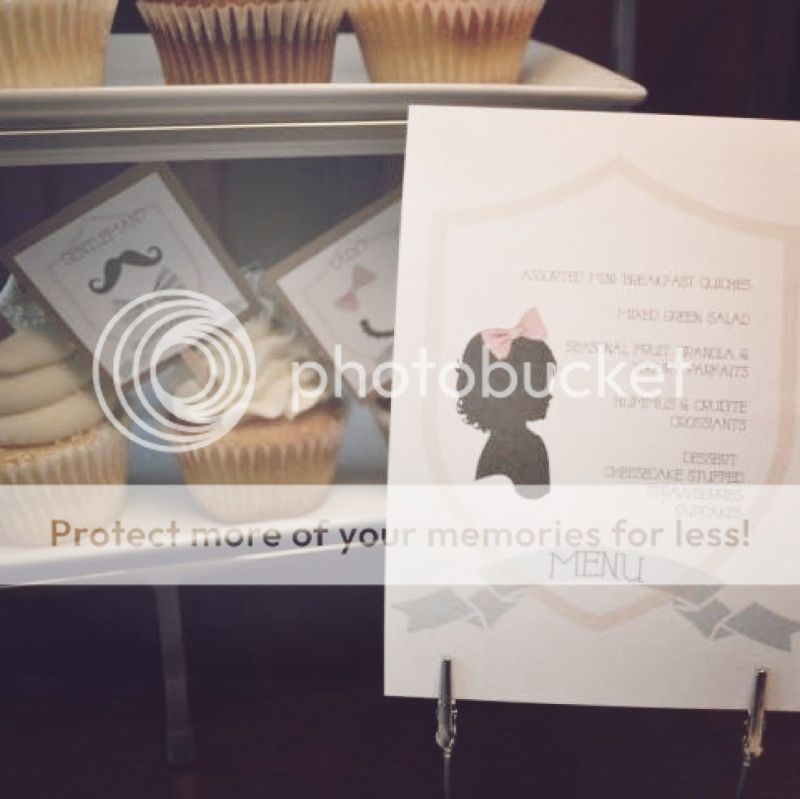
We also had these menu cards and cupcake tags!

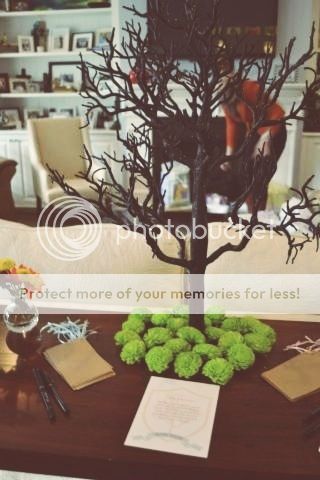
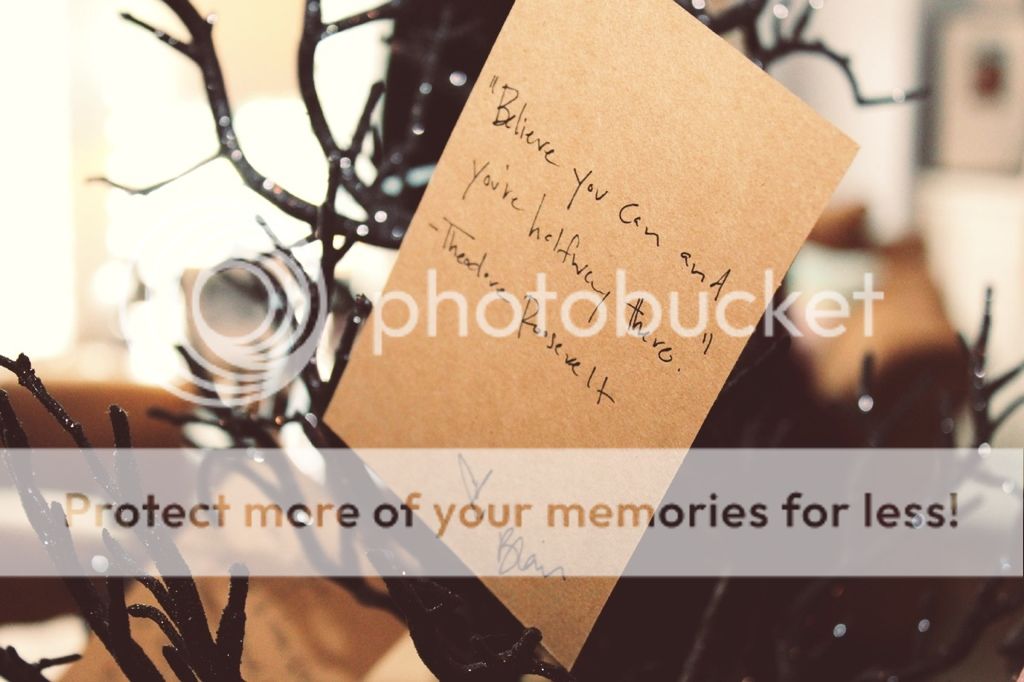
Muffin had this beautiful tree that was perfect for Christine’s idea that we each write an inspirational quote for Baby Egan as a keepsake.

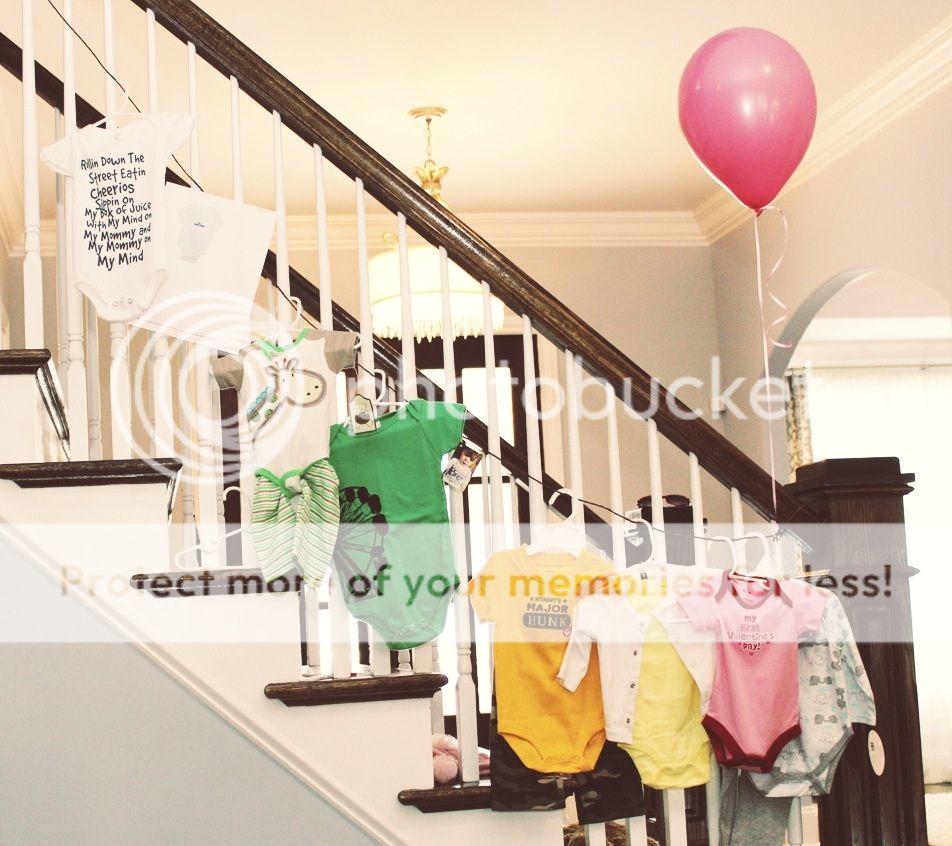
We also each brought a onesie, reflecting our personalities, for Steph to guess whose it was!
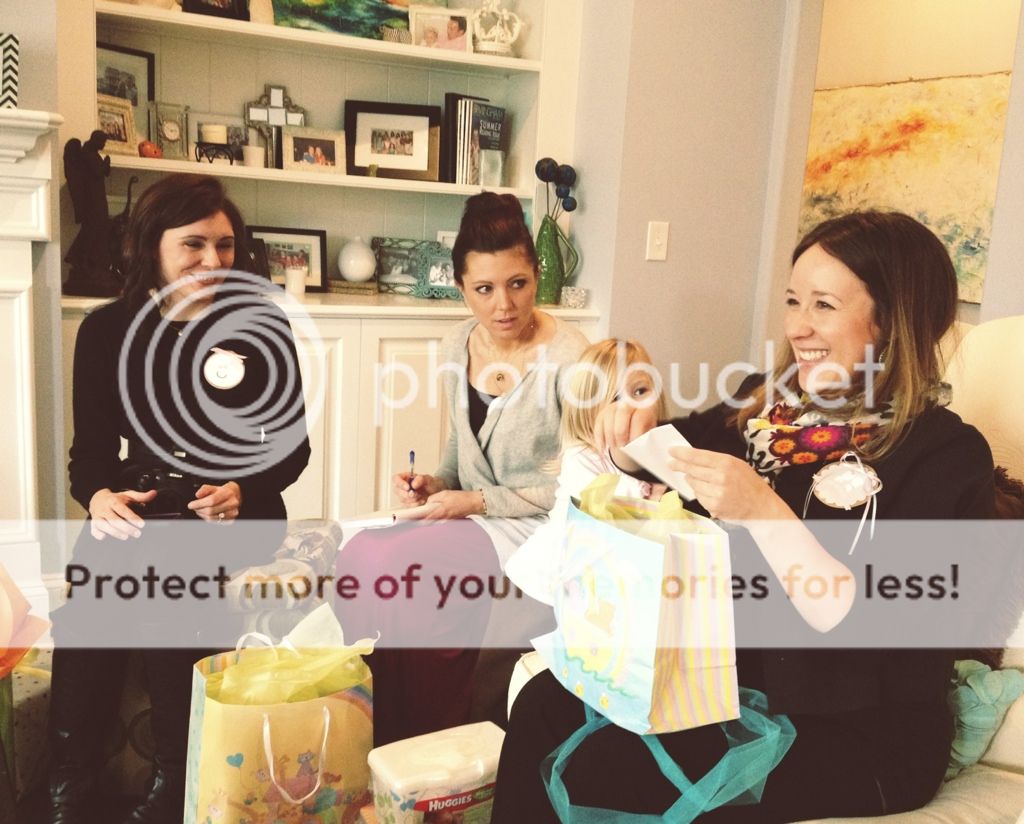
Some of my favorite people…..Muffin, Stephanie, me and Christine!

And of course…..my Sunny Slide Up girls!!!

Steph, we are so excited for you and Ritch to welcome your new little Love into the world! There is no doubt you will be amazing parents! I love you beyond.

by heather | recipes
Being on a diet sucks. I am always looking for new healthy recipes to try that I will hopefully love and want to eat all of the time. The diet I have found that works best for me is South Beach. I have done this diet a handful of times now and every time I loose about 8-10 pounds in the first two weeks (phase 1) and then a pound or two the weeks following in phase 2. Here are a day’s worth of some of my favorite recipes that are South Beach phase one friendly….low carbs! (Please note: I probably eat way too much cheese than is recommended on the South Beach diet. I am no expert. And, I love cheese.)
BREAKFAST
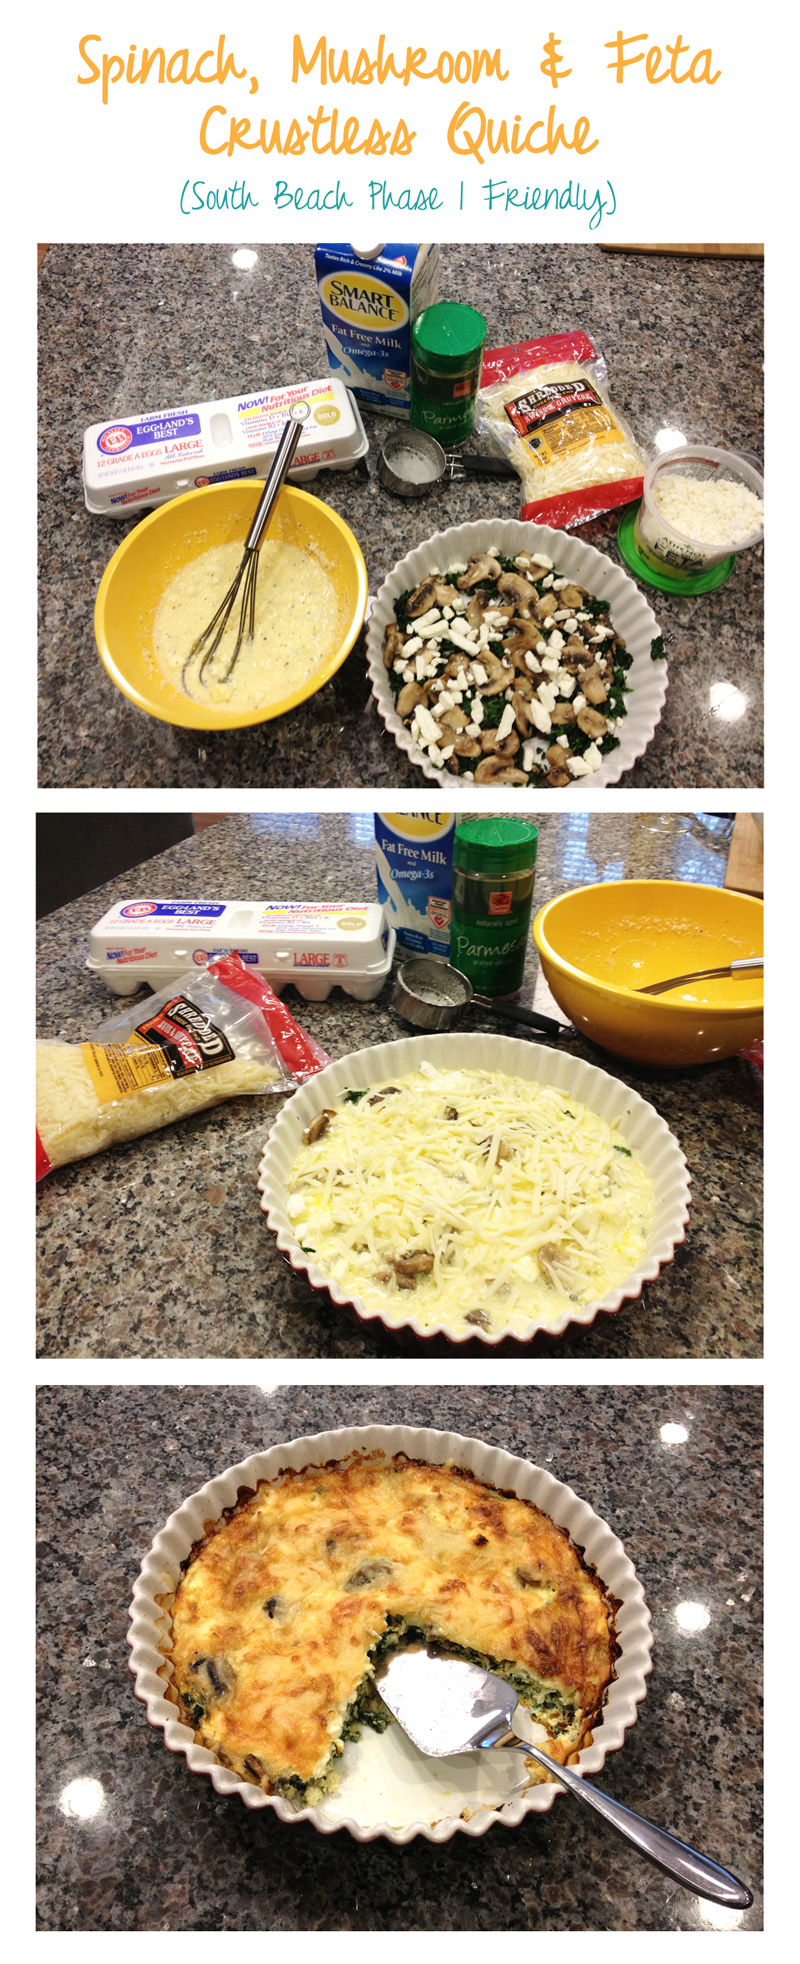
I found this recipe a few months ago and fell in love. I make this about every week and eat it over a few days. It heats up great in the microwave. I also switch up the cheese I use for the top. For the photos above I had tried a swiss/gruyere, but I think mozzarella works best. I just had some for breakfast this morning!
Spinach, Mushroom & Feta Crustless Quiche
- 10 ounces, weight Frozen Spinach (defrosted And drained)
- 1 small package of Fresh Mushrooms
- 1 teaspoons Garlic, Minced
- 2 ounces, weight Feta Cheese, Crumbled
- 5 Eggs
- 1 cup of milk
- ⅛ cups Parmesan Cheese, Freshly Grated
- ⅛ cup Mozzarella Cheese, Shredded
- Salt And Pepper, to taste
1. Preheat your oven to 350 degrees F. If your frozen spinach is not already thawed, thaw it in the microwave according to package instructions. Empty the box into a colander and let it drain while you begin to prepare the rest.
2. Quickly rinse the mushrooms and slice them thinly. Place the sliced mushrooms in a skillet coated with non-stick spray. Add the minced garlic and a little salt and pepper. Turn the heat on to medium-high and saute the mushrooms until they release all of their moisture and no more water remains on the bottom of the skillet (5-7 minutes). I sometimes have to use a paper towel to get some of the moisture out of the pan.
3. Spray a pie dish with non-stick spray. Squeeze the rest of the water out of the spinach and spread it out on the bottom of the pie dish. Next add the cooked mushrooms and crumbled feta.
4. In a medium bowl whisk together the eggs until fairly smooth. Add the milk, parmesan and another small sprinkle of pepper. Whisk to combine. (This step can be completed while the mushrooms are cooking). Pour this mixture into the pie dish over the spinach, mushrooms and feta.
5. Sprinkle the shredded mozzarella cheese over the top. Place the pie dish on a baking sheet for easy transfer into the oven. Place the quiche into the preheated oven and bake until it is golden brown on top and the center is solid. Every oven is different but this should take between 45 minutes and an hour. Slice and serve!
LUNCH
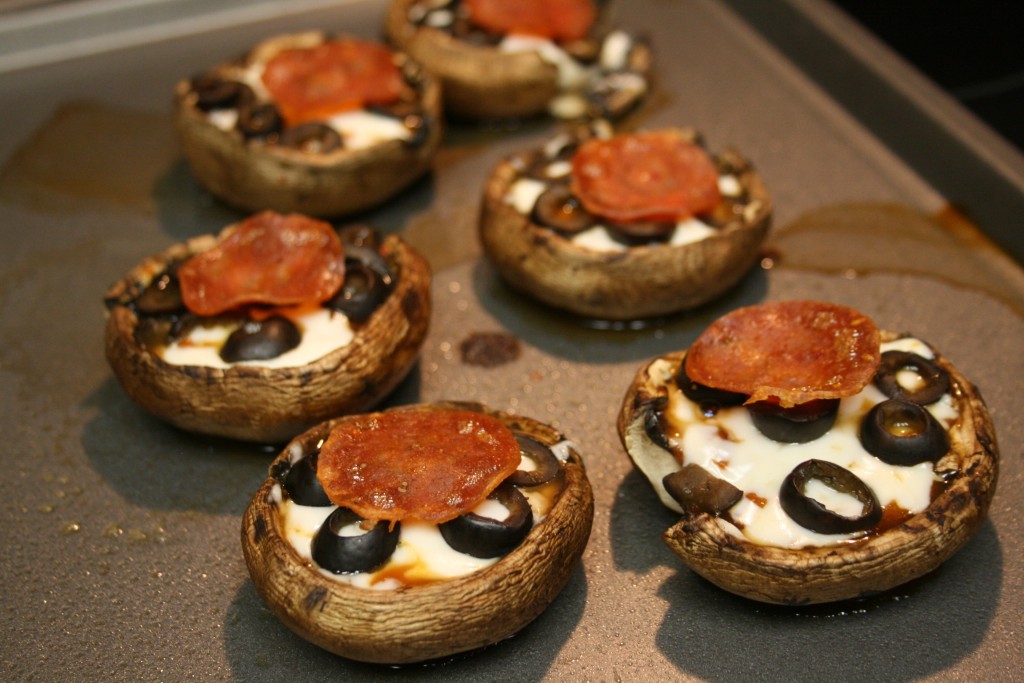
These are super quick and easy…and very delicious. Thanks to My P90x Nutrition Plan for this one!
Portebella Pizza Bites
Ingredients:
- 6 mini Portabella mushrooms (or 2 large Portabella mushroom caps)
- 1/2 cup marinara sauce
- 1/2 oz. turkey pepperoni (approx. 6 slices)
- 2 oz. black olives
- 3 oz. low-fat Mozzarella cheese
- 1 egg white
Preheat oven to 400 degrees. Clean mushrooms and scoop out the insides and stem with a spoon. Place on baking pan and bake for 7 minutes. While mushrooms are baking, grate Mozzarella, and combine in a bowl with one egg white. (Usually low-fat cheese has trouble melting, so this technique helps the cheese melt while adding a bit of protein.) Remove mushrooms from oven, and turn the broiler to High. On the mushrooms layer pizza sauce, cheese mixture, olives, and pepperoni slices. Return pan to oven and broil on High for 3 minutes or until cheese has melted and started to brown.
DINNER

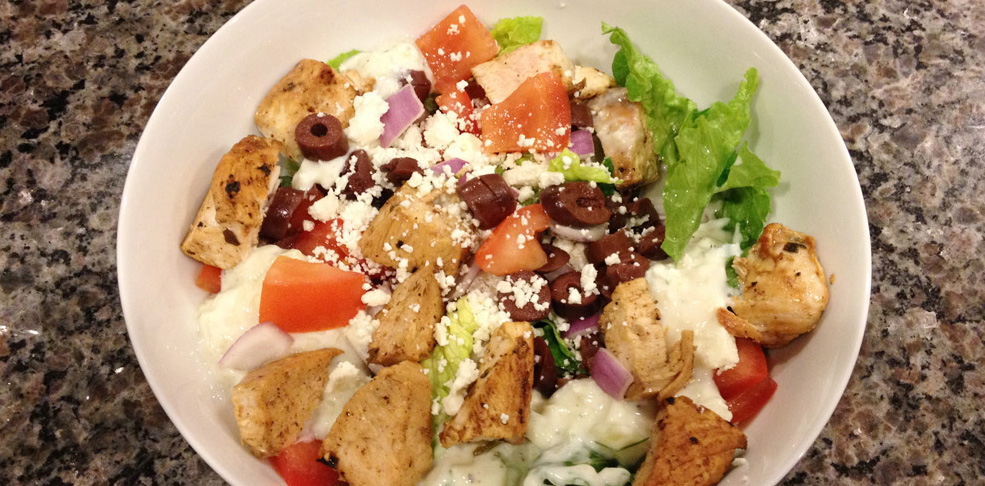
Okay, so there are pitas in the picture above. I try to not make my husband feel like he is on too much of a diet when we eat dinner together. Poor thing, he is always my guinea pig when I try all my new diet recipes. Luckily, he loved this meal (pita included). For the South Beach Phase 1, you have to eat as a salad. No bread for you! You kind find the original recipe here – her pictures are prettier than mine!
That amazing pan you see at the top where the chicken is cooking can be purchased on Amazon for just $9. It isn’t the best quality kitchen pan, but for $9 how can you complain….and it works wonders! Click here to check it out.
GREEK CHICKEN “PITAS” WITH CUCUMBER & DILL YOGURT DRESSING
INGREDIENTS:
- 4 Pitas {warm}
- 4 Chicken Breast Halves
- 1 recipe for Homemade Greek Dressing (check my recipe box!)
- 2 cups Romaine Lettuce, sliced
- 1 Roma Tomato, diced {seeds removed and discarded}
- Red Onion, sliced
- Pitted Kalamata Olives, sliced
- Feta Cheese
CUCUMBER & DILL DRESSING INGREDIENTS:
- ingredients for the dill dressing:
- 2 cups Plain Yogurt
- 1 cup Cucumber, diced small
- 1-2 tablespoons Fresh Dill, chopped
- 1 clove Fresh Garlic, Pressed through a garlic press of minced
- 1 tablespoon Fresh Lemon Juice
- 3/4 tablespoon White Wine Vinegar (or white vinegar can be used)
- 1/4 teaspoon Kosher Salt
GREEK DRESSING INGREDIENTS:
- 1/2 cup Extra Virgin Olive Oil
- 1/4 cup Fresh Lemon Juice
- 1 Clove Garlic, pressed
- 1 teaspoon Dried Oregano Leaves
- 1/2 teaspoon Kosher Salt
- 4-5 turns of Fresh Ground Black Pepper
Measure out all ingredients for the Greek Dressing and add to a salad dressing container or jar. Shake. Pour. Swoon. Store salad dressing in the fridge. But pull out 10-15 minutes prior to using to warm up the solidified oil.
For the Cucumber Dressing: In a small bowl, combine all ingredients and stir. Yogurt dressing may be made up to 2 hours in advance. Cover and refrigerate until serving. The longer it has to time for the flavors to meld, the better.
Marinate the chicken halves in the Greek dressing for 15-20 minutes.
To make the pitas: Marinate the chicken halves in the Greek dressing for 15-20 minutes.
Preheat a grill pan over medium-high heat. Grill the marinated chicken halves for 4 minutes a side or until fully cooked. Let rest before slicing.
Top lettuce (or pita bread) with sliced chicken, lettuce, tomato, red onion, sliced olives, yogurt dressing and feta cheese. Serve immediately!
DESSERT
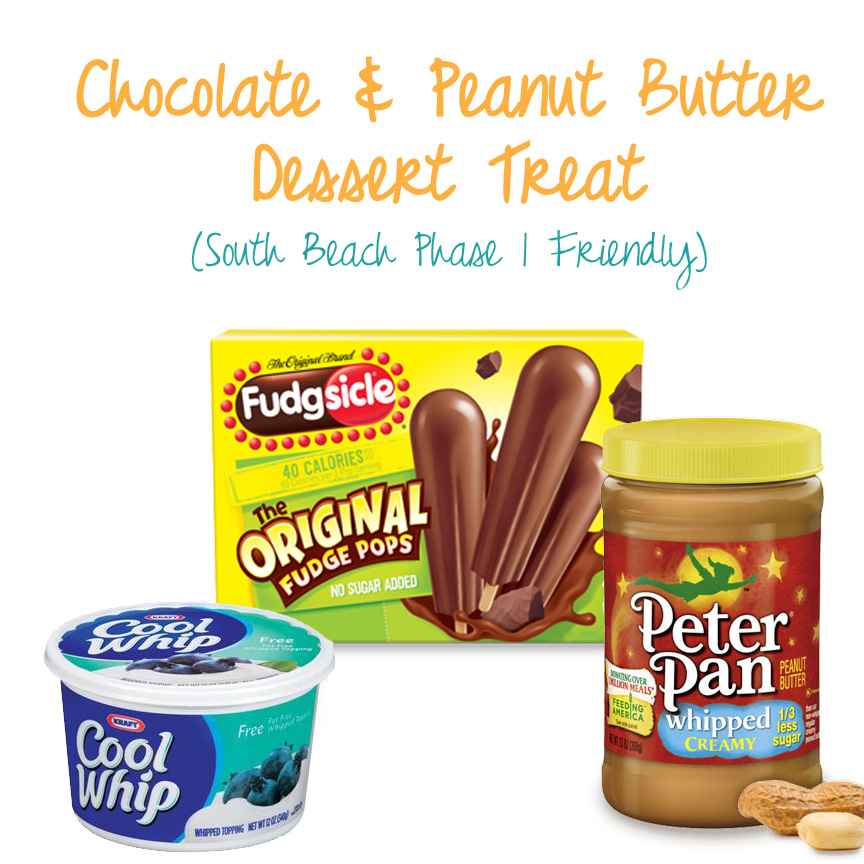
Well, we can’t forget about dessert. And this is delicious. And almost guilt free. I eat this even when I am not dieting!
CHOCOLATE PEANUT BUTTER DESSERT TREAT
Place one 40 calorie Fudge Pop in a mug and microwave for 8-10 seconds. Scrape off the stick into mug and add one small scoop of fat free Cool Whip and one small scoop of peanut butter (I like the whipped 1/3 less sugar kind.
So easy and yummy!
Happy Healthy Eating!


by steph_egan | creative tips, diy
So for those who may or may not know, I’m expecting a baby in a few (short) weeks. My mind has been consumed with being as prepared as possible for all things related to this… home, work, photography business, etc. We are in the middle of remodeling our master bath (nothing like a big last-minute project!) along with prepping the nursery / a few crafty projects and preparing meals for once we are back home with our new little family member.
And like anyone who is planning a party, meals for the week or a wedding… Pinterest has been my best friend. (Can someone please tell me what we did before Pinterest?!) Anyway, I thought I’d share a couple little things that have worked out for me… and one that most definitely did not (yet… I’m determined to figure it out).
First, for any mommas-to-be out there, some meals I prepared in advance to freeze and throw in the crock pot during those first few (many) sleep-deprived days. And this is not to discriminate – I’m sure meal prep like this would be great for any family, I’ve just never thought this far in advance before when it comes to eating!
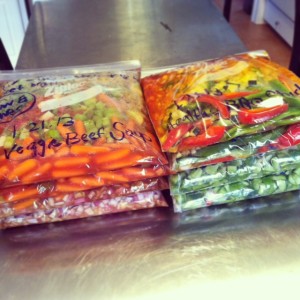
I will admit the prep work took a few hours…but we have at least 8+ meals freezing away and ready for us to enjoy when needed:
http://melissafallistestkitchen.blogspot.com/2011/09/freezer-cooking-slow-cooker-meals.html
Now, how about a major Pinterest fail? DIY Pom Poms. I was/am planning to make these for the nursery… and cannot get them to work. I’m not sure what I’m doing wrong, so if anyone out there has had success, please holla back.
My attempt:
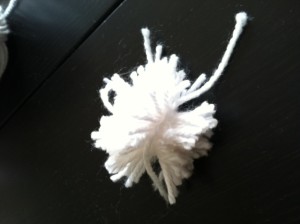
The easy to follow instructions… complete with pretty pictures and pretty poms:
http://vividplease.blogspot.com/2012/01/diy-how-to-make-tiny-pom-poms-with-fork.html
I also think these would be so cute in red around the house for Valentine’s Day. So much for that!
And one last major Pin Win goes to the library we put up in the nursery:
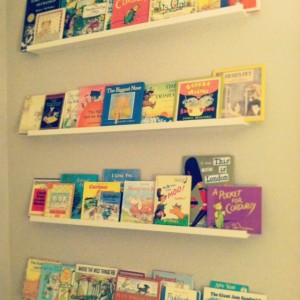
It’s such a hit with those who have stopped by to see our progress, and was so simple to do. Shelves are from Ikea; books are classics from my childhood. It took us no time to put them up… we even went back for more to create a gallery wall with photos in another room of our house. I loved the idea of the shelves vs putting a million holes in the wall — it will be so easy for us to switch photos out and move the frames around as we want.
ps – have you seen the websites out there with Pinterest fails? I might go read a few to feel better about my Pom disaster.
Hoping our master bath remodel is finished by next week — I’ll share a few pics!


