by jenn_davis | personal, style, sunny slide up
Sometimes you feel like a nut, sometimes you don’t. And then sometimes, you start your own clothing line. First things first, I’d like to ask your forgiveness for such a desolate existence on our Sunny Slide Up blog but when you’re being a nut, or not, it’s easy to lose sight of what’s really important – you guys. Having said that, I’d like to introduce you to www.georgeandfran.com
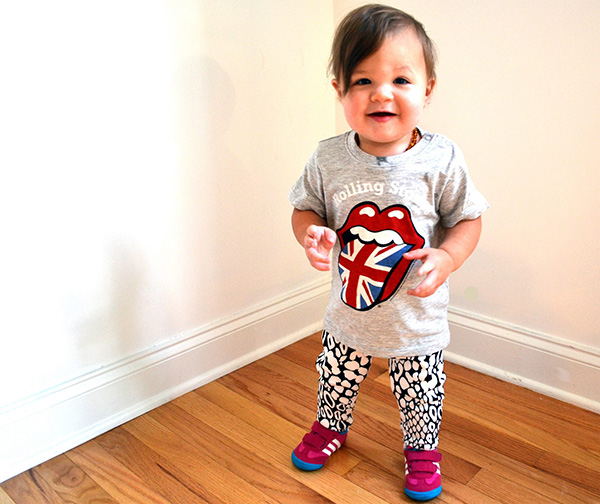
That’s right, I did it. I feel like Andy Samberg when he was on that boat – anything is possible. Of course, I couldn’t have done it alone so let me get my “thank yous” out of the way. Without my two beautiful models, Dyce Danger and Decker Darling there would be no one to try my clothes on and take pictures of. Perhaps the best part of their support is the fact that they have no choice. And, without the love/support/charming-good-looks of my husband, Brad, there would be no one there to listen to me tell stories of how difficult designing (and sewing) clothes can actually be. Plus all those irresistible little drawings you see on our website… straight from his dome.
We went live on September 1st and without question this has been the most nerve-wracking/stressful/soulful/exciting/rewarding month of my life. I love writing and it’s always been such a great outlet for me but I couldn’t help but feel like something was missing. Having gone to college to study the fine arts I wanted something people could see, not just read. I never thought of myself as a great writer but then again, I never thought of myself as a great sewer either. So, left armed with nothing more than desire and commitment I set out to develop a whole new set of skills and options for parents wanting their children to stand out in a crowd.
Our slogan is “for the offbeat child” because that’s our dream(s) for our children and that’s what we want to encourage in other parents. In a world of normalcy, we want to be there for those folks that try to break the mold. To borrow a quote from Chris Martin, “we live in a beautiful world” and we’re just trying to do our part to make it prettier.
In the spirit of making things pretty, I’d like to tell you guys about a giveaway we’re offering here on Sunny Slide Up to celebrate two amazing years of awesomeness!
See illustrious illustrations below for more details and as always, read more Sunny Slide Up and outfit your children in more George & Fran.
Love, Jenn. XOXO

One lucky fan will win:
Metallic Leopard Print Elastic Headband Set ($12.00 value) and Mod Leopard Leggings ($36.00 value)
from George & Fran new kids fashion line!
GIVEAWAY RULES:
TO BE ENTERED TO WIN YOU MUST… (more…)
by jenn_davis | fun finds
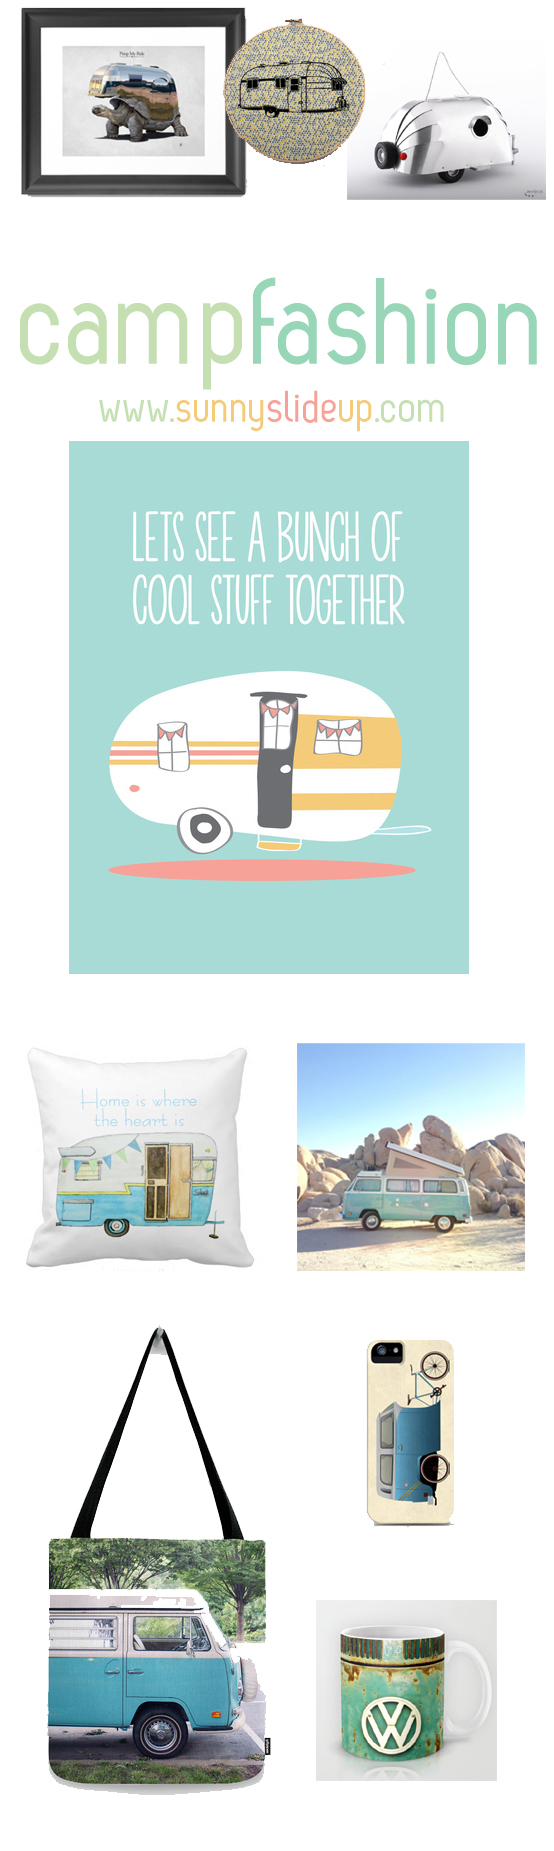
Turtle, Cross Stitch, Birdhouse, Cool Stuff Print, Pillow, VW Print, Phone, Bag, Mug
In celebration of Camp Fashion Week I thought I would share a few of my favorite camping inspired accessories! I, like many other fellow hippie hipsters, hope to one day own an airstream or VW bus…..until then just the mere thought of it takes me to my happy place. 🙂
Be sure to enter our Giveaway for a chance to win a $50 Apricot Lane gift card!!!
xoxo

by jenn_davis | diy
Having recently purchased a new home, my husband and I have so many little projects going on. Some we have gotten around to completing, but most continue to be a work in progress. A good friend of mine reminded me to go “slow and steady” when it comes to decorating and renovations, so that’s exactly what I have been (attempting) to do. I did want to share one project that was fairly simple and inexpensive!
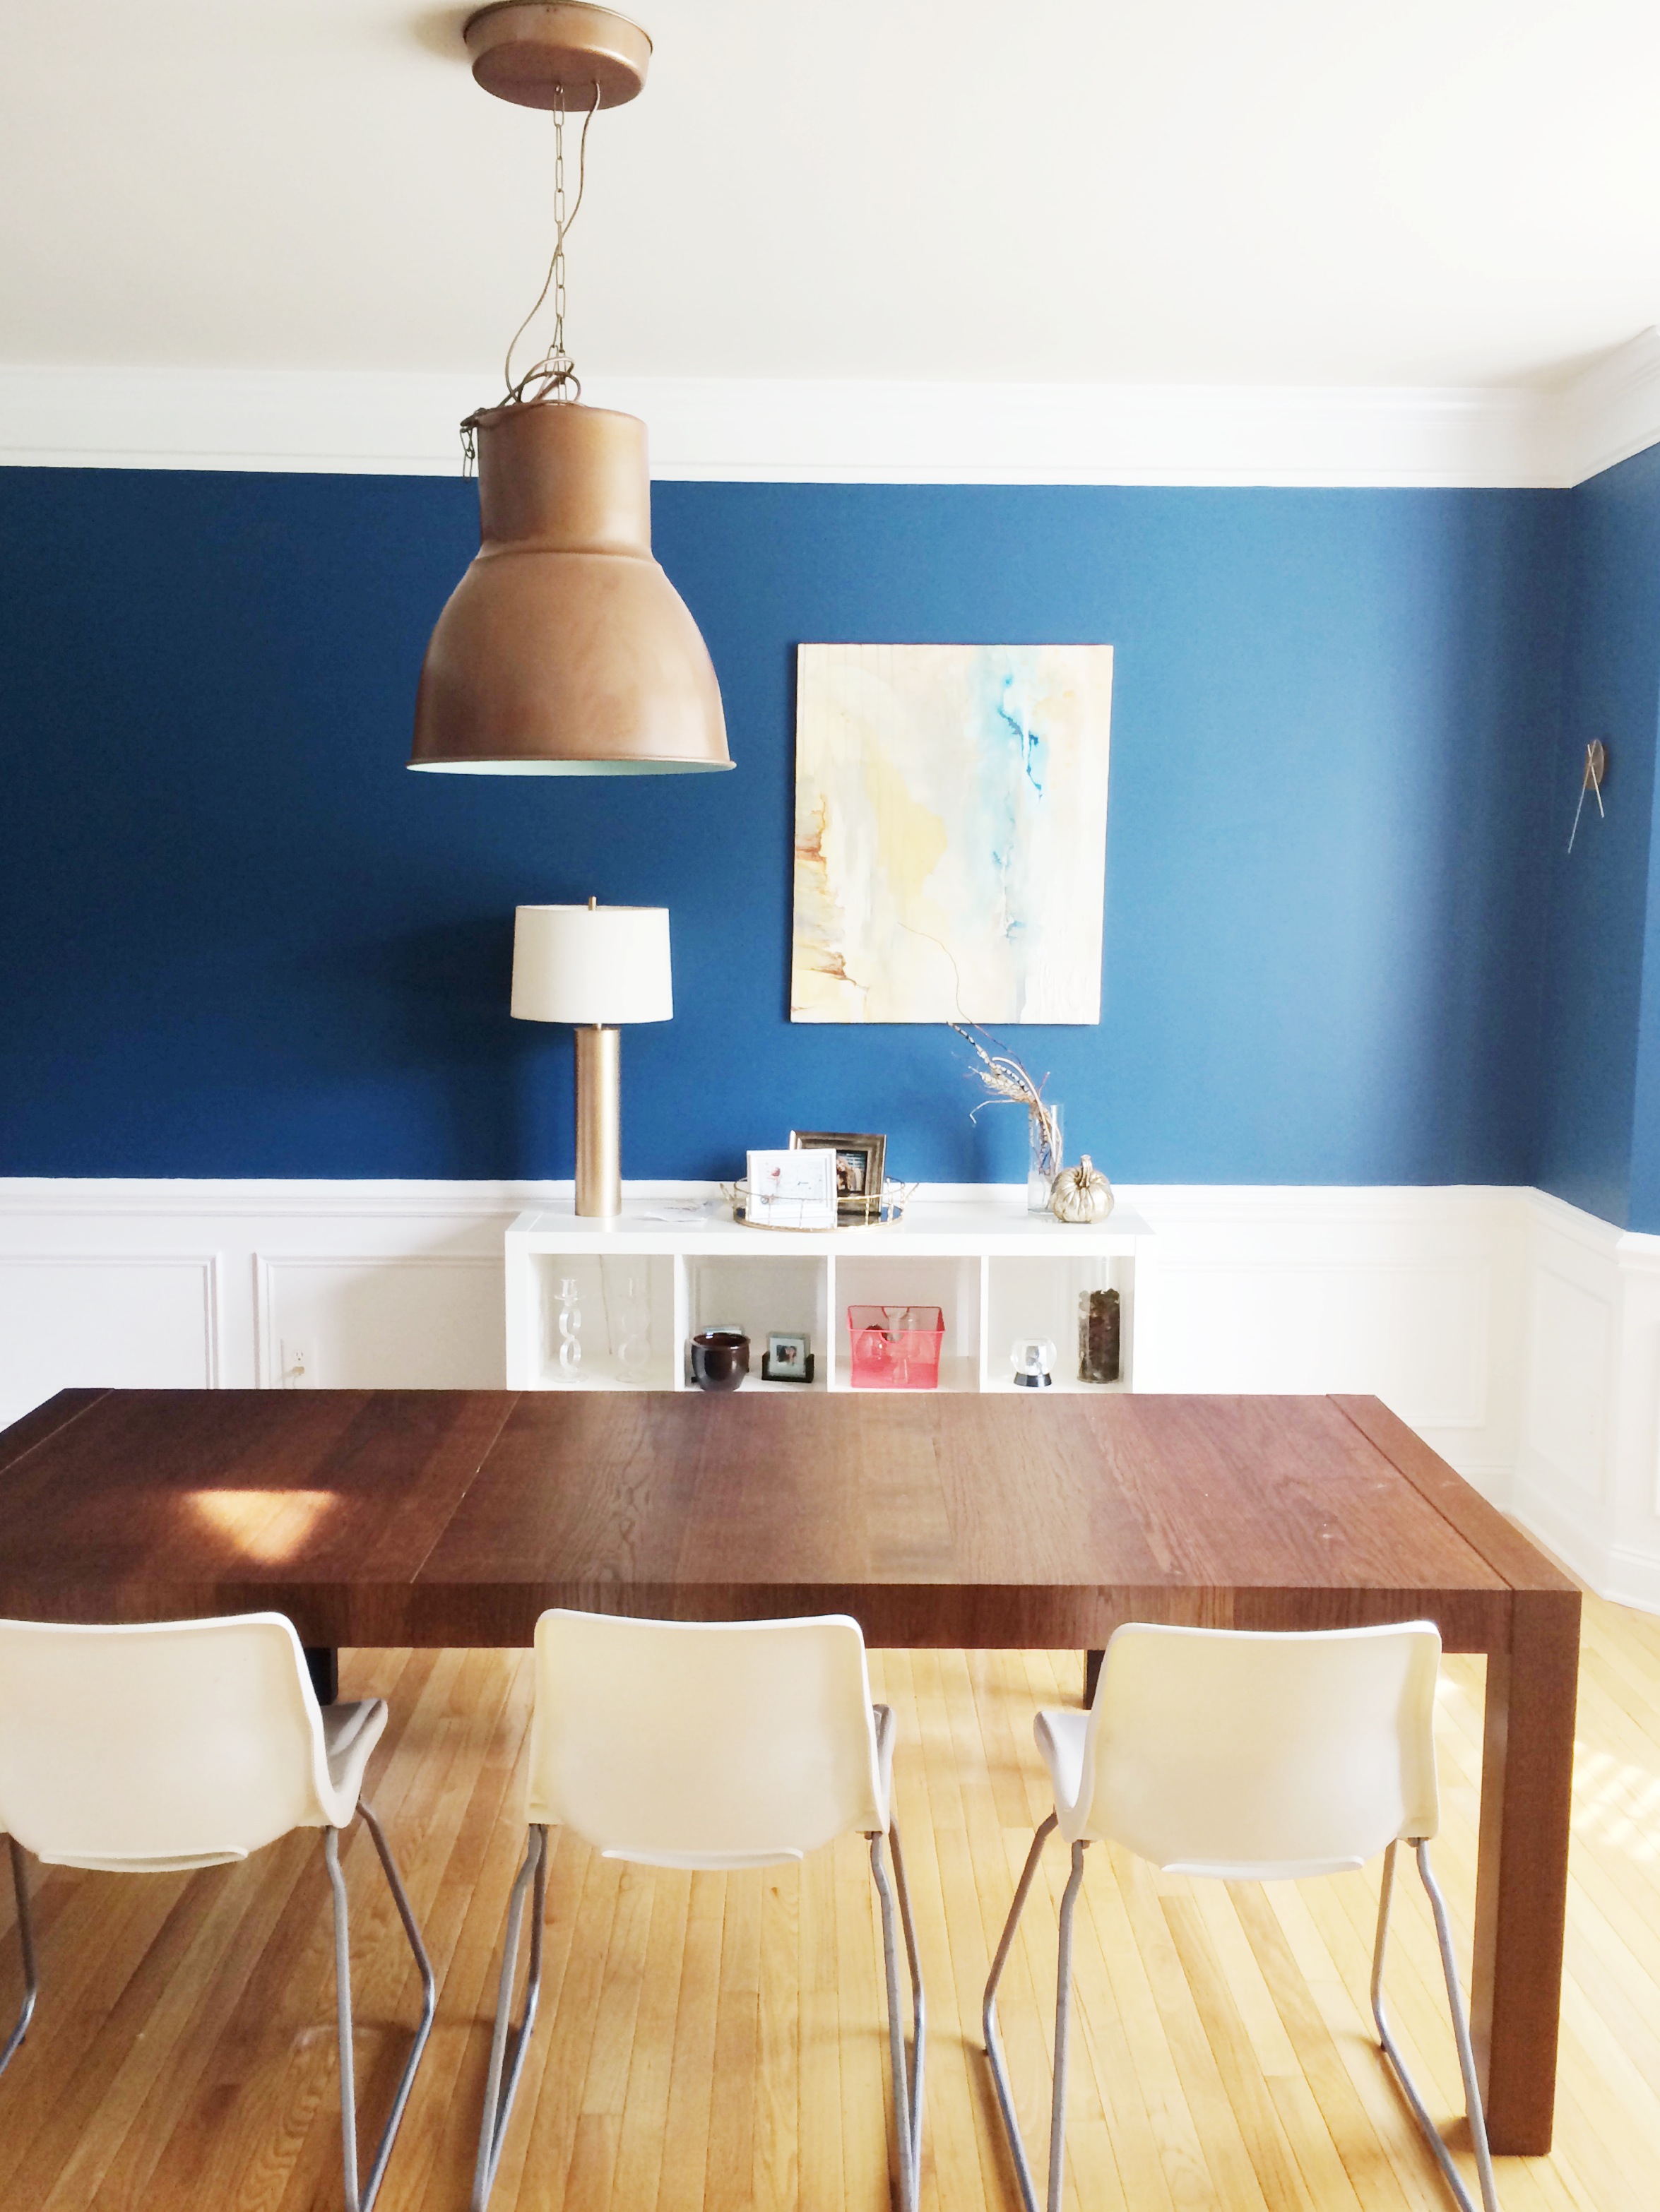
Our home is considerably more traditional than I would prefer, so we have made small changes in decor and details to give it a bit more character. One thing that had to go was the dining room lighting. The old one was just too traditional and a bit dated for my taste. I thought about just painting it and replacing the bulbs, but I wasn’t happy with the height or shape either.
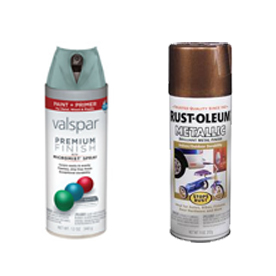
I found a Hektar light from IKEA and although I felt the color was a bit heavy, I liked the shape. So, for roughly $70 I decided I would take a chance and paint it! I purchased some spray paint from Lowes…..a soft Valspar paint for the inside of the light and a textured copper for the exterior:
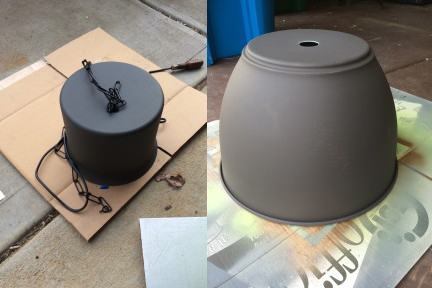
I started by first taking apart the entire light fixture. This would make it easier to paint all the nooks of each piece.
The trick to spray paint is to make several light and even coats. Having said that…..I will confess I am TERRIBLE at this. I always get incredibly anxious and end up rushing the paint. This project was no exception! :/
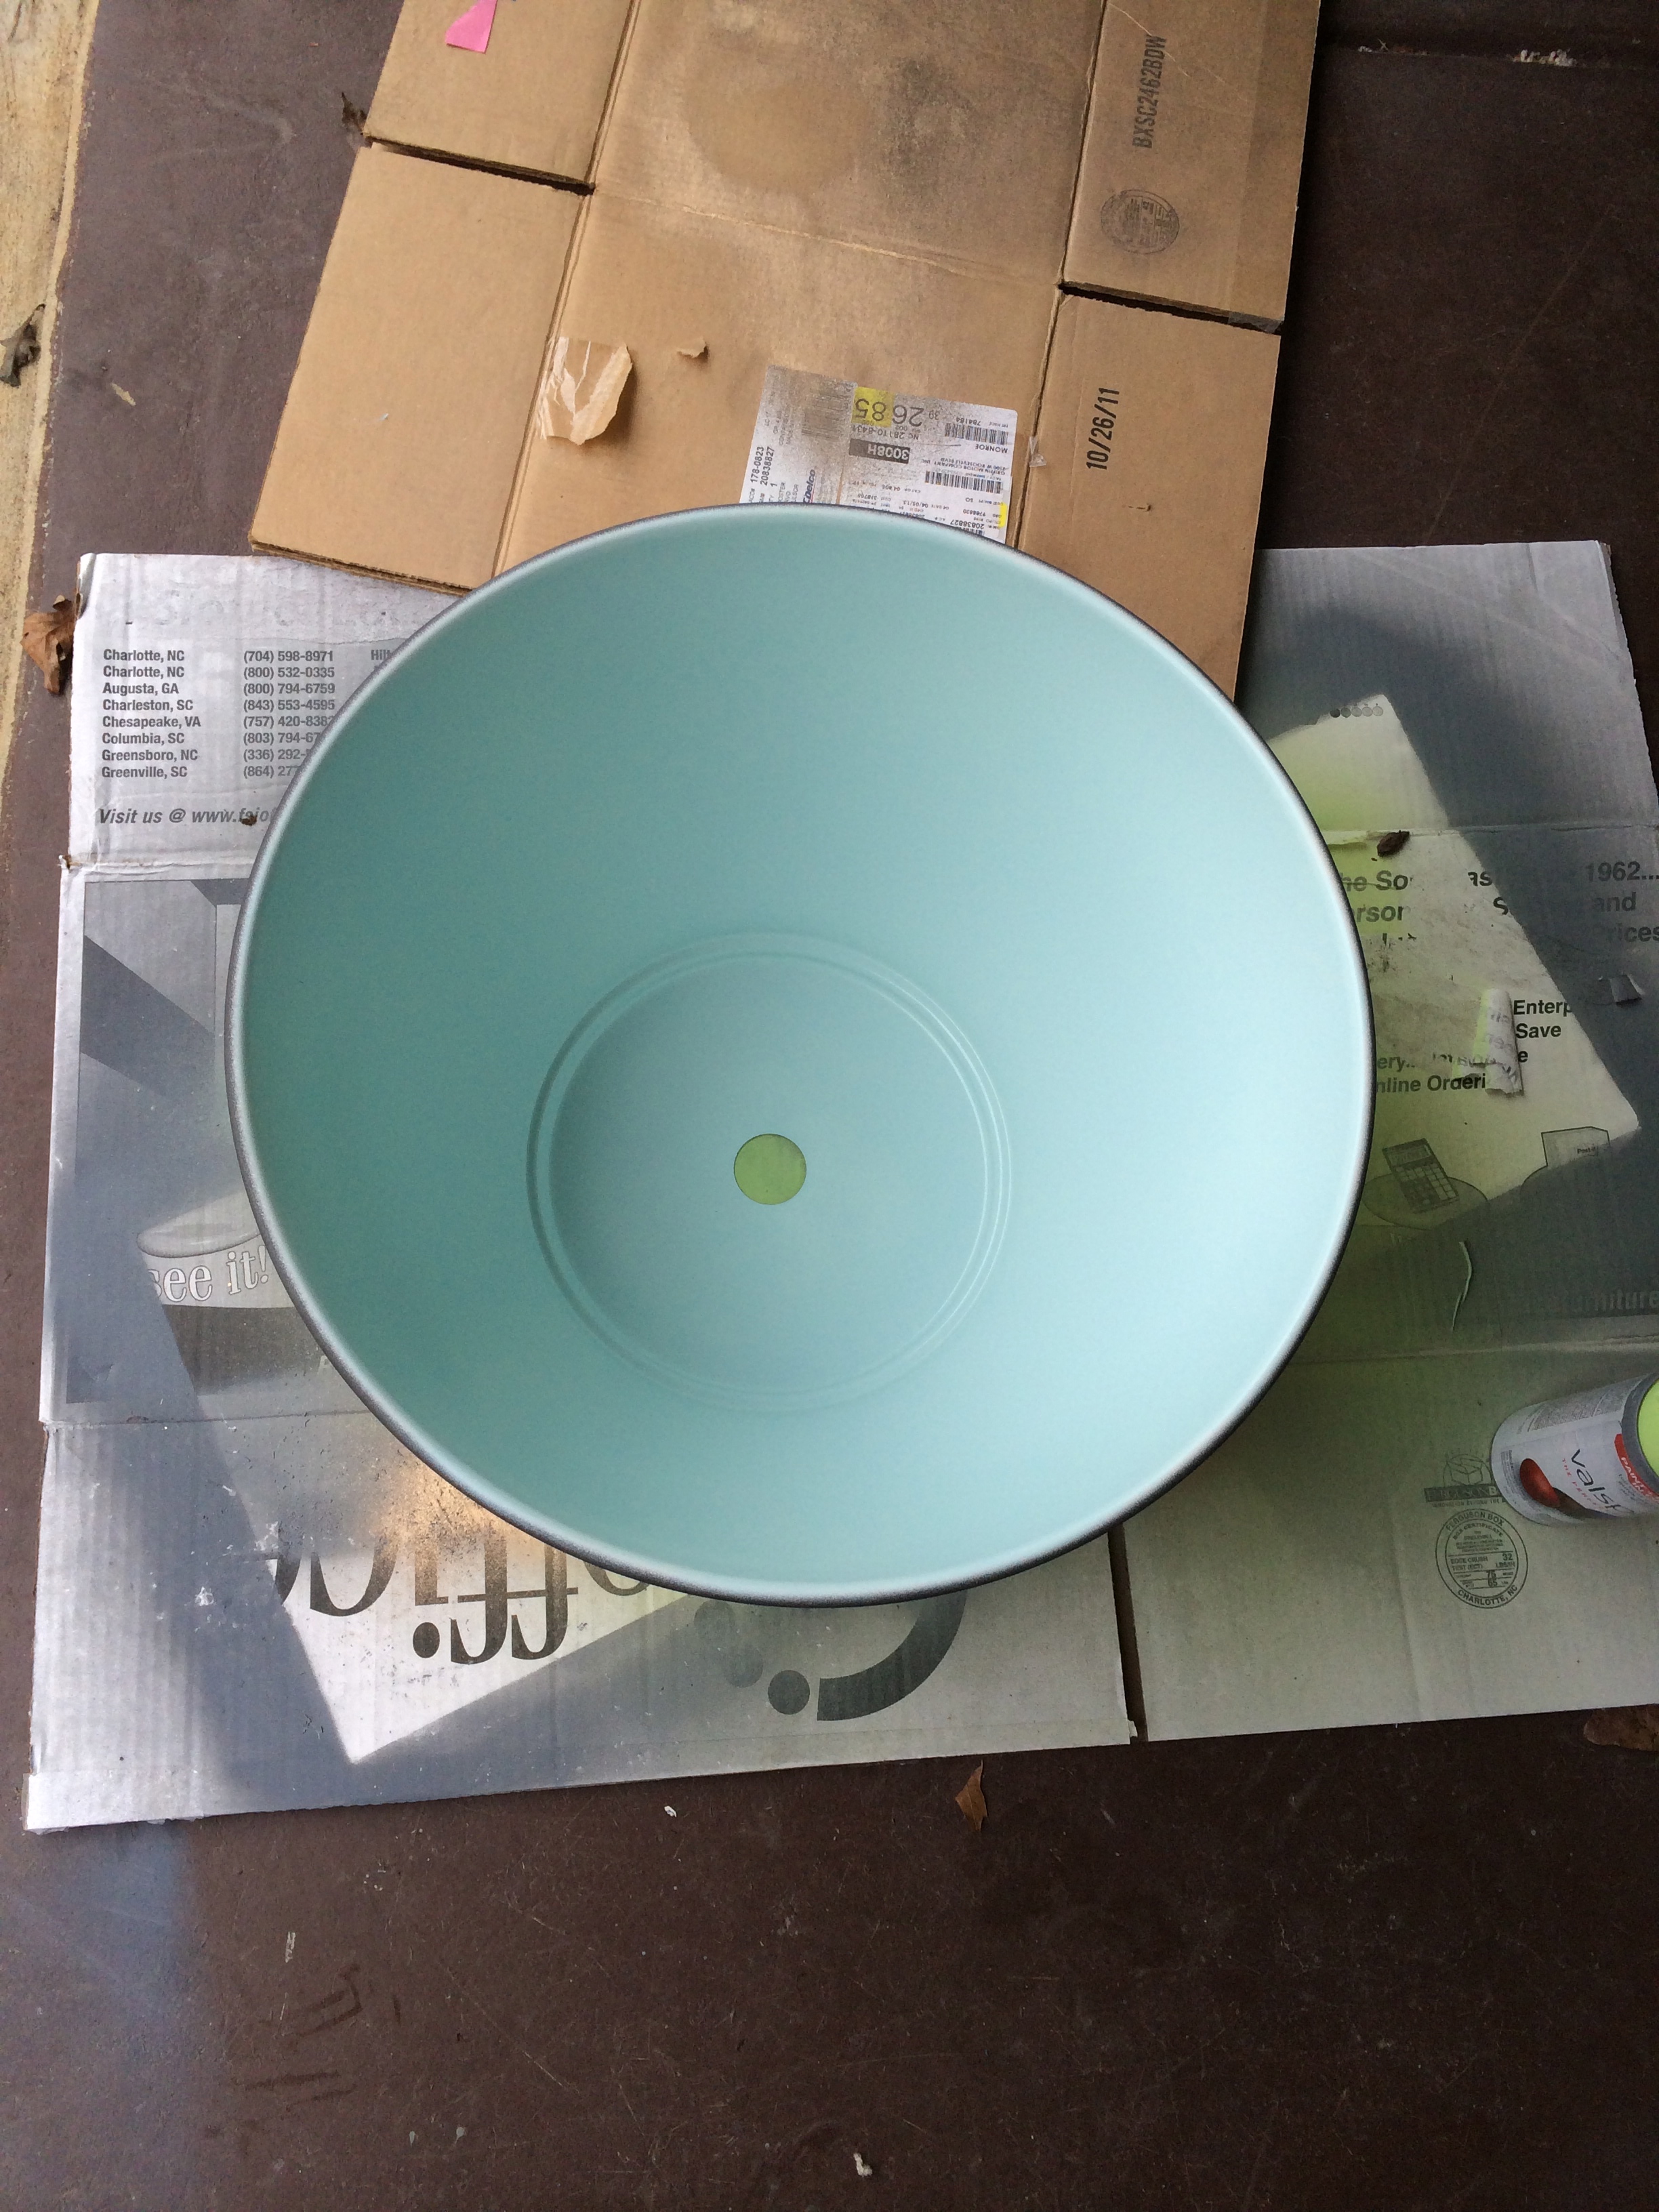
I painted the inside of the fixture first. I did this primarily because I have the most patience in the beginning of any project and I knew I would need it in order to not have paint drips going down the barrel of the dome.
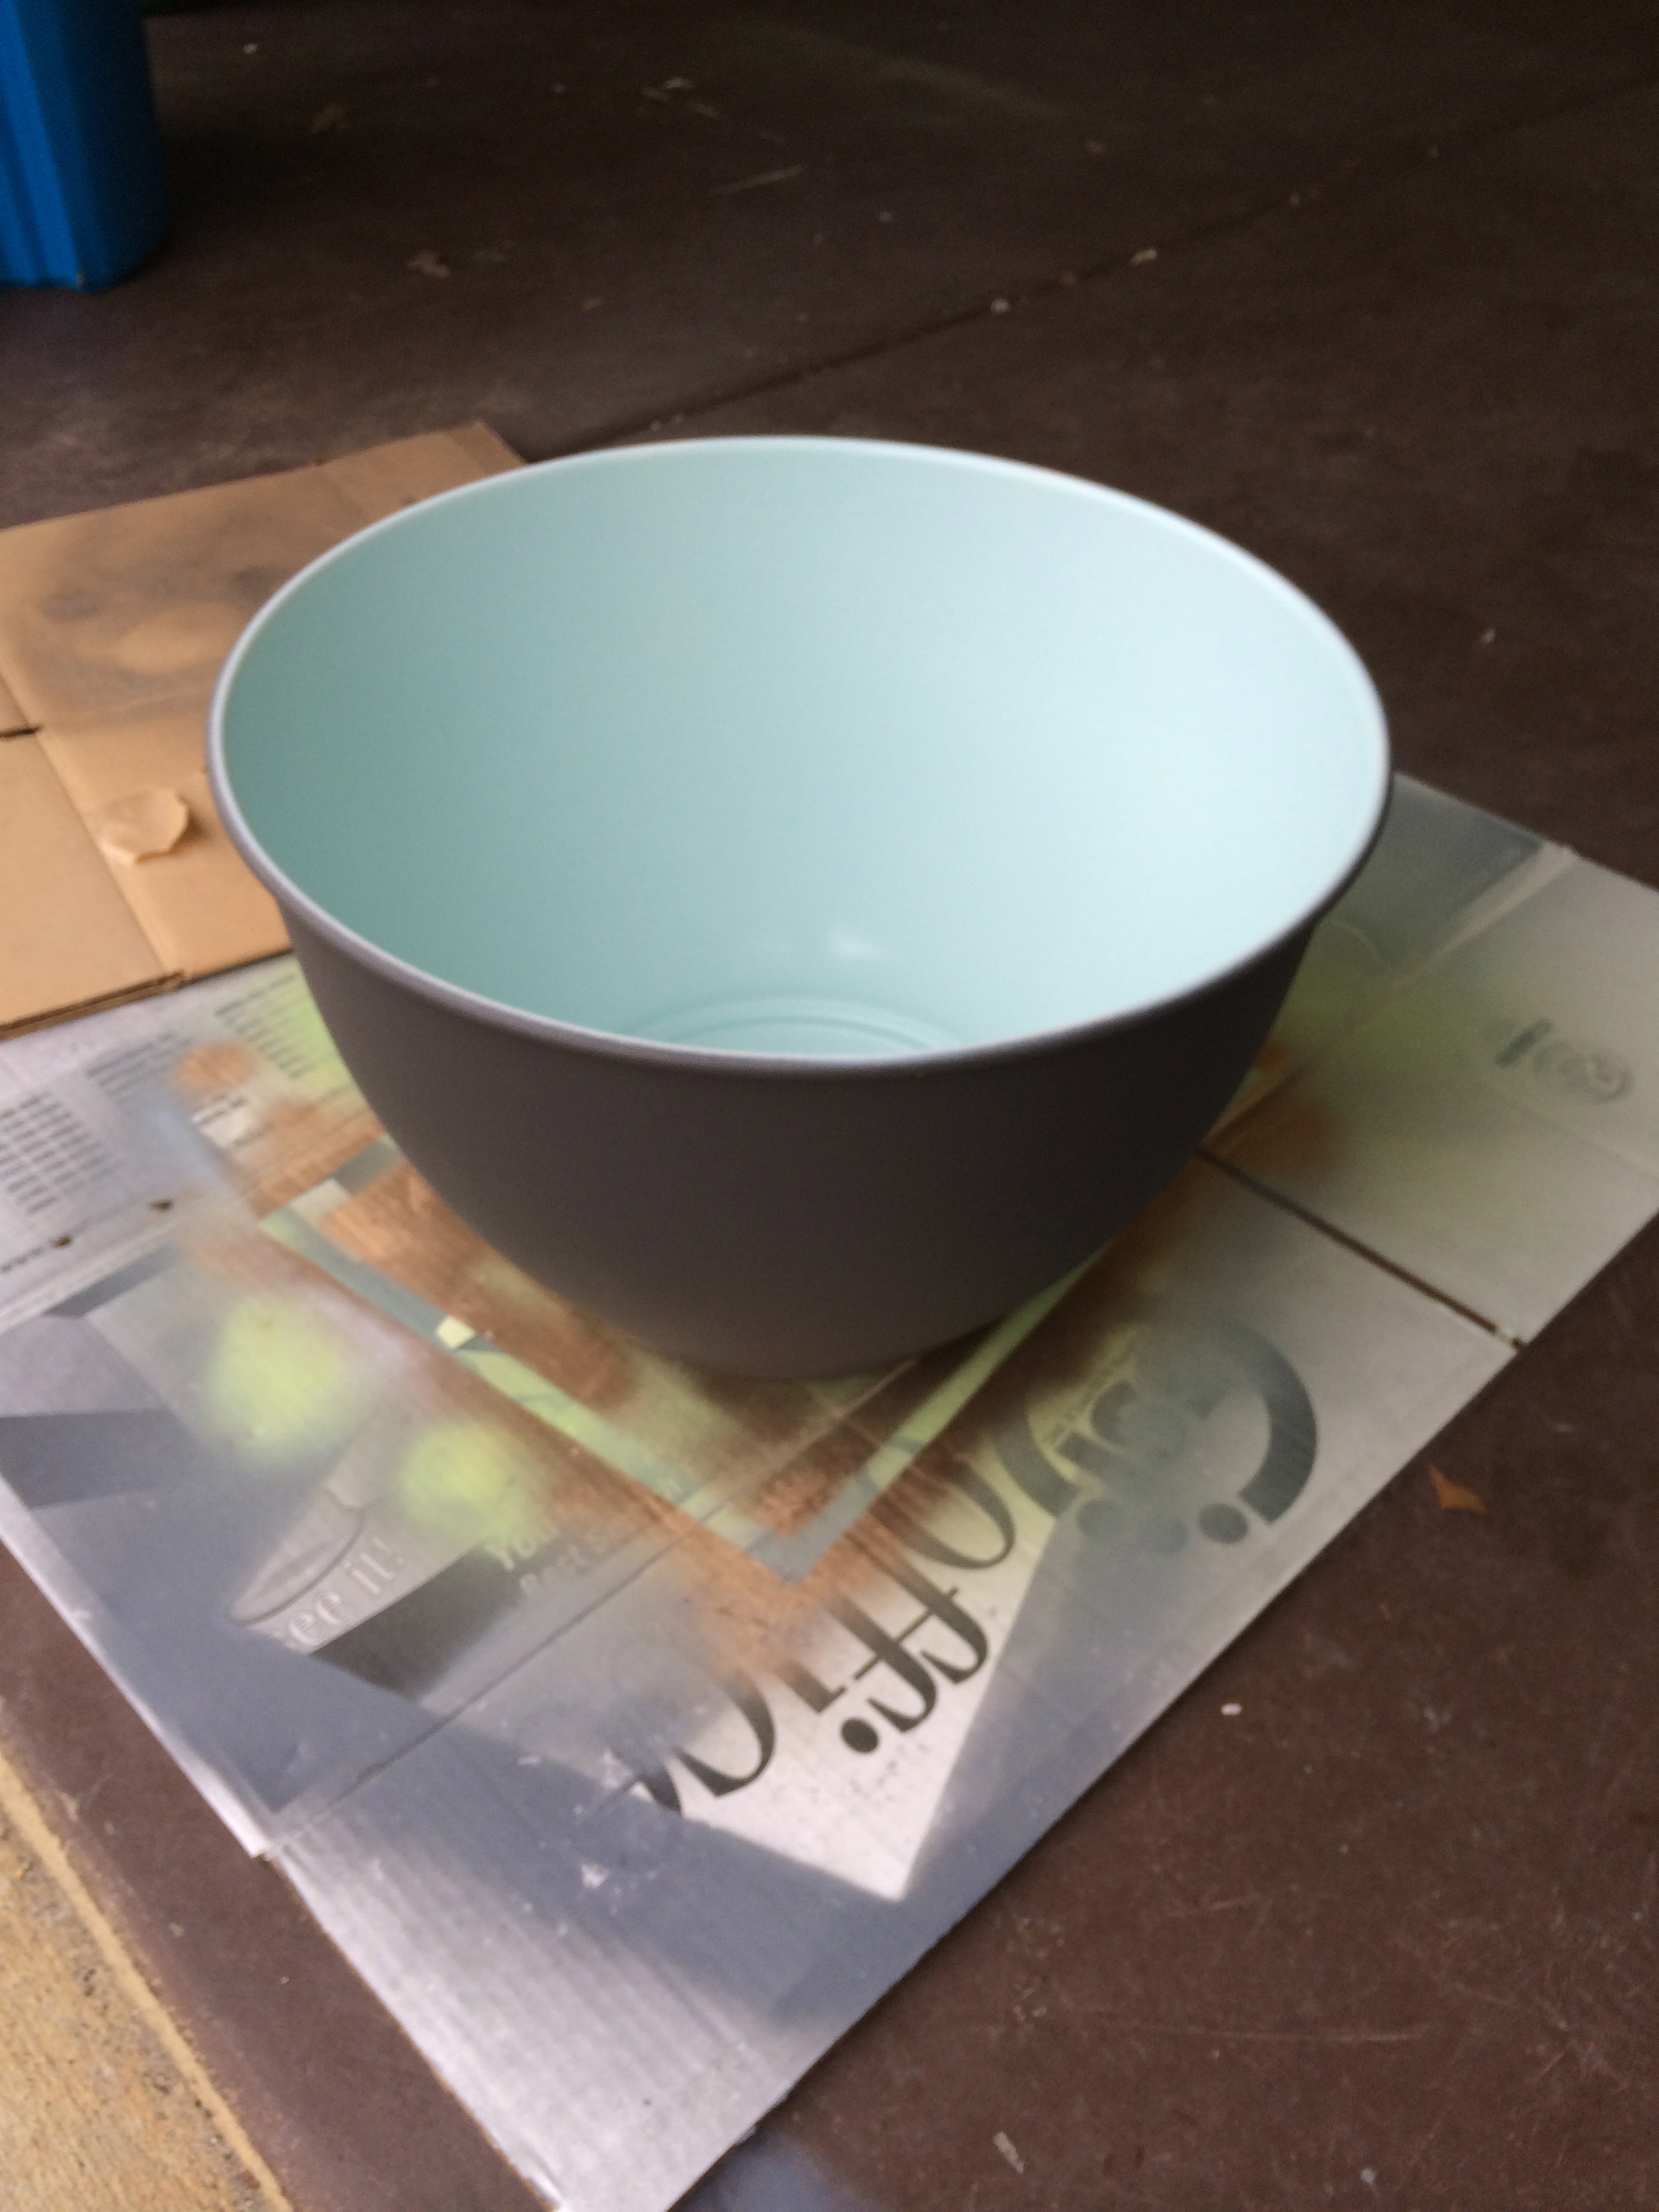
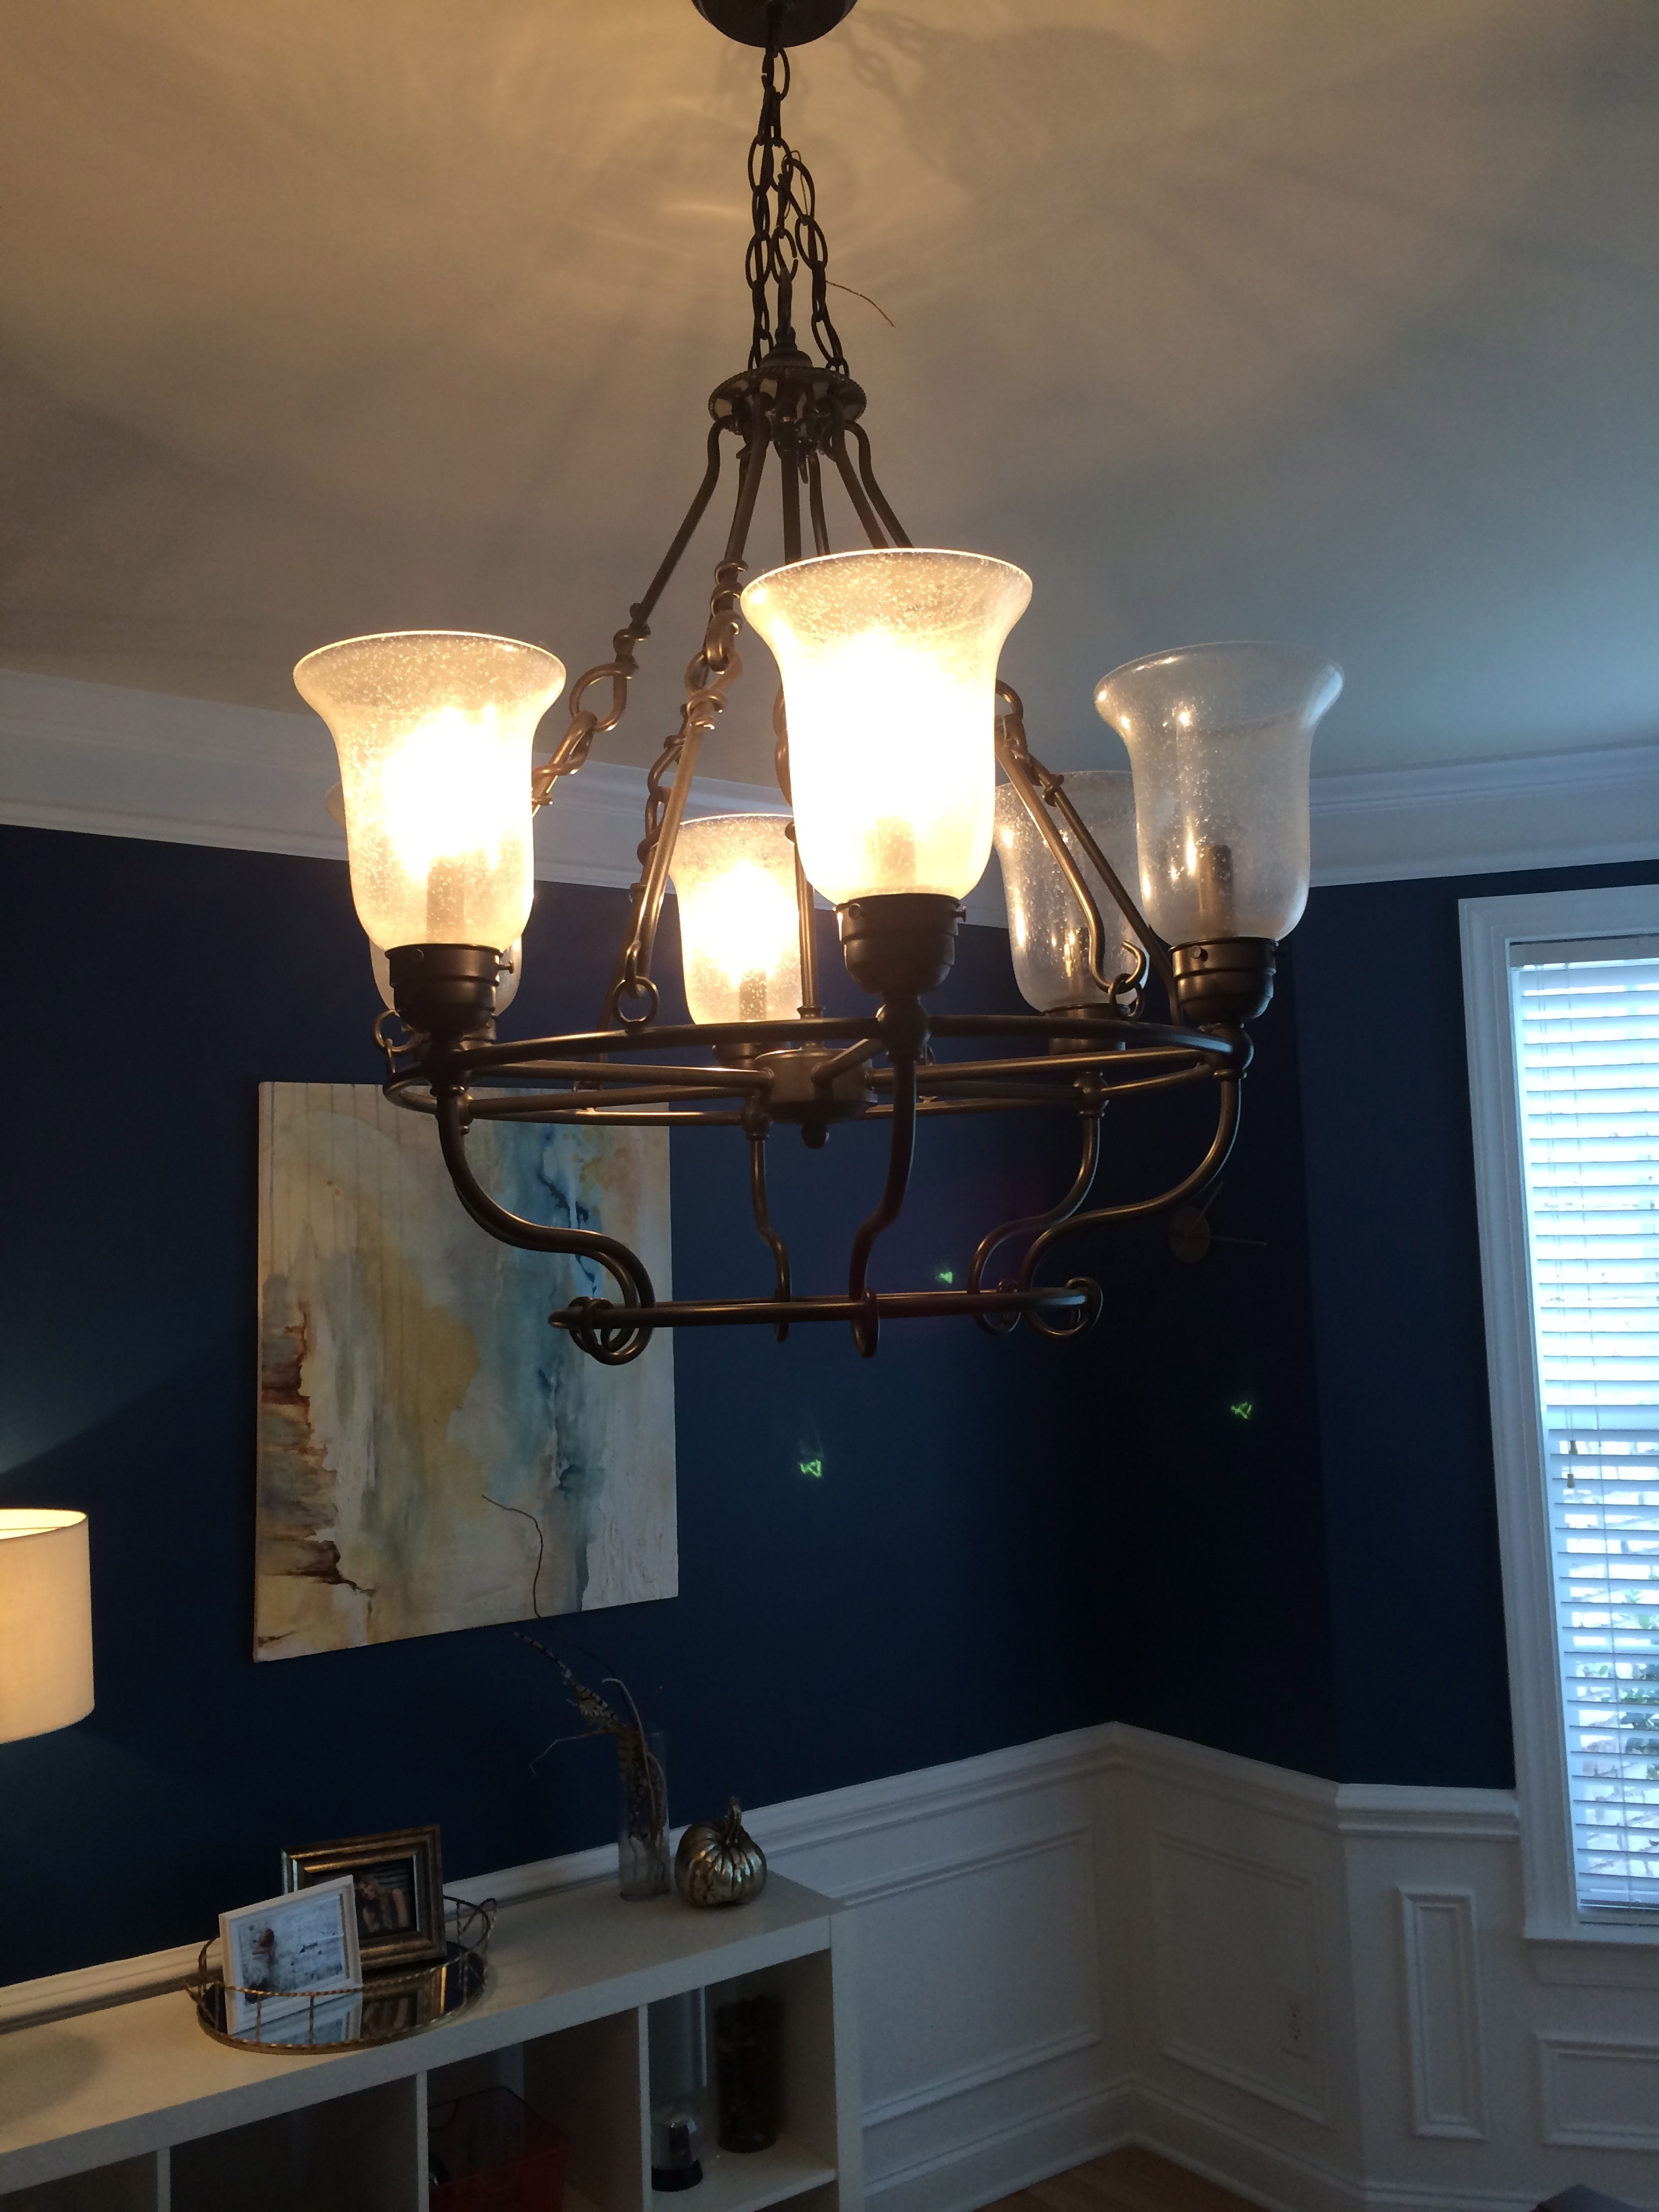
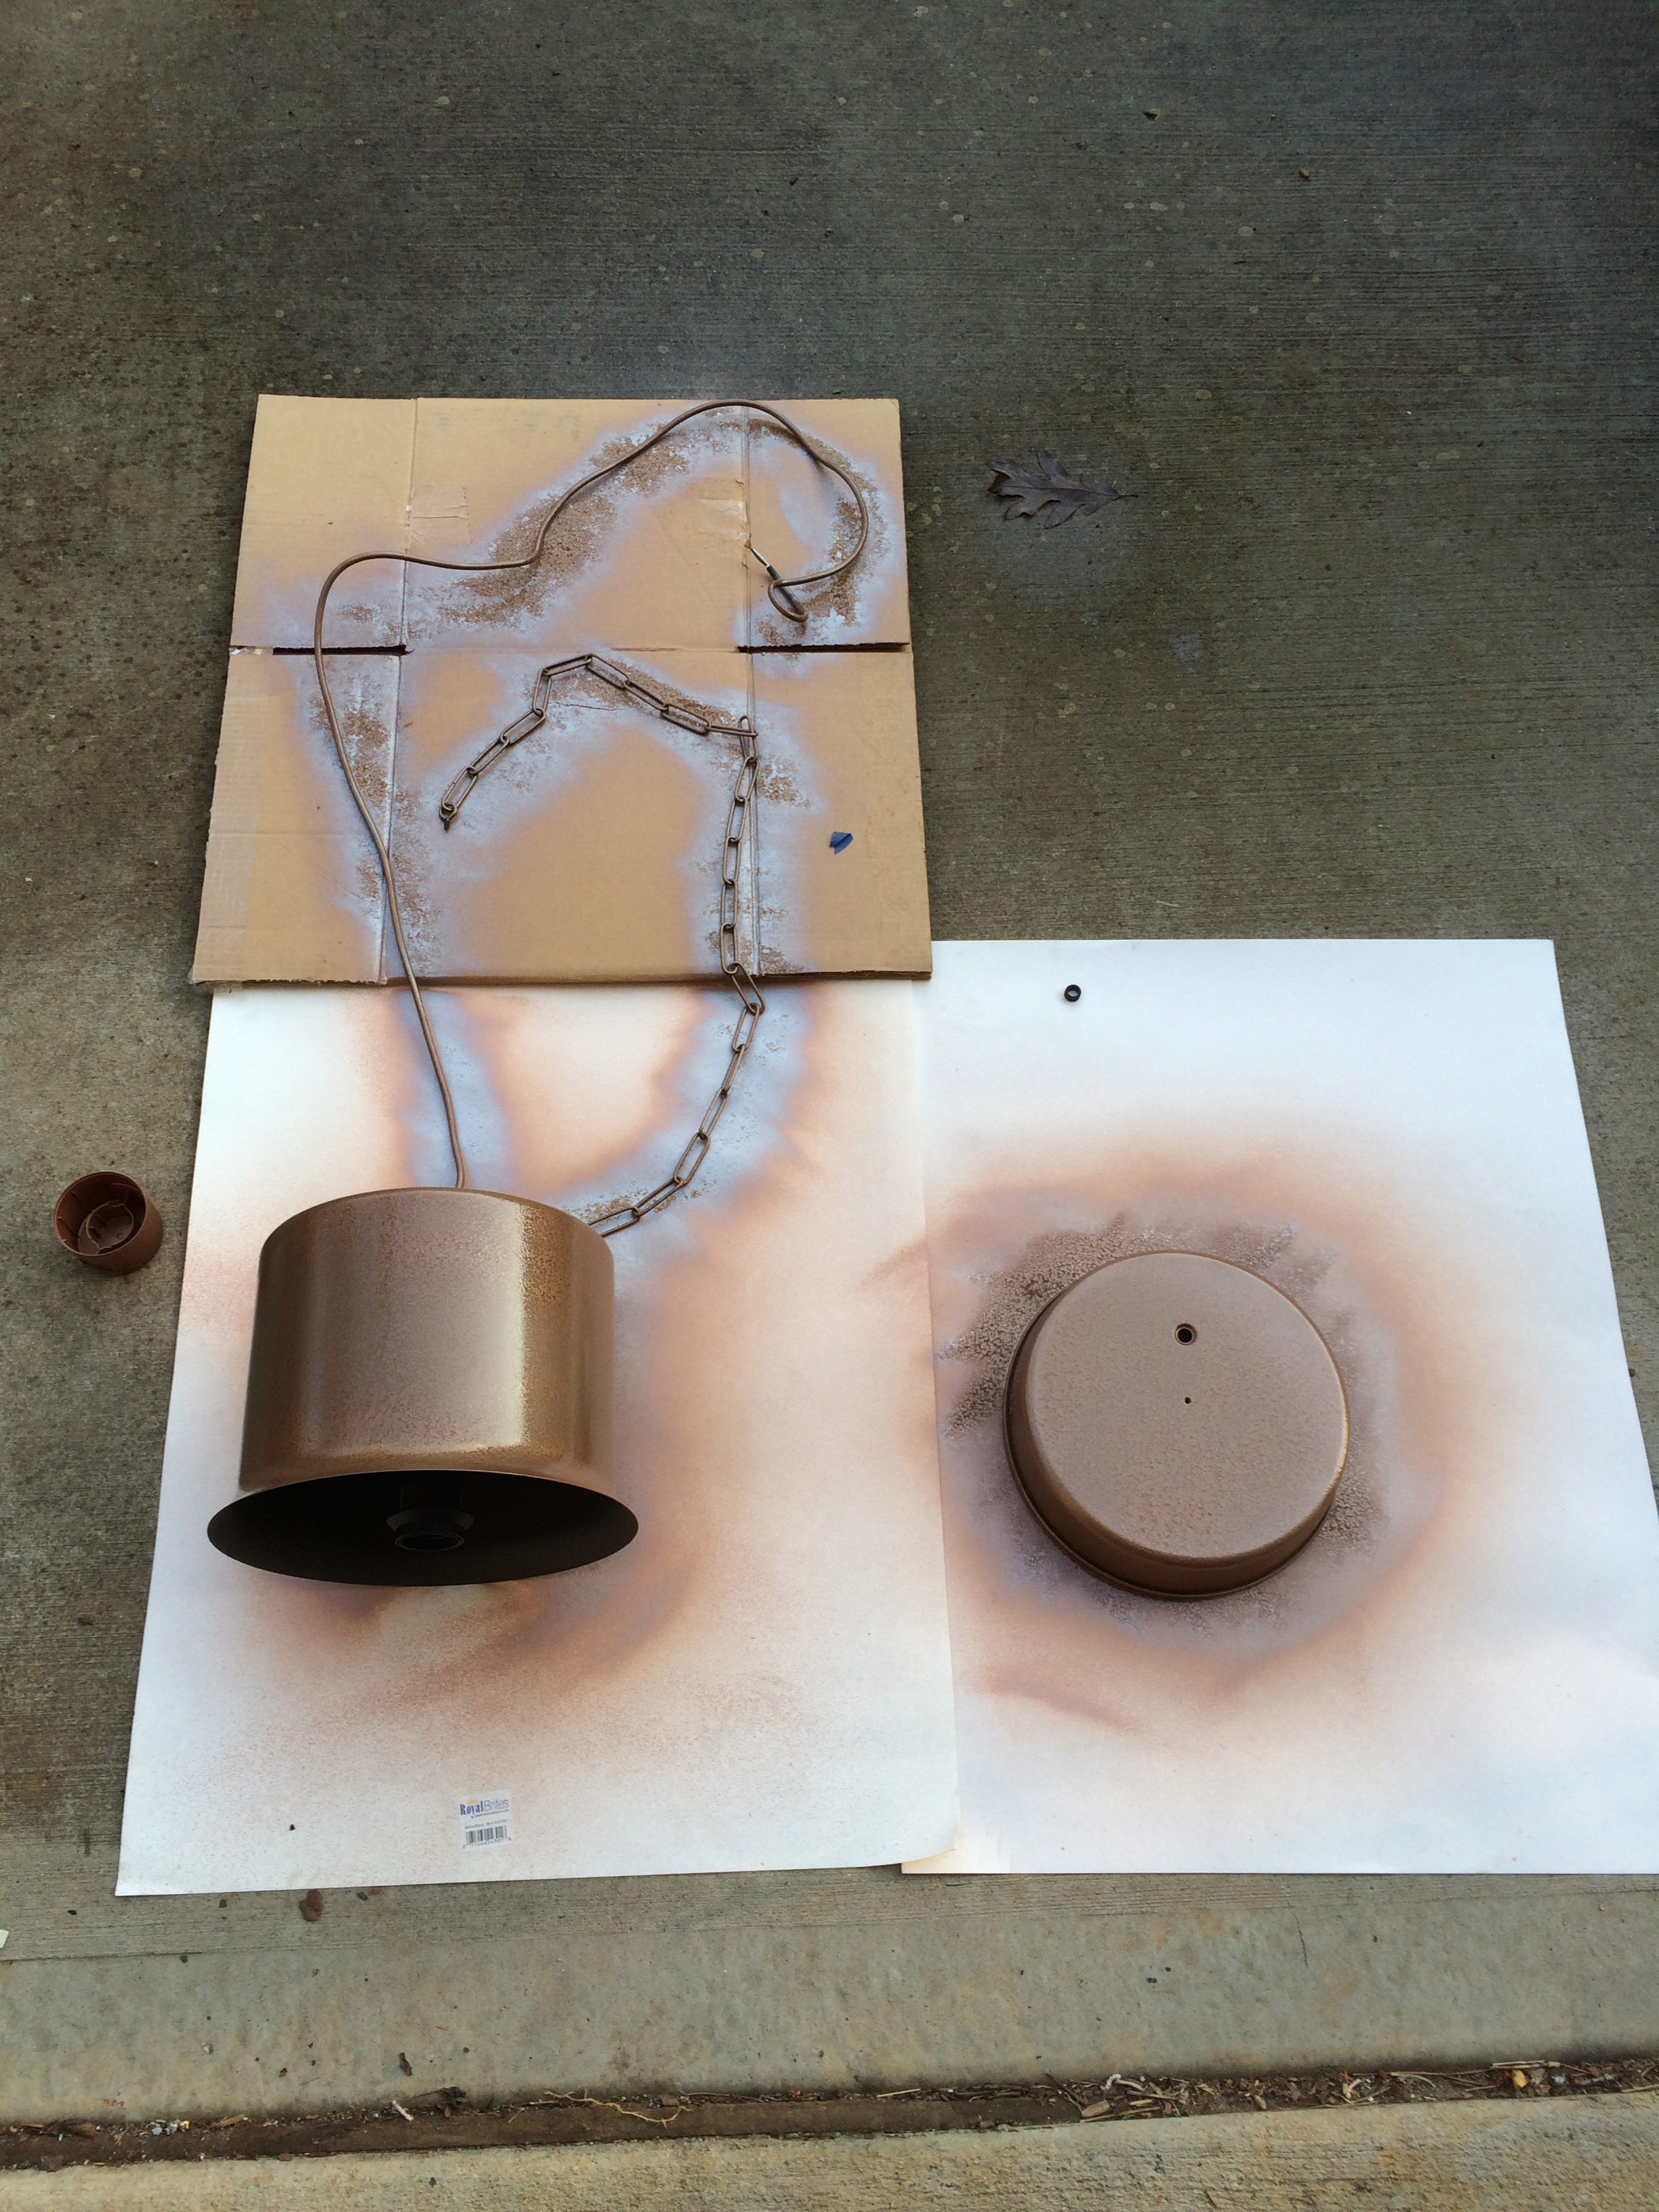
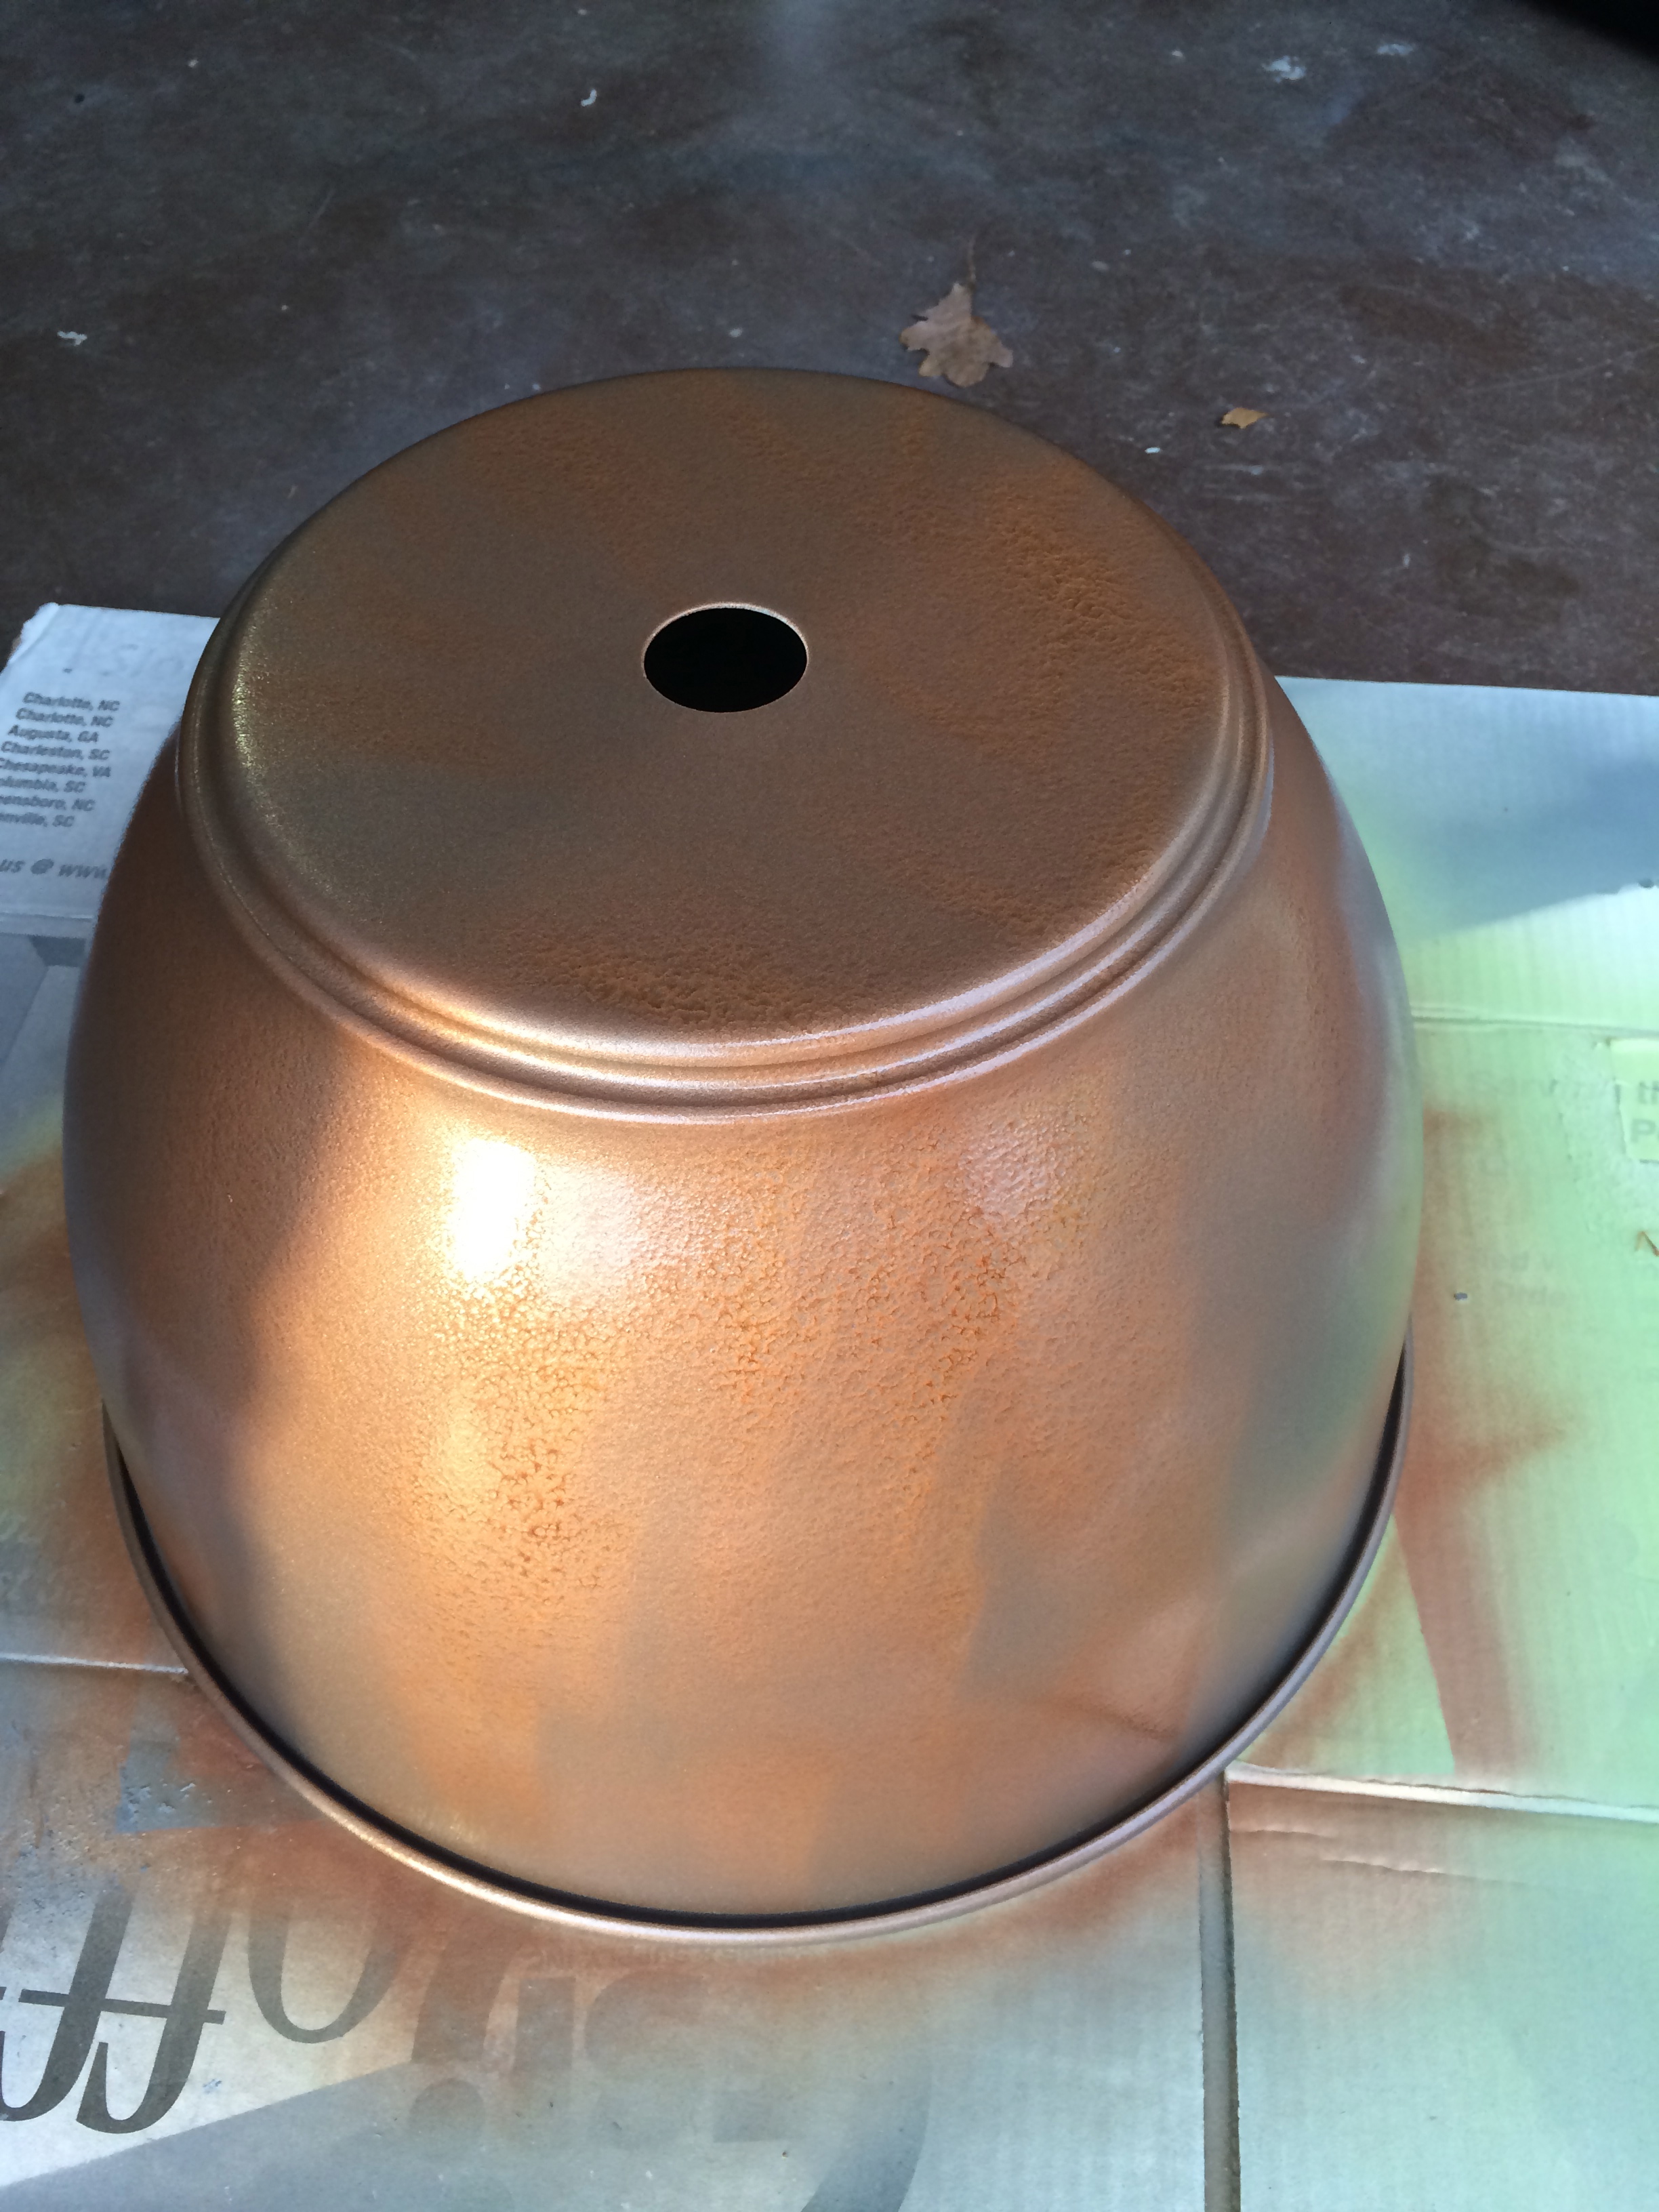
After the blue had dried I flipped the dome over and started the textured copper paint. You can see here that I had to paint several coats in order the get the coverage desired.
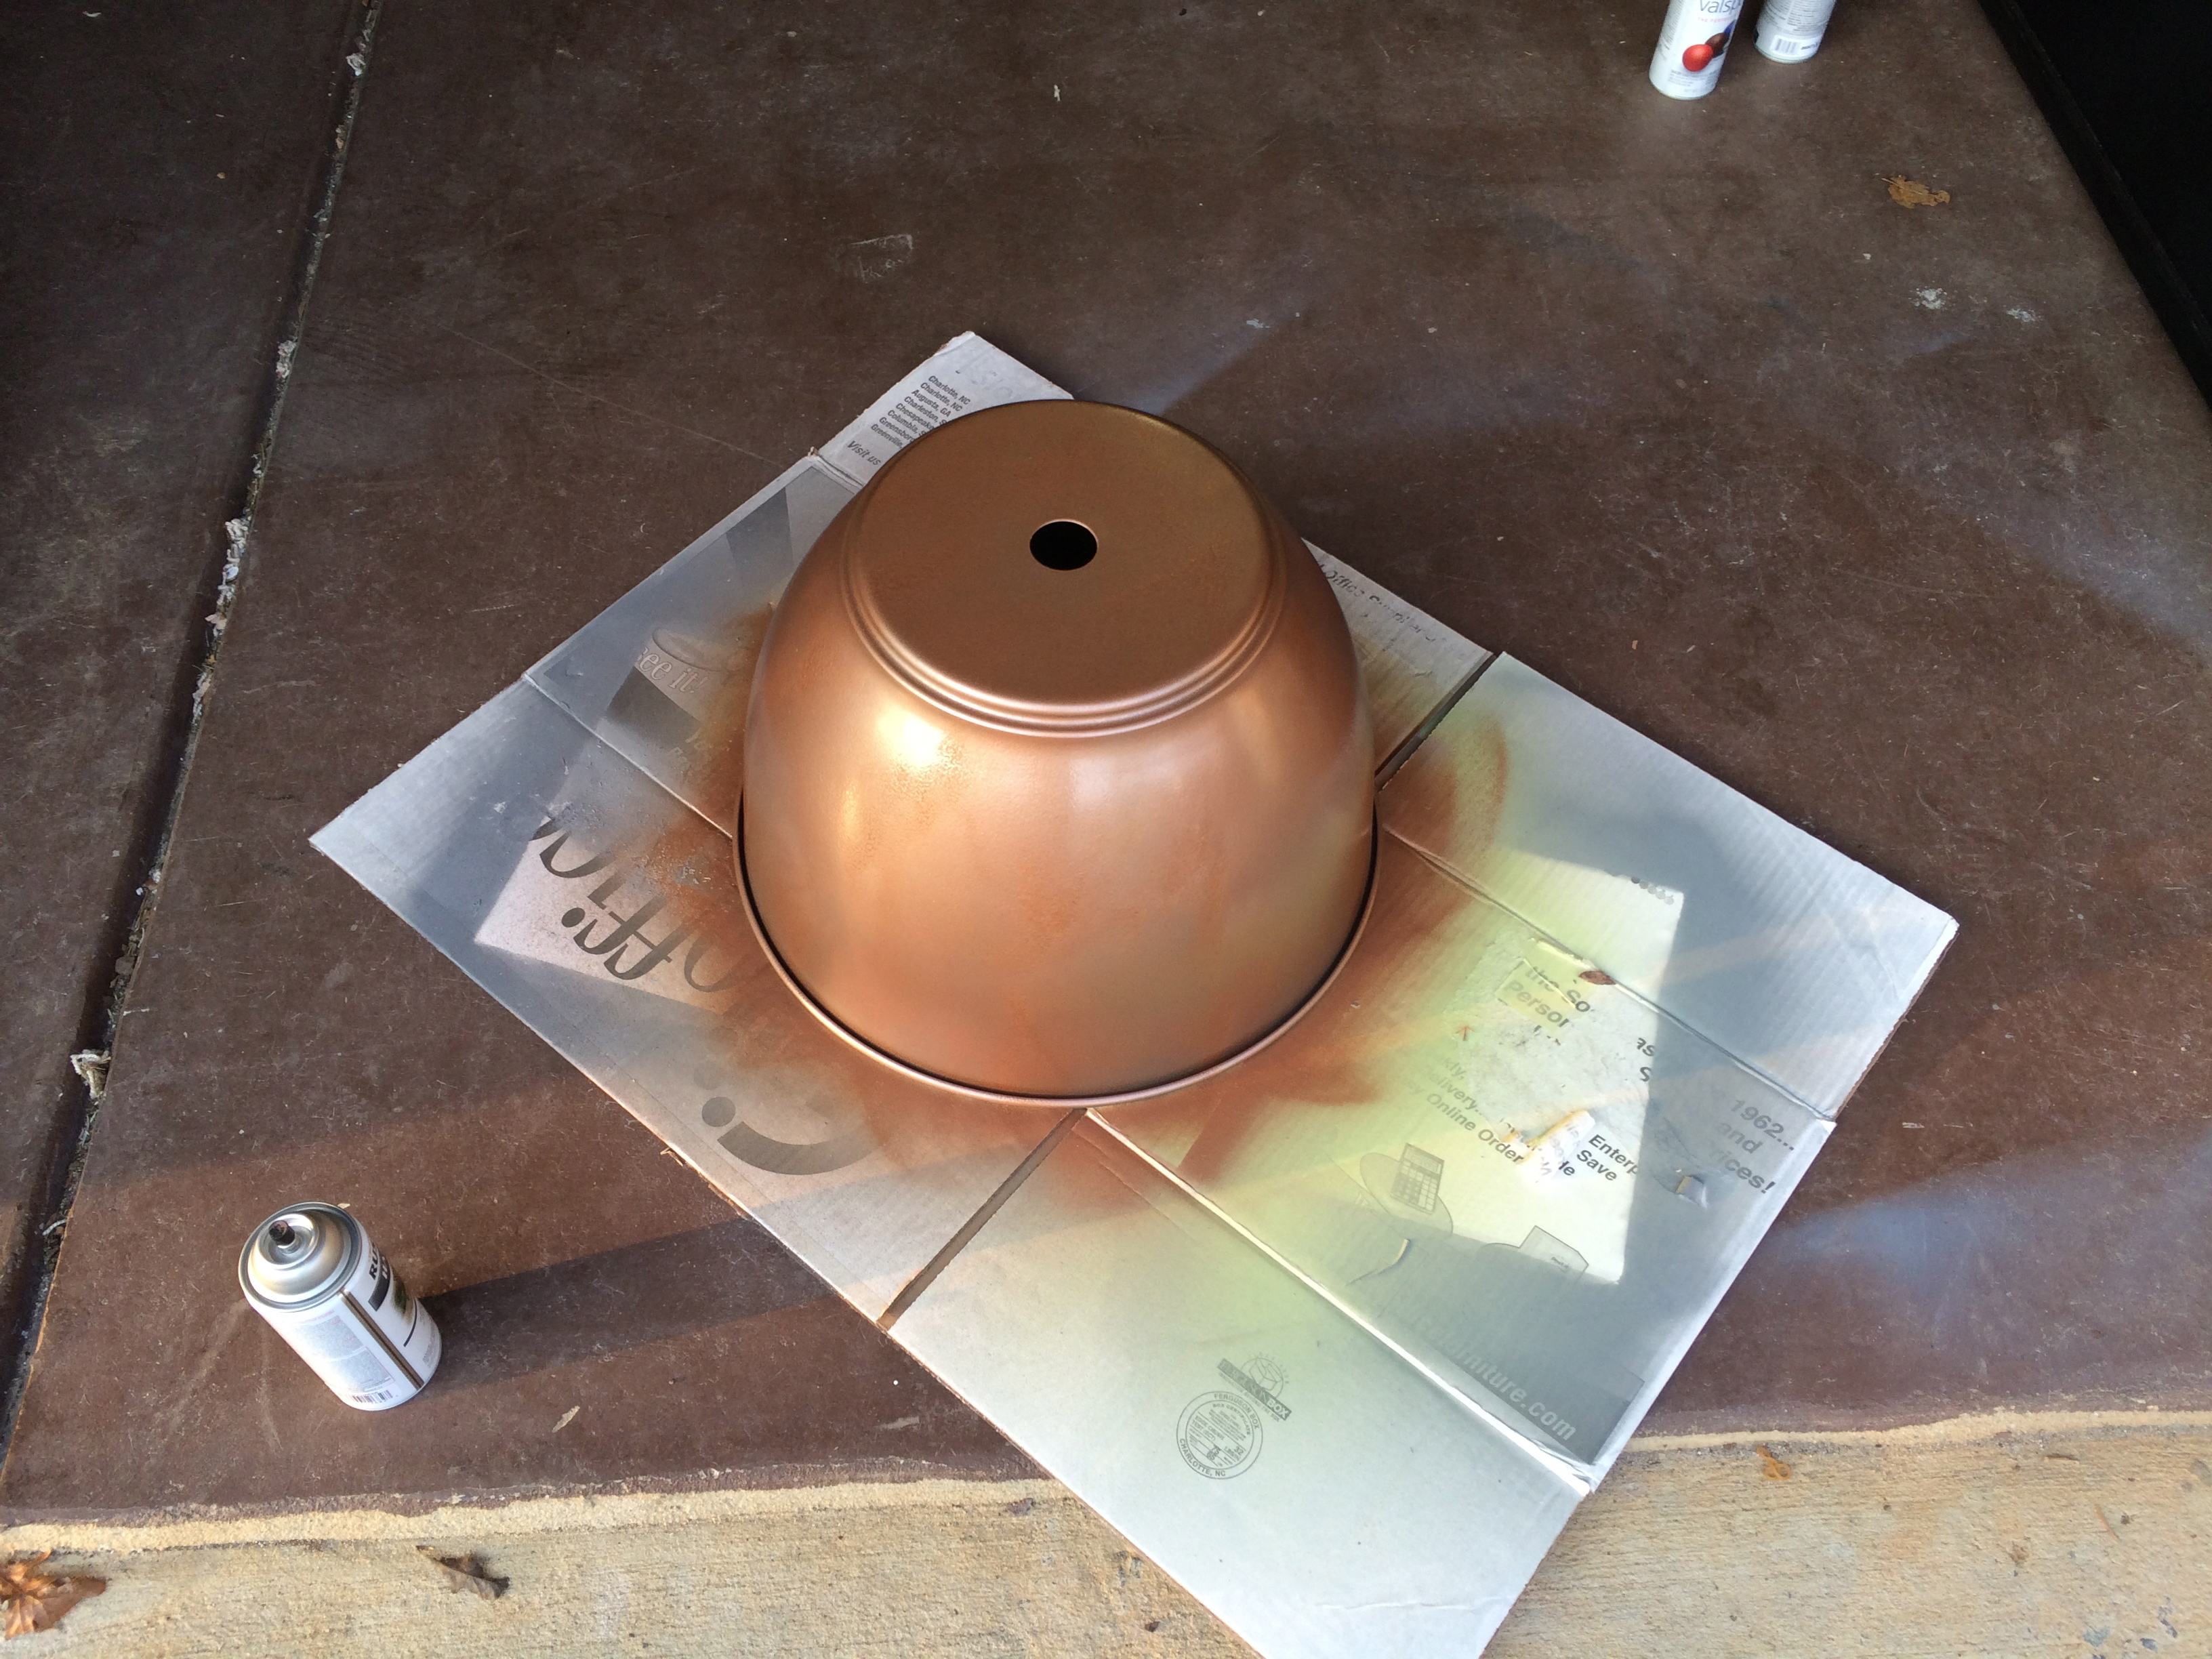
After all coats had dried thoroughly I reassembled the fixture and hung!
All in all, I’m pretty pleased with this piece. I have been tossing around the idea of putting a brighter copper coat on and actually hammering the outside of the light. Mainly because I didn’t quite achieve the texture I wanted. The blue is also a little softer than I would have hoped for. It looks great during the day, but with the light on at night it registers somewhat beige. For what little investment this was I can’t complain though!