Having recently purchased a new home, my husband and I have so many little projects going on. Some we have gotten around to completing, but most continue to be a work in progress. A good friend of mine reminded me to go “slow and steady” when it comes to decorating and renovations, so that’s exactly what I have been (attempting) to do. I did want to share one project that was fairly simple and inexpensive!
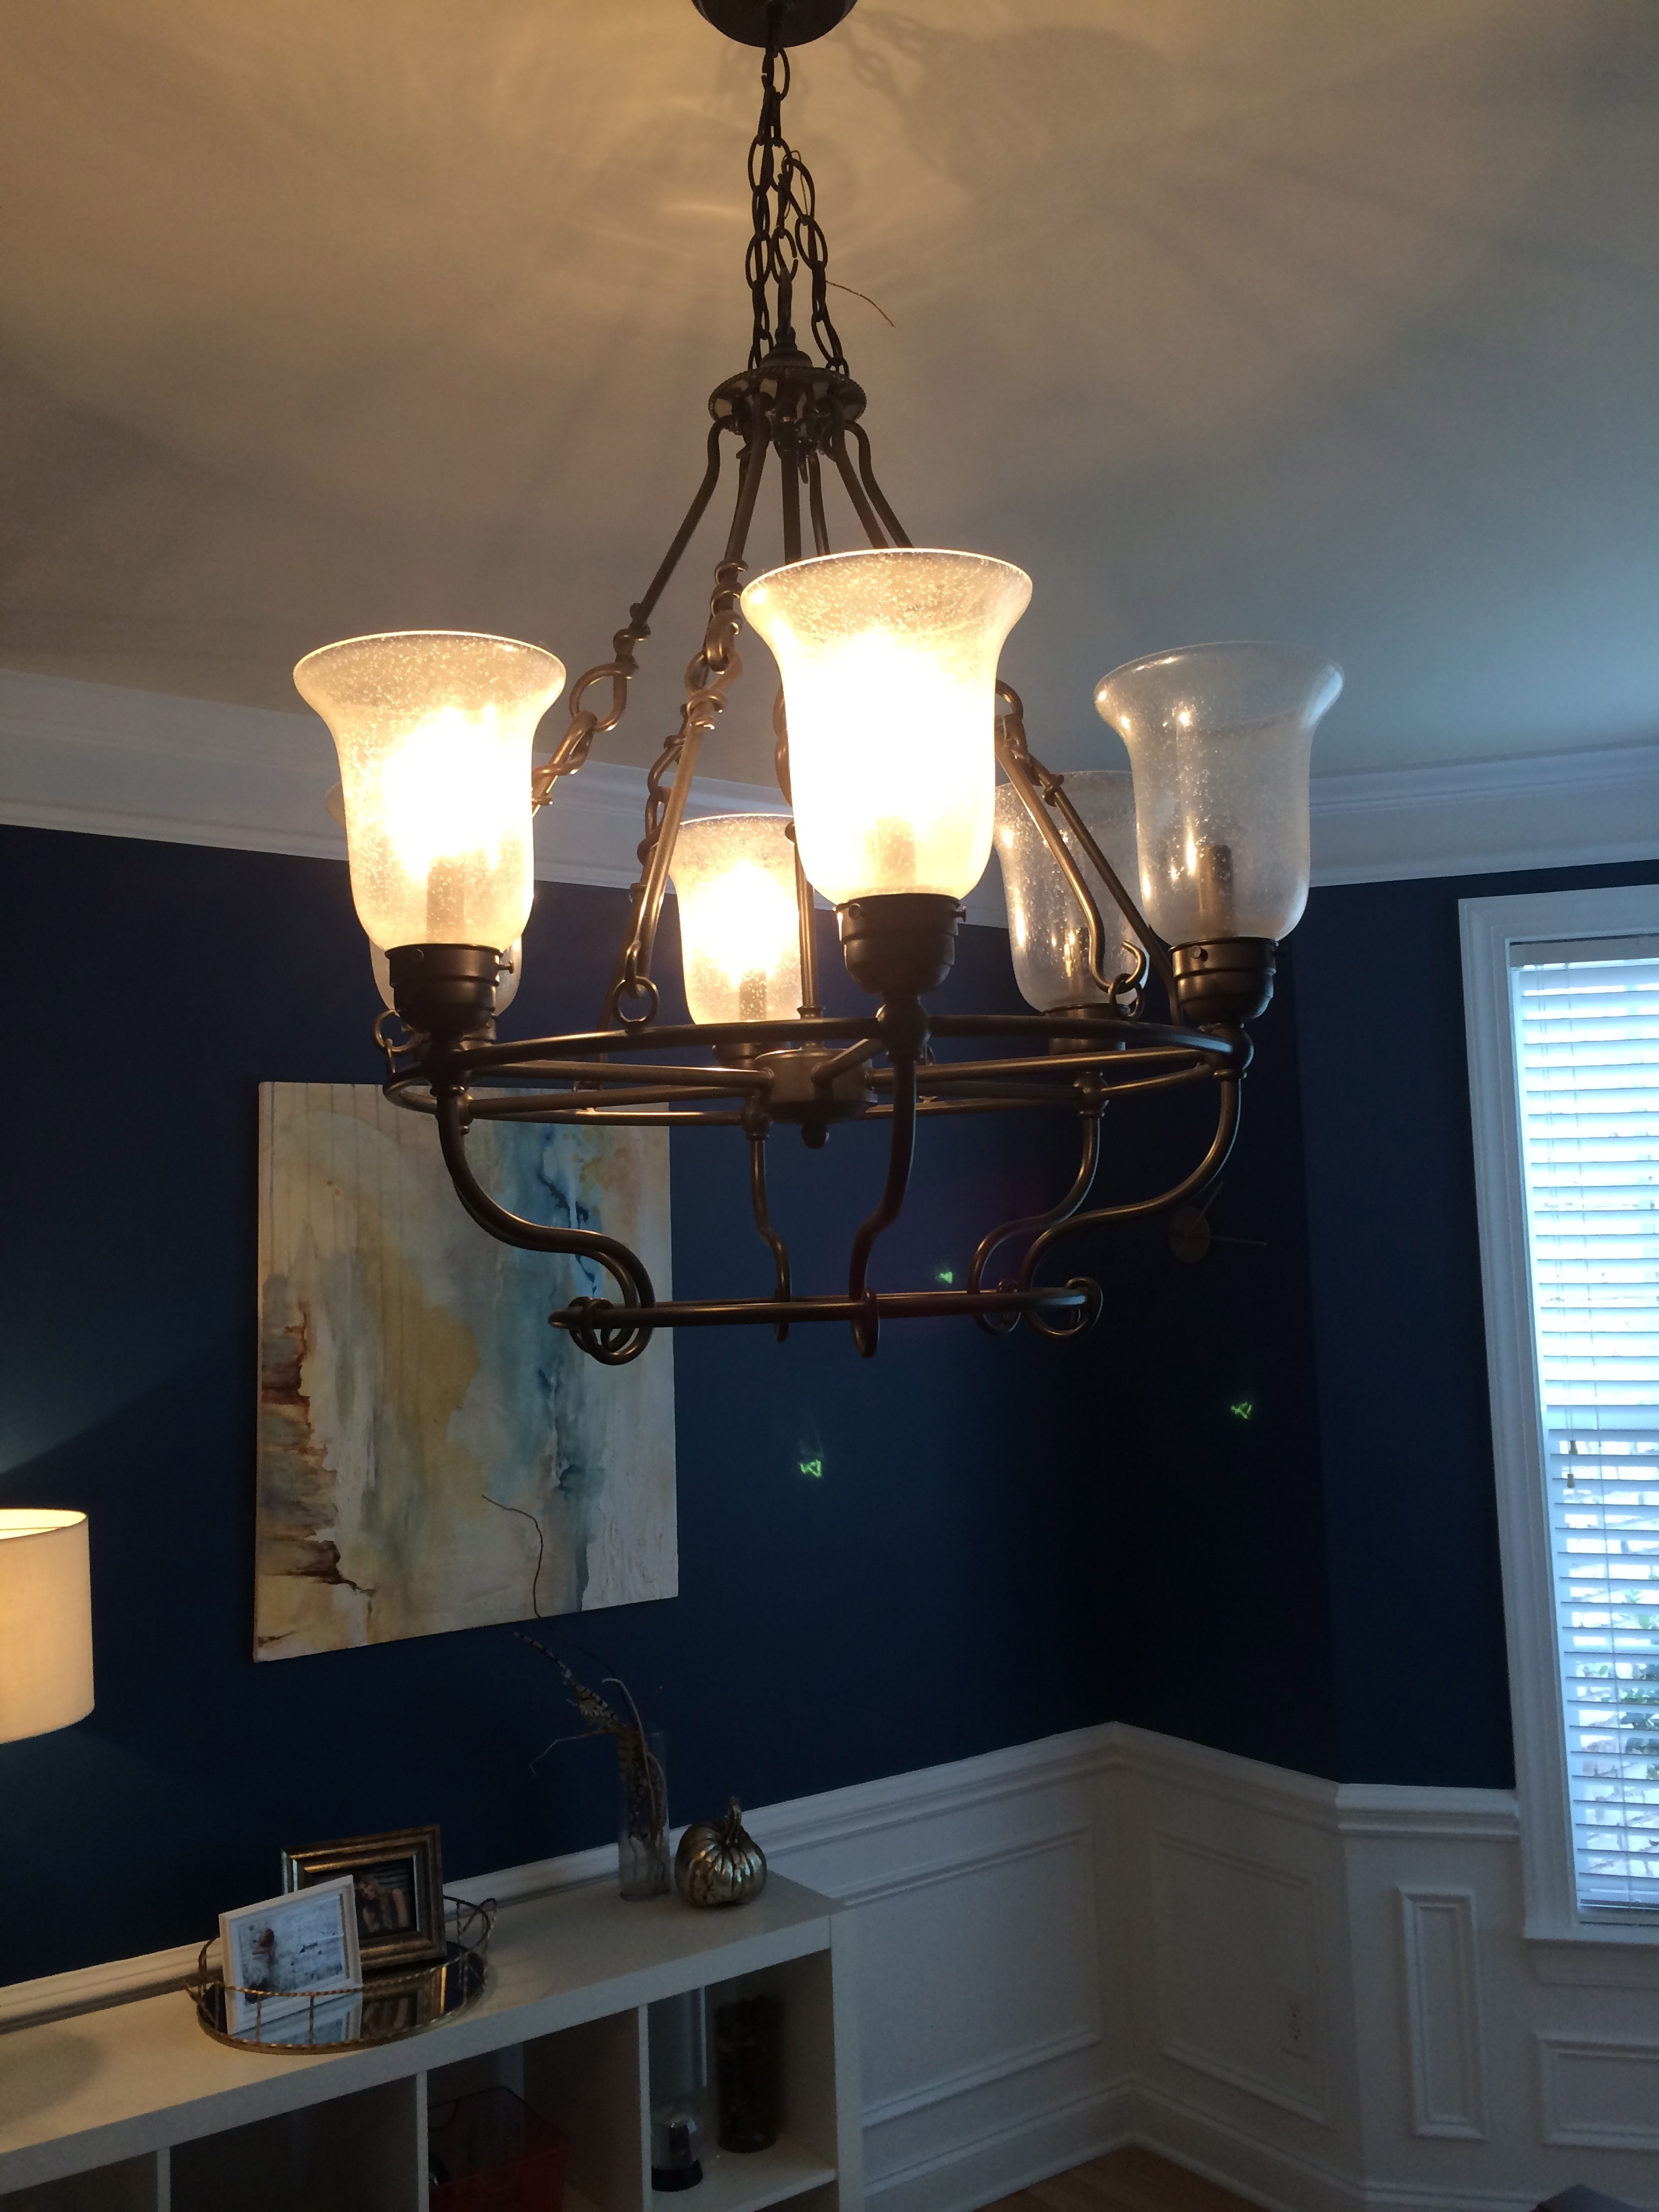
Our home is considerably more traditional than I would prefer, so we have made small changes in decor and details to give it a bit more character. One thing that had to go was the dining room lighting. The old one was just too traditional and a bit dated for my taste. I thought about just painting it and replacing the bulbs, but I wasn’t happy with the height or shape either.
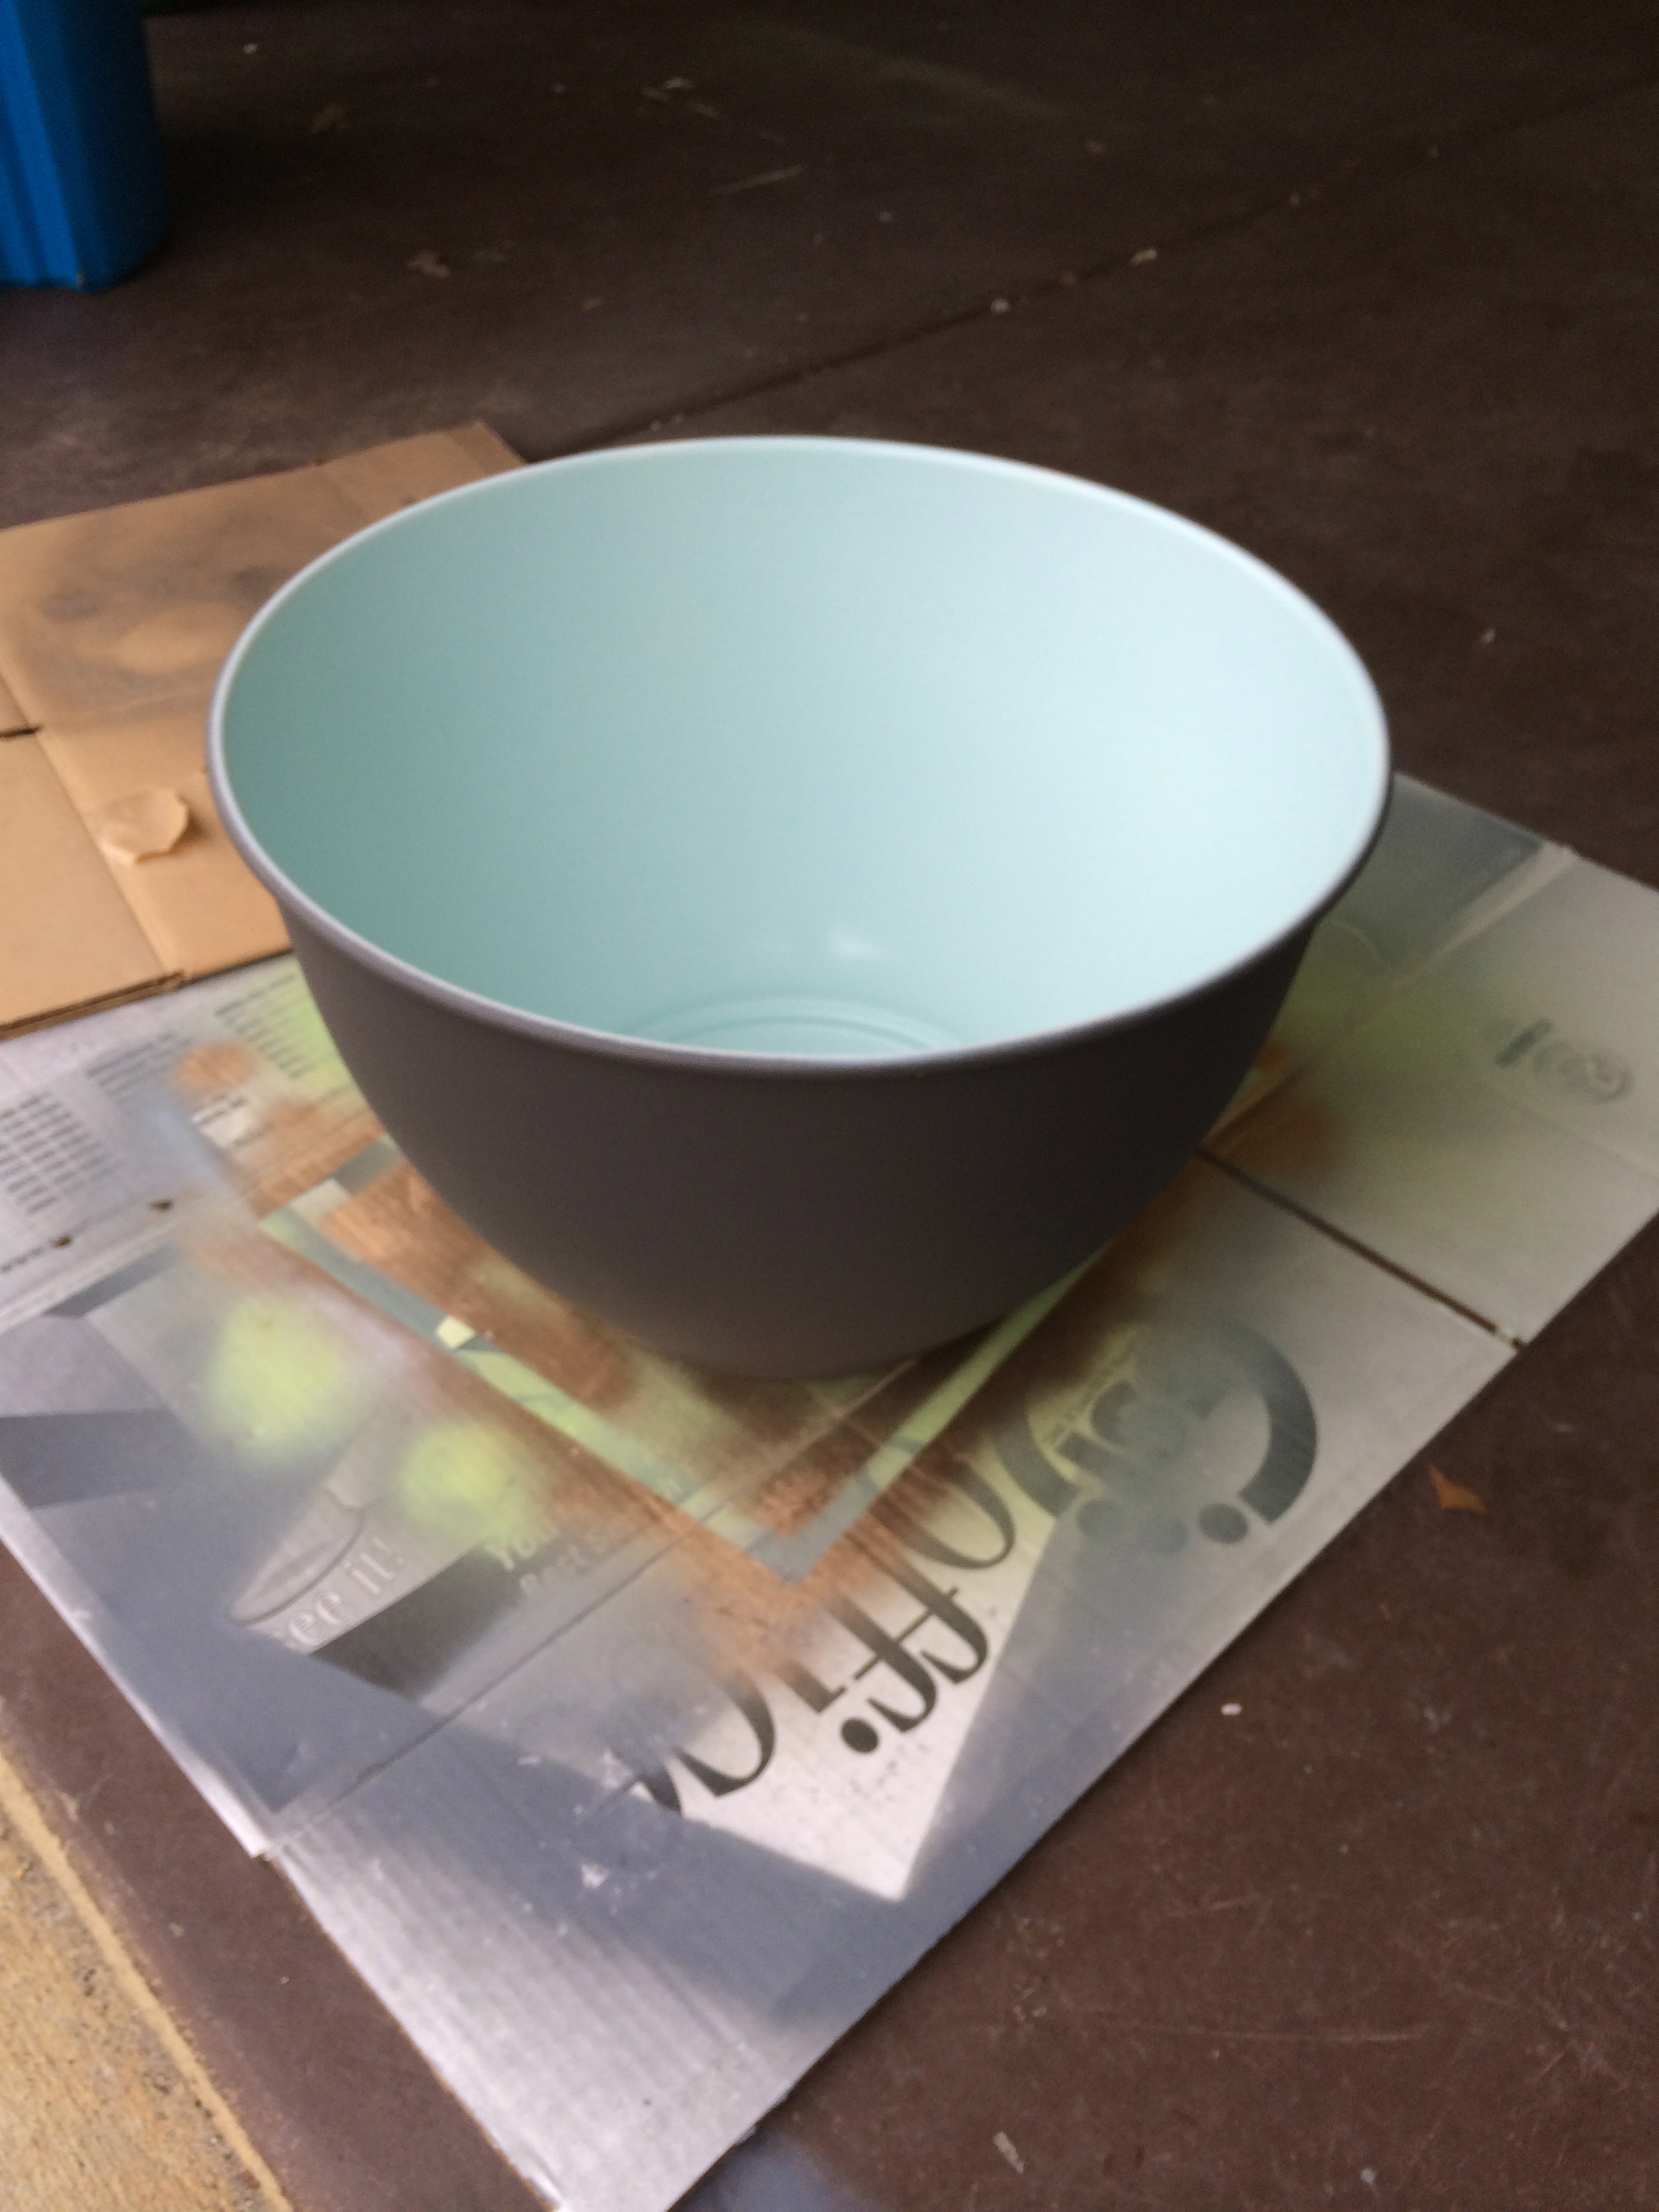
I found a Hektar light from IKEA and although I felt the color was a bit heavy, I liked the shape. So, for roughly $70 I decided I would take a chance and paint it! I purchased some spray paint from Lowes…..a soft Valspar paint for the inside of the light and a textured copper for the exterior:

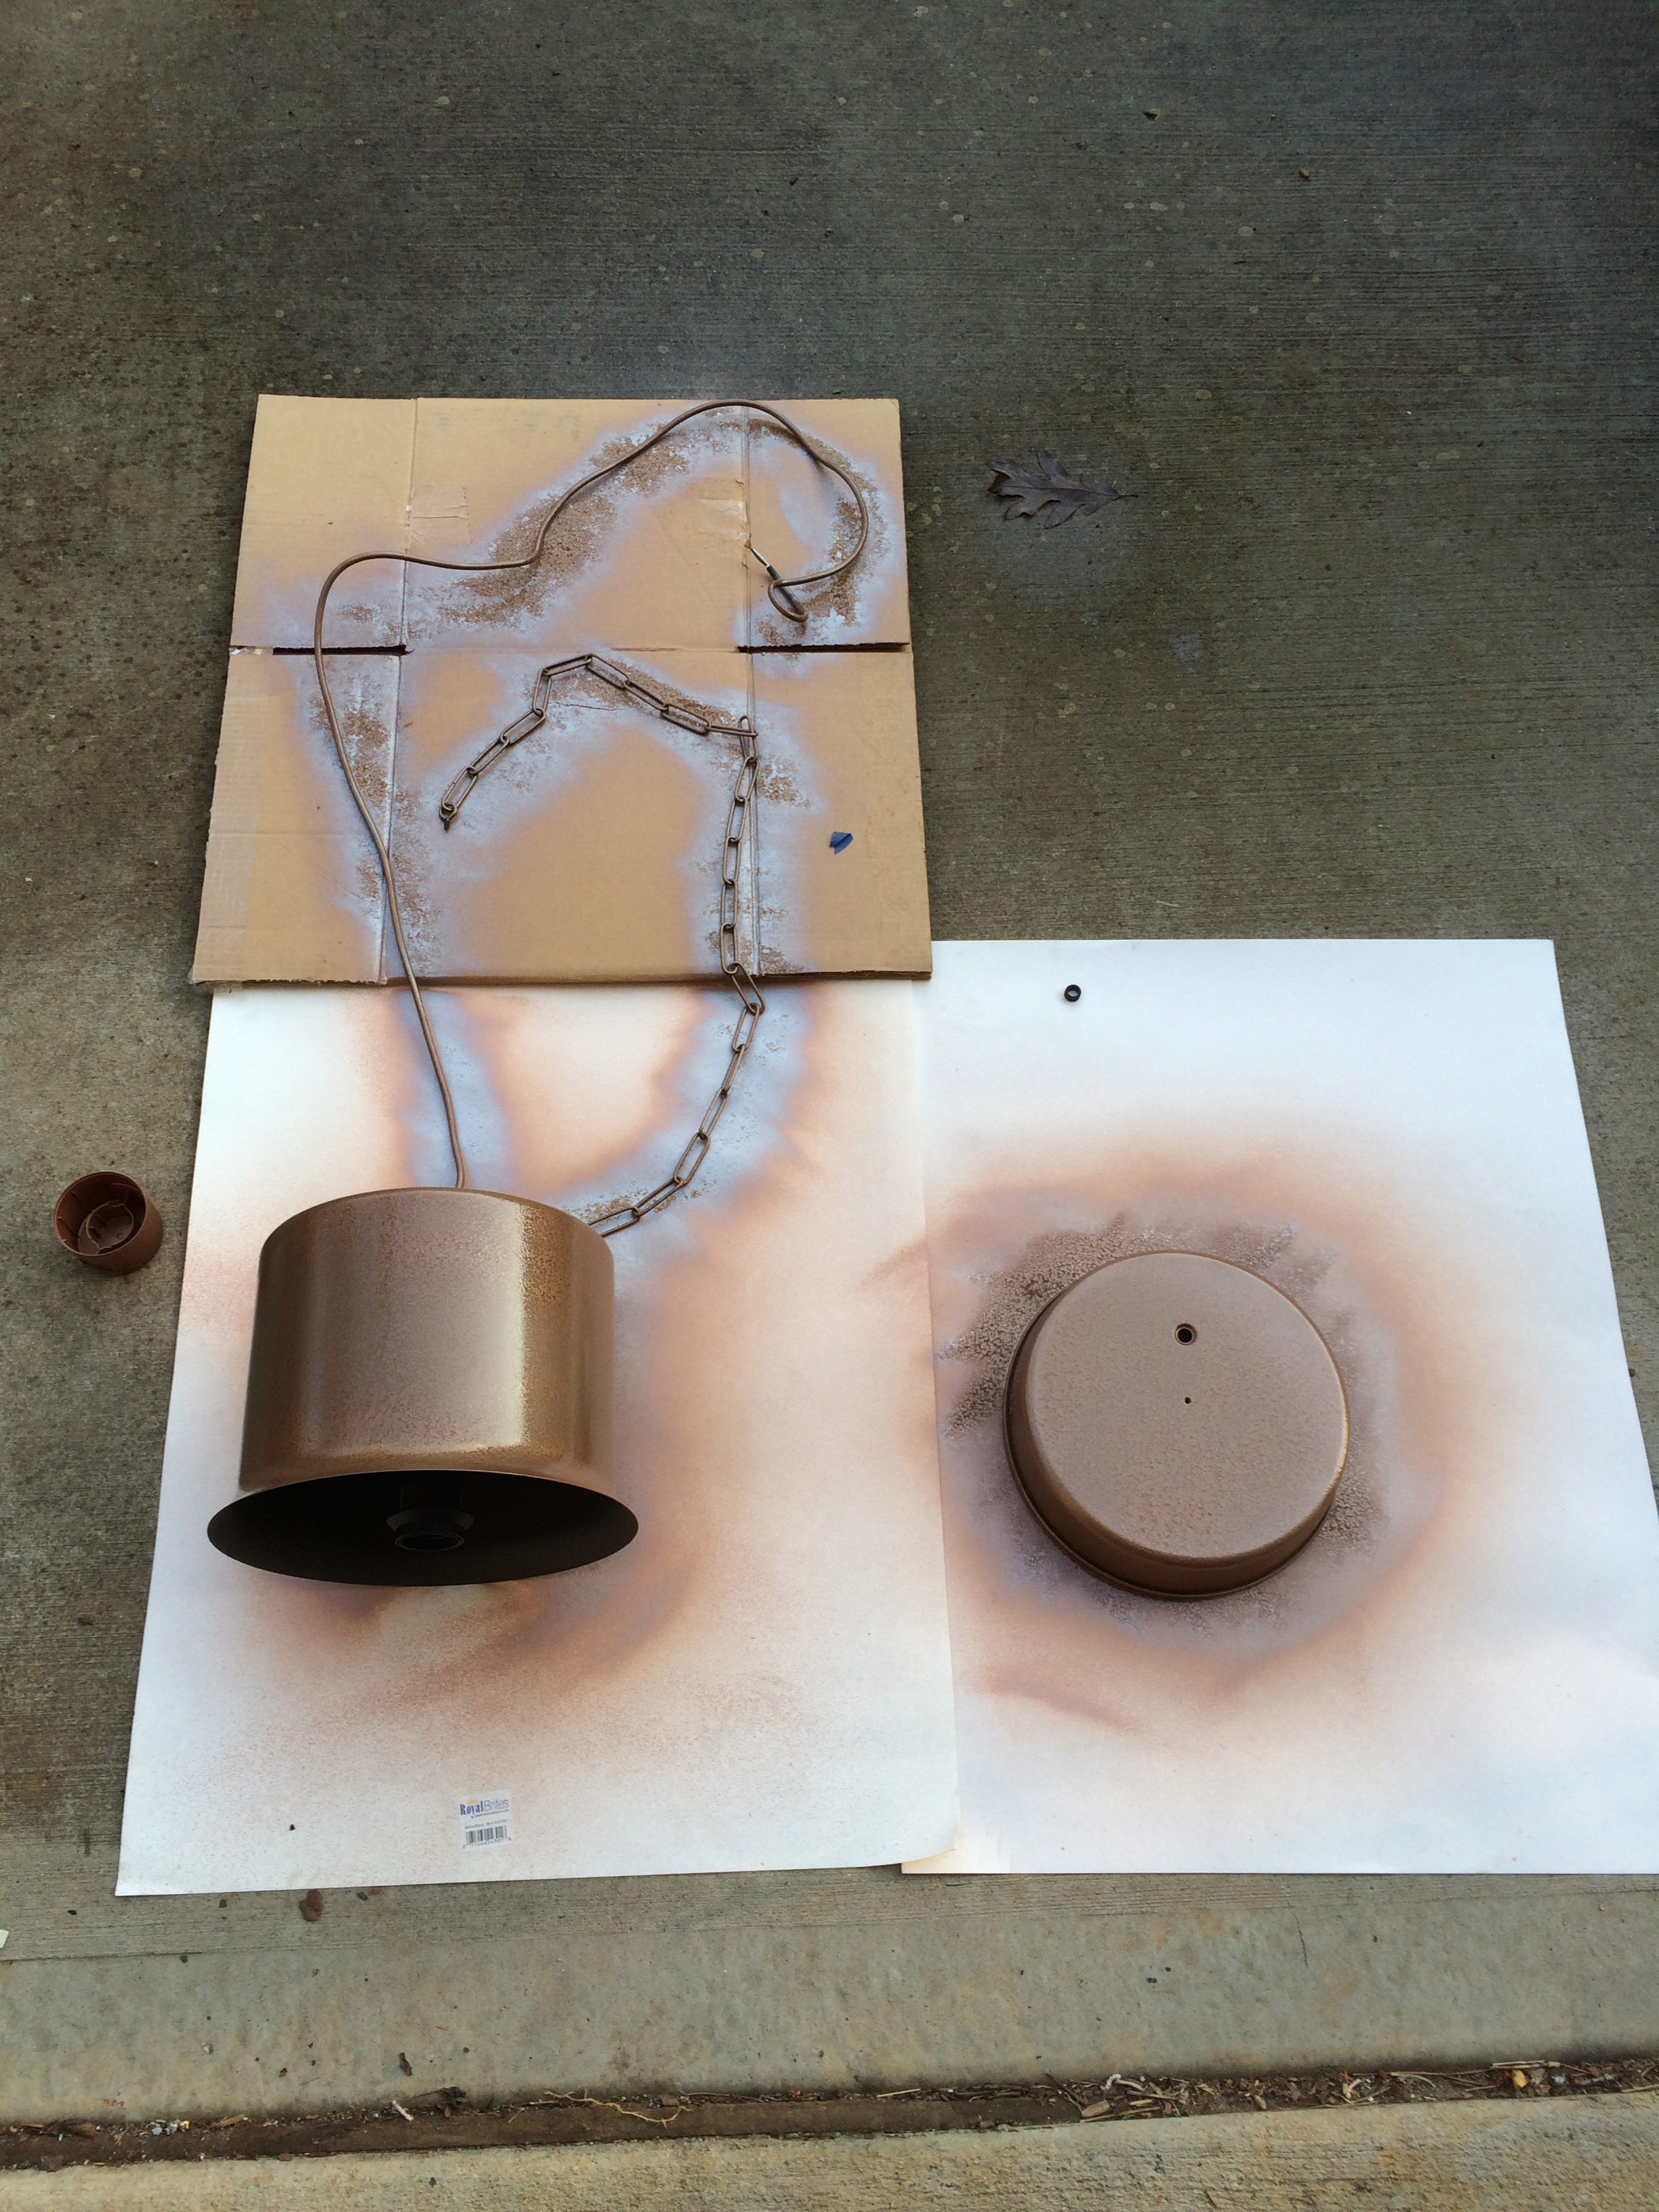
I started by first taking apart the entire light fixture. This would make it easier to paint all the nooks of each piece.
The trick to spray paint is to make several light and even coats. Having said that…..I will confess I am TERRIBLE at this. I always get incredibly anxious and end up rushing the paint. This project was no exception! :/
I painted the inside of the fixture first. I did this primarily because I have the most patience in the beginning of any project and I knew I would need it in order to not have paint drips going down the barrel of the dome.
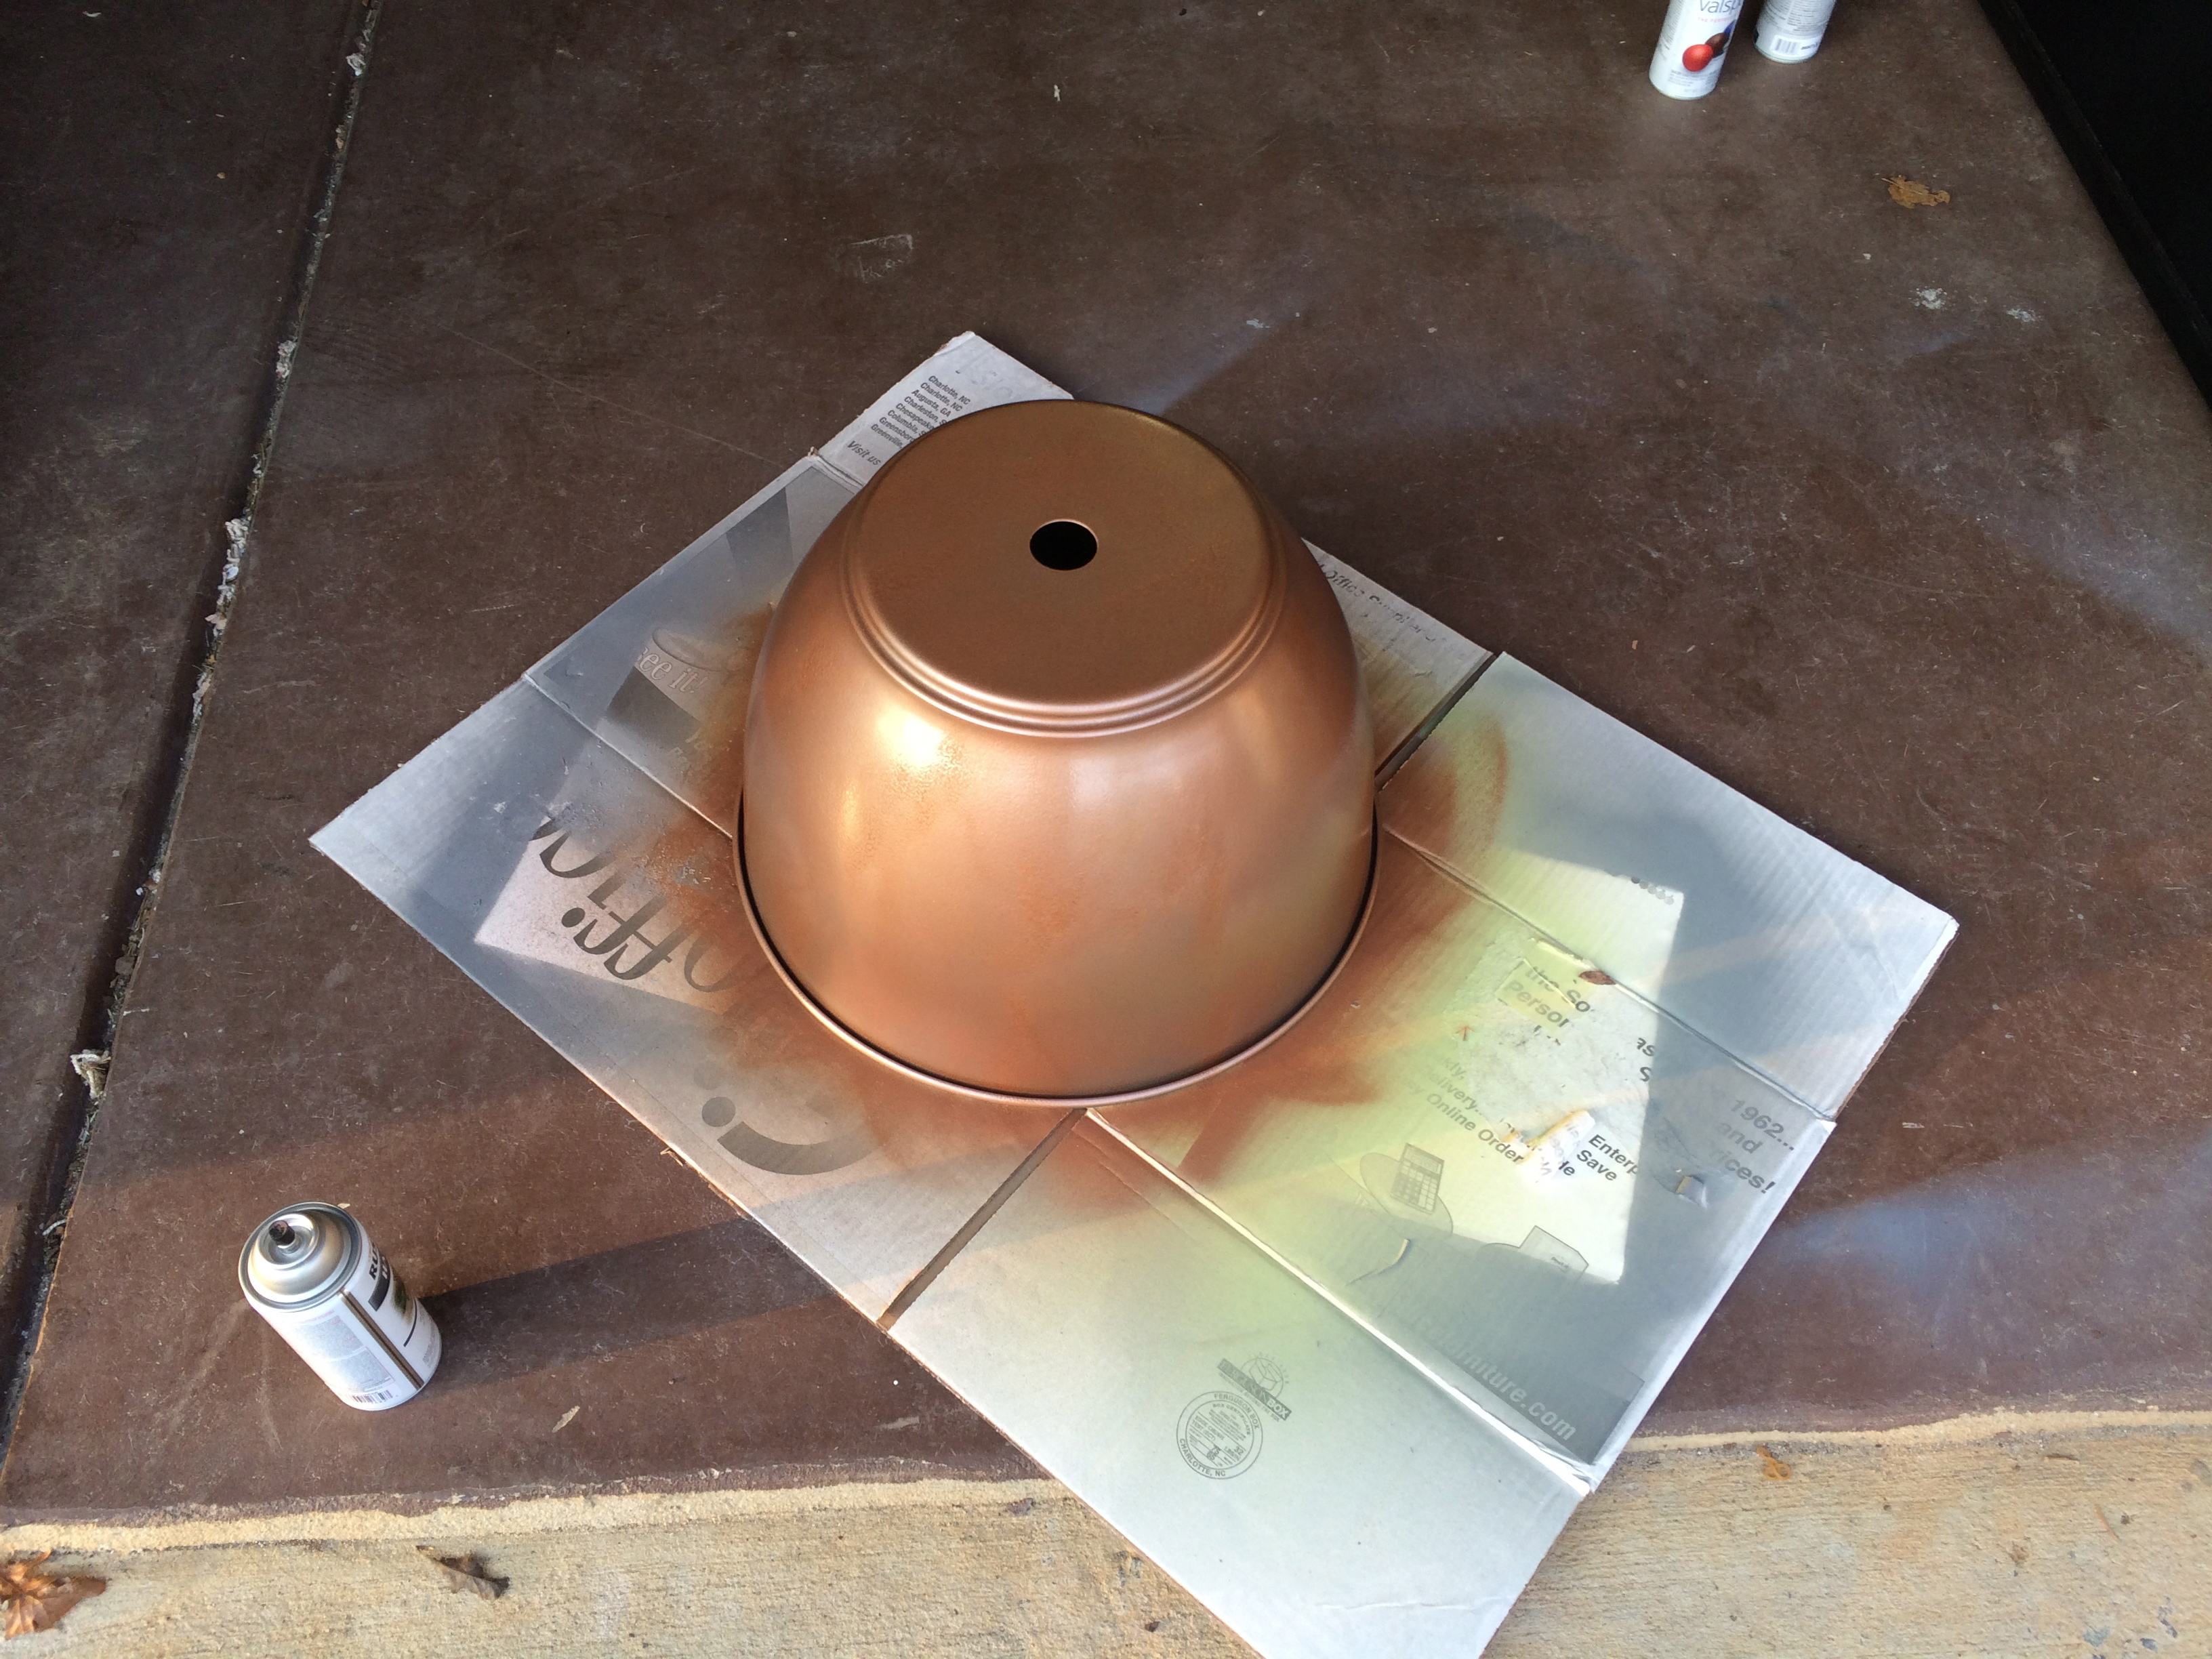
After the blue had dried I flipped the dome over and started the textured copper paint. You can see here that I had to paint several coats in order the get the coverage desired.
After all coats had dried thoroughly I reassembled the fixture and hung!
All in all, I’m pretty pleased with this piece. I have been tossing around the idea of putting a brighter copper coat on and actually hammering the outside of the light. Mainly because I didn’t quite achieve the texture I wanted. The blue is also a little softer than I would have hoped for. It looks great during the day, but with the light on at night it registers somewhat beige. For what little investment this was I can’t complain though!




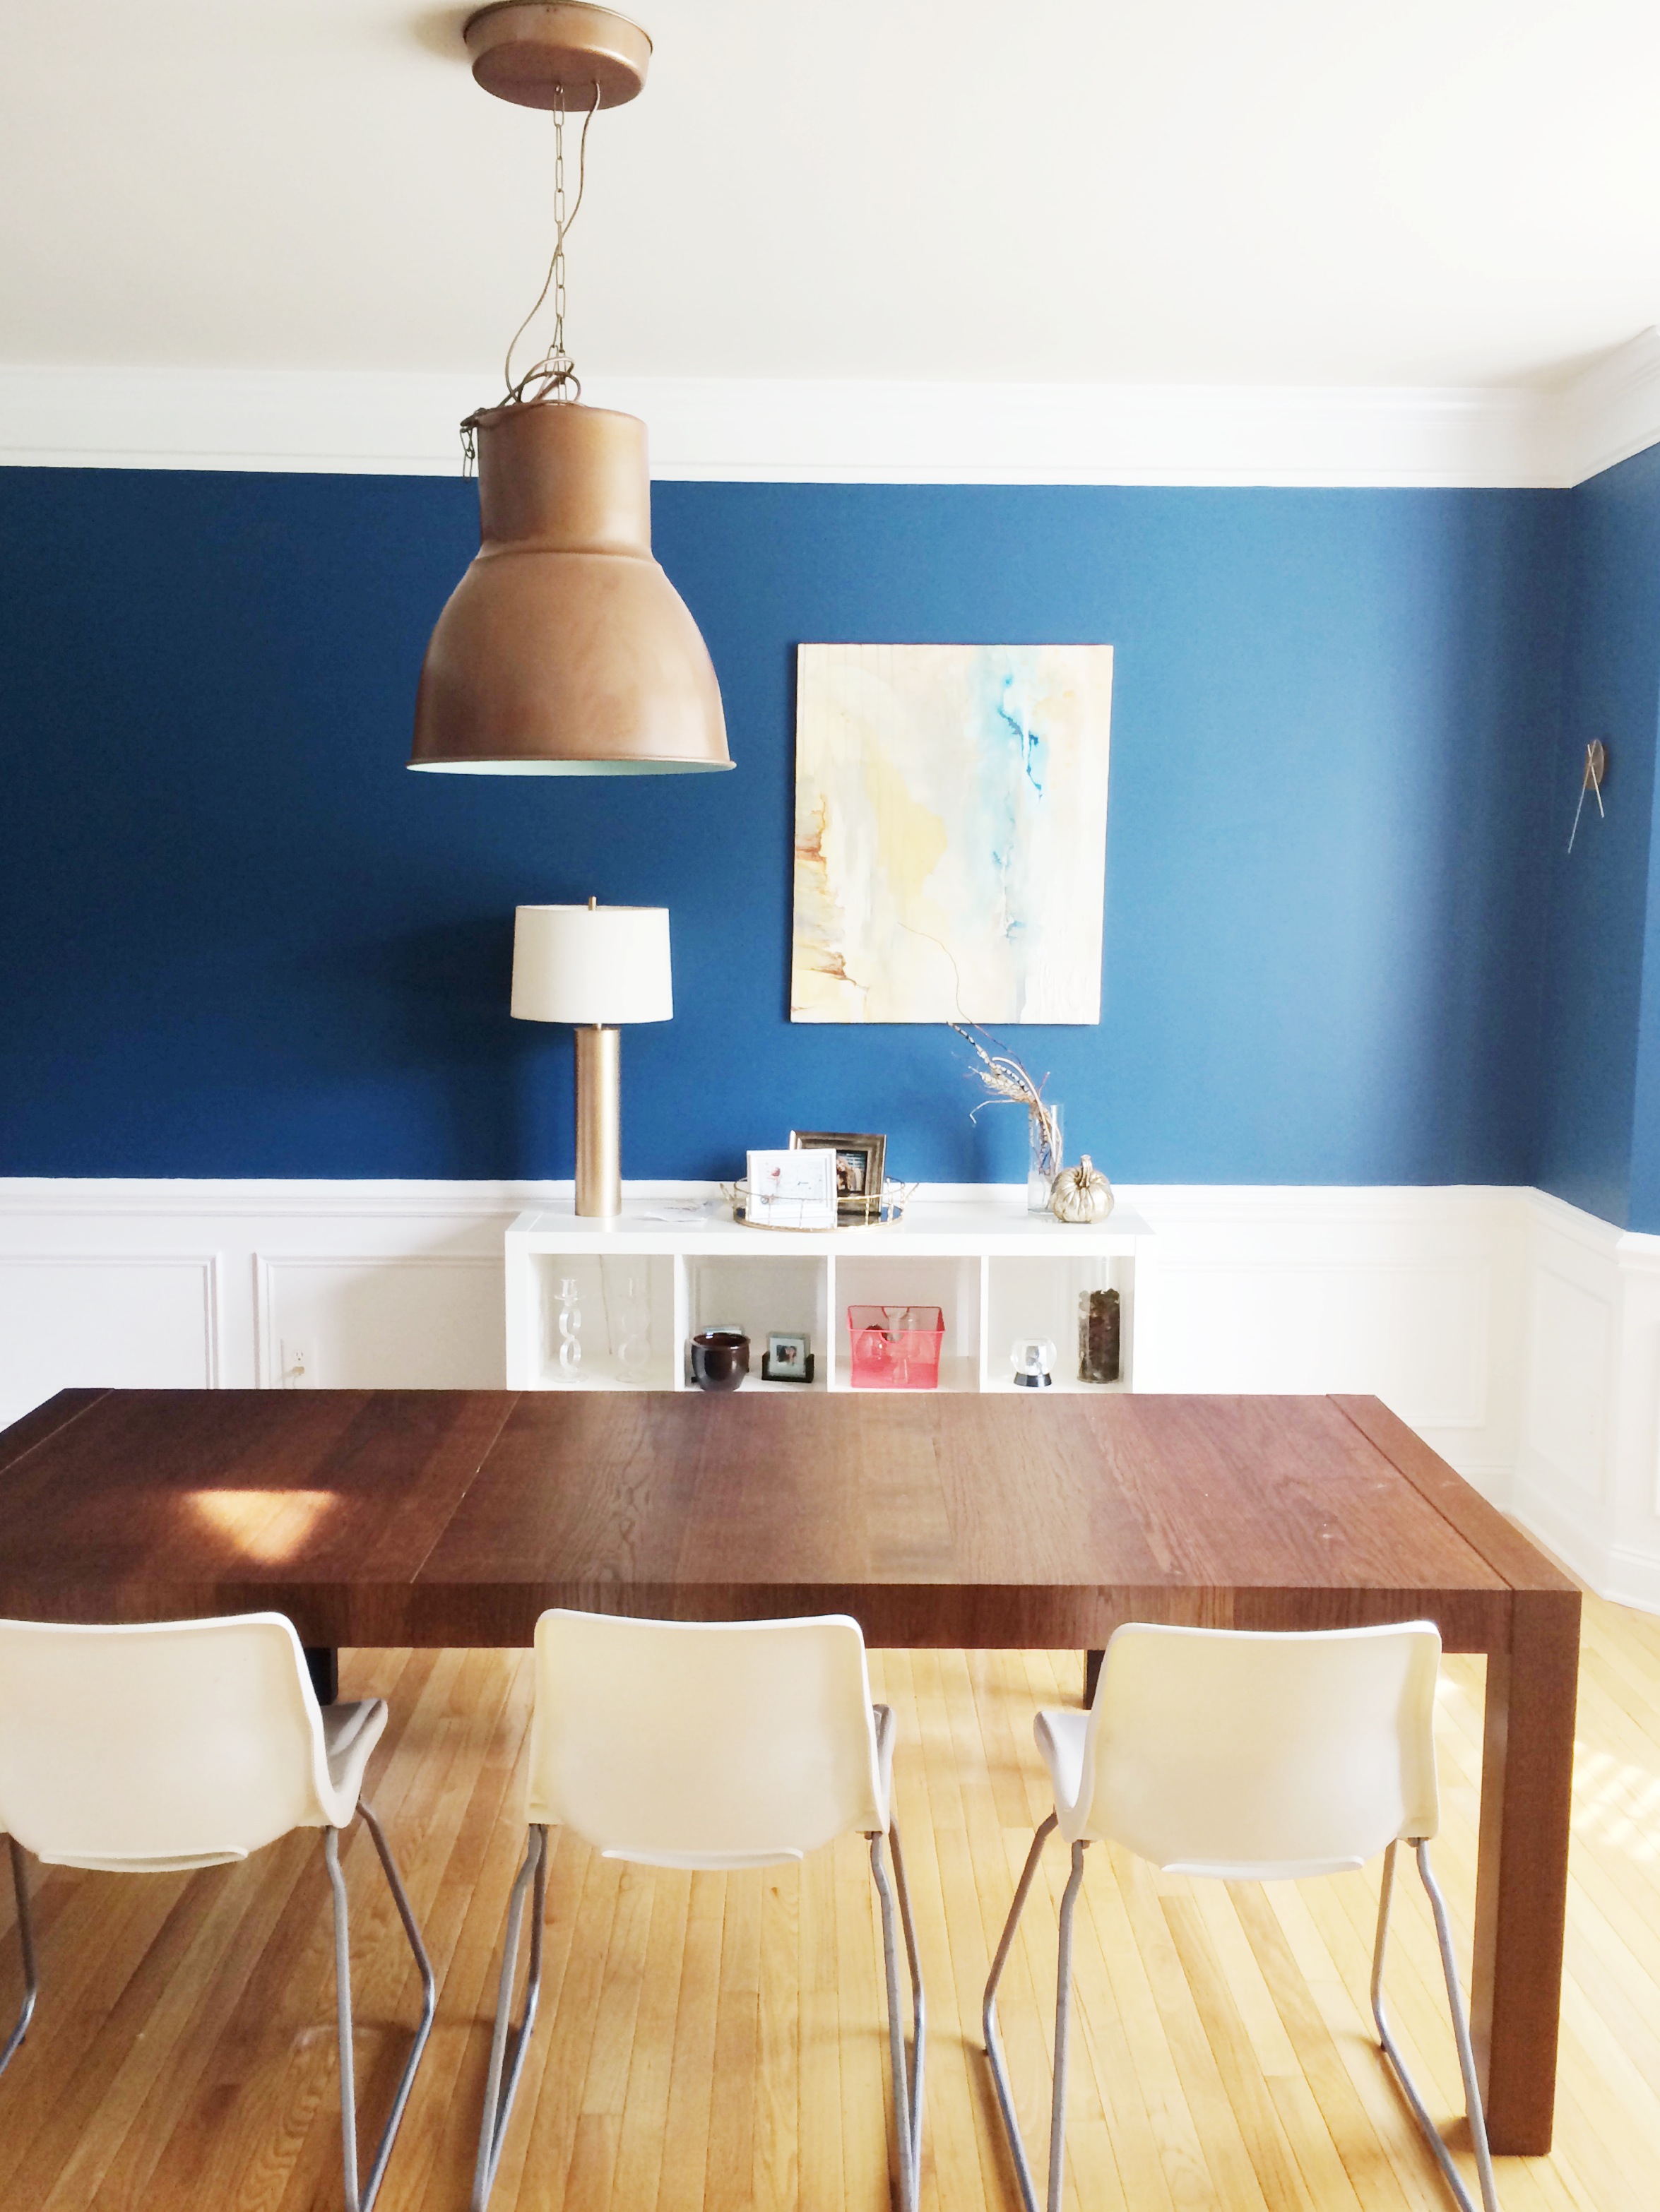





Looks gorgeous!
I also just bought some Hektar lights – the smaller 9″ for above my library table. Problem is that the cords are not long enough to make it over the table from the wall sconce electricity source I am trying to use. (Log home – so relocating a box is tough.)
Any help you can provide on how you took apart the fixture? I spent about an hour twisting and poking at it, and am stumped.
Hi Lesley!
I have not examined the smaller lights, but I am going to assume they are the same as the larger. I did have to take a screwdriver and take apart the top piece (that attaches to the ceiling). Take a look and see if the smaller version has a few small screws……once removed this should let you disassemble to paint or, in your case, add a longer cord! 🙂
Good luck!
Jenn
Hi..
Mean seem really stupid asking this..
But do you have photos of where all the brackets and fitting go.
I’ve recently done the same thing, except I sprayed mine red!
I took off all brackets and firings. And now I can’t remember what goes where.
It would really help me out if you can email me them.
Thanks annie
Hi Annie, Jenn is going to check her camera at home to see if she has any photos to help you out. We will email you! 🙂
Hi, thats a wonderful makeover.
Did you get any of the original paint or layer off before spray painting?
M trying to get it done in a mustard yellow.
No, just extra layers of spray paint!