by Mandi | diy
My wedding is officially 5 months from yesterday… That means it is time to get the save the dates out the door, and for me that means its time for calligraphy – hand addressing all of my envelopes!
I love calligraphy. I have done it for years after learning it from watching my dad and his mother. You can see some of my styles here on my facebook page.
Sometimes however, I do not feel like getting out a special pen. That is how I came up with my easy way to cheat yourself to a calligraphy look. I promise you this is something ANYONE that can write in cursive can do! I promise!

First write out what you want in cursive. This could be someone’s name on an envelope, a quote, a gift tag, etc. For the purpose of this tutorial, I did a quote that is special to me. See easy right! My suggestion is to keep it as simple as you can as there is no real need to get crazy with the letters.
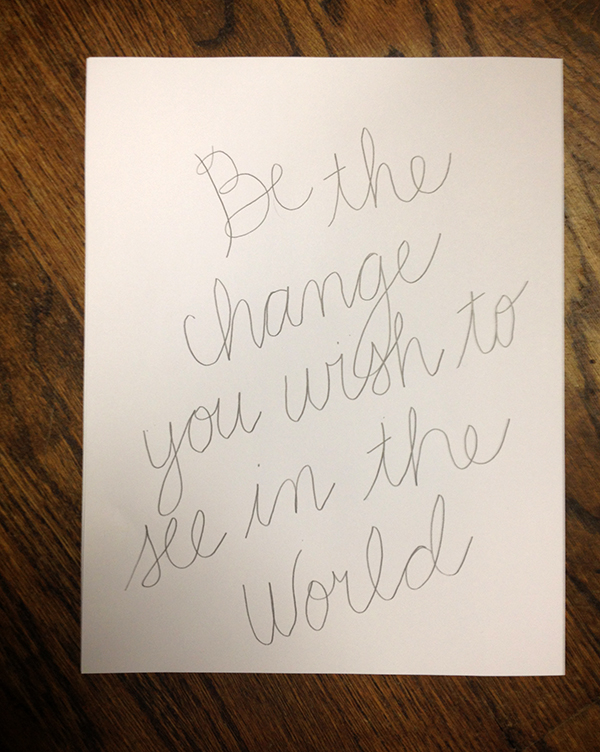
Next you will outline the letters, adding “weight” to them – almost where a shadow would fall. I typically do this on the left hand side of the letters.
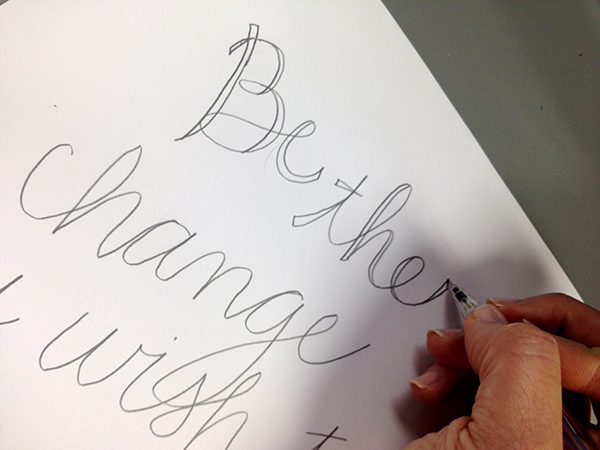
The final product should look something like this. – Nothing special right?
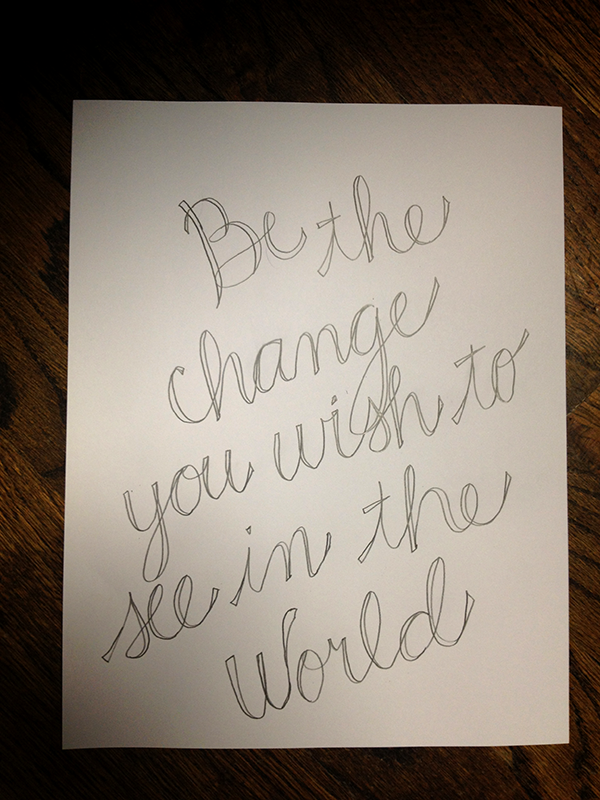
Then just go in and color in the spaces that you created!
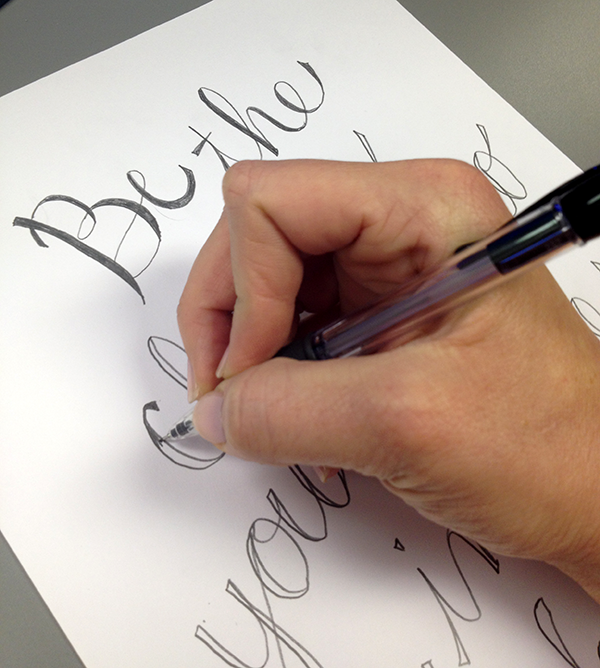
The final product should look like this.
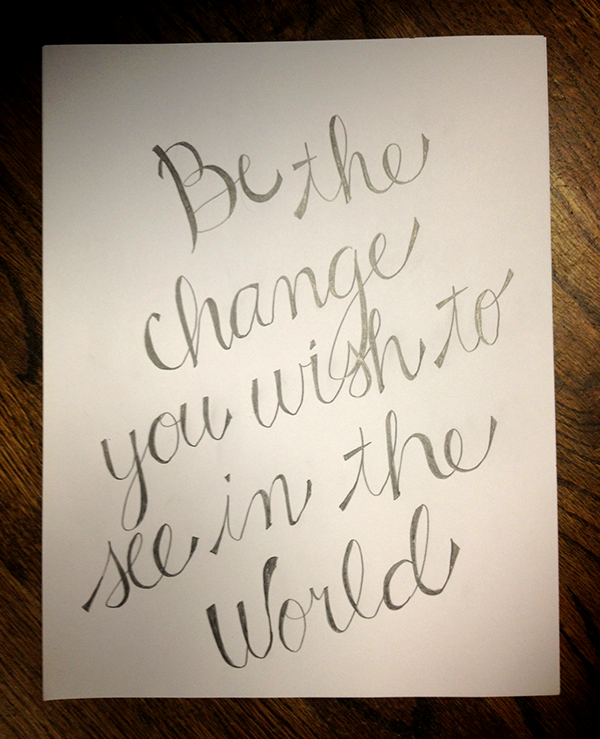
pretty good huh?

I would love to see other tutorials that you have to make easy calligraphy – better yet… do you have any projects that you have done yourself with calligrahy?


by heather | recipes
I hope everyone had a great Thanksgiving! I wanted to share with you one of my new favorite recipes that I made for dessert for the big turkey day feast.
Mini Carmel Apple Pies
(recipe adapted from Just A Taste)

MINI CARAMEL APPLE PIES
Makes about 12 mini pies.
INGREDIENTS:
For the dough:
2 cups all-purpose flour
1/2 teaspoon salt
1/2 teaspoon baking powder
1 cup (2 sticks) cold unsalted butter, cut into small cubes
1/2 cup cold sour cream
For the filling:
2 cups small diced green Granny Smith apples (about the size of corn kernels)
2 teaspoons fresh lemon juice
1 teaspoon cinnamon
1/2 cup sugar
2 teaspoons all-purpose flour
8 soft caramels, roughly chopped
Egg wash (1 egg lightly whisked with 1 Tablespoon water)
Crystal sanding sugar
***You could also use refrigerated pie crust to cut your prep time down. Next time, I think I will do this to make the recipe easier!***
DIRECTIONS:
FOR THE DOUGH
Whisk together the flour, salt and baking powder in a large bowl. Add the cubed butter to the bowl and use your fingers to work the butter into the flour until the mixture is the consistency of wet sand. Stir in the sour cream (the dough will be very wet), and then turn the dough out onto a well-floured work surface.
Knead the dough a few times until it comes together, adding more flour, 1 teaspoon at a time, if the dough is too sticky to handle. Roll the dough into an 8×10-inch rectangle and dust both sides with flour before folding it into thirds as if you were folding a letter.
Rotate the dough 90º and roll it out again into an 8×10-inch rectangle. Fold the dough again into thirds then wrap it securely in plastic wrap and refrigerate it for at least 30 minutes while you make the filling.
FOR THE FILLING:
In a small bowl, combine the apples, lemon juice, cinnamon, sugar and flour, stirring until thoroughly mixed. Set aside.
MAKE THE PIES:
Preheat the oven to 425ºF.
Remove the dough from the refrigerator and unfold it onto a well-floured surface, rolling it out to a 14×14-inch square.
Using a 3-inch circular cookie cutter or cup (I used a pint glass), cut out as many circles as possible. Re-roll the scraps and continue cutting out circles until you run out of dough, ensuring you end up with an even number of circles.
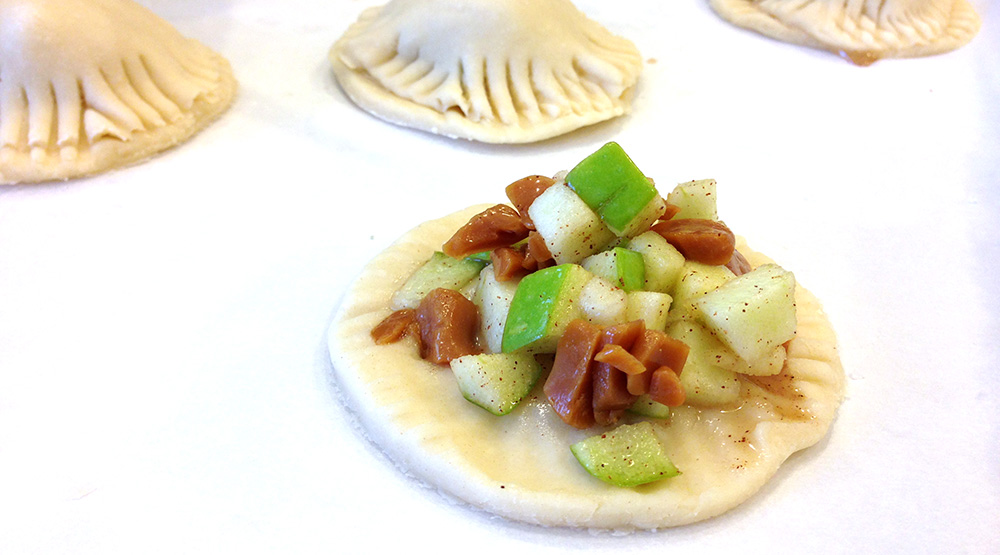
Place six of the dough circles on a Silicone pad or parchment paper-lined cookie sheet. Spoon a small portion of the apple filling into the center of each circle, leaving enough of a border around the filling. Top the apple filling with some of the chopped caramels. Place a second dough circle atop each filled circle then use a fork to crimp the edges together, sealing each pie.
Brush each pie with the egg wash, and using a sharp knife, cut two or three vents on the top of each pie. Sprinkle the pies with crystal sanding sugar.
Bake the pies for about 15 minutes, or until they’re golden brown.
Remove the pies from the oven and allow them to rest for 10 minutes before serving.
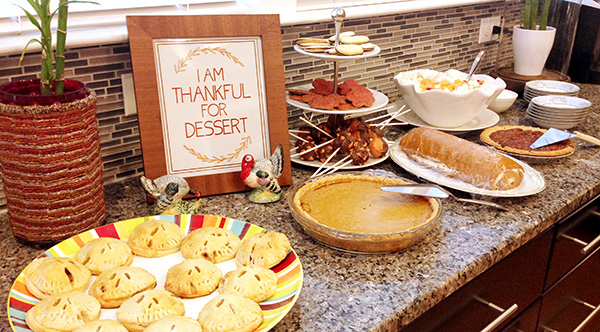
We had quite the dessert bar for Thanksgiving! Complete with the “I am thankful for dessert” free printable posted last week.
Have you gobbled up all of your Thanksgiving leftovers yet? Now, only 23 days until Christmas!


by Mandi | quotes and toasts
I love the holidays. I love Christmas, the buzzing around to find gifts the food, the crisp air. I was always the girl that couldn’t wait until the day after Halloween – this was the day I would allow myself to start listening to Christmas songs. I would put my radio on the holiday station and wouldn’t change it until December 26.
Well… that all changed when I met The Mister. His favorite holiday is Thanksgiving. To him, this is one holiday where it isn’t about gifts, or buzzing around to get everything inline. It is the one holiday that is dedicated to family, to coming together to eat amazing food we all prepare with love and just be… nothing else! Just be thankful that we are all together.
With that said… I haven’t listened to many christmas carols. I haven’t even bought many christmas gifts. I am taking this month to enjoy this often overlooked holiday – Thanksgiving.
Now… you better believe as soon as the last bite of turkey has been eaten and we head out to do our Black Friday shopping, I will listen to Christmas music, I will come home and decorate my house and it will be full on CHRISTMAS…. but until then… I am Thankful!
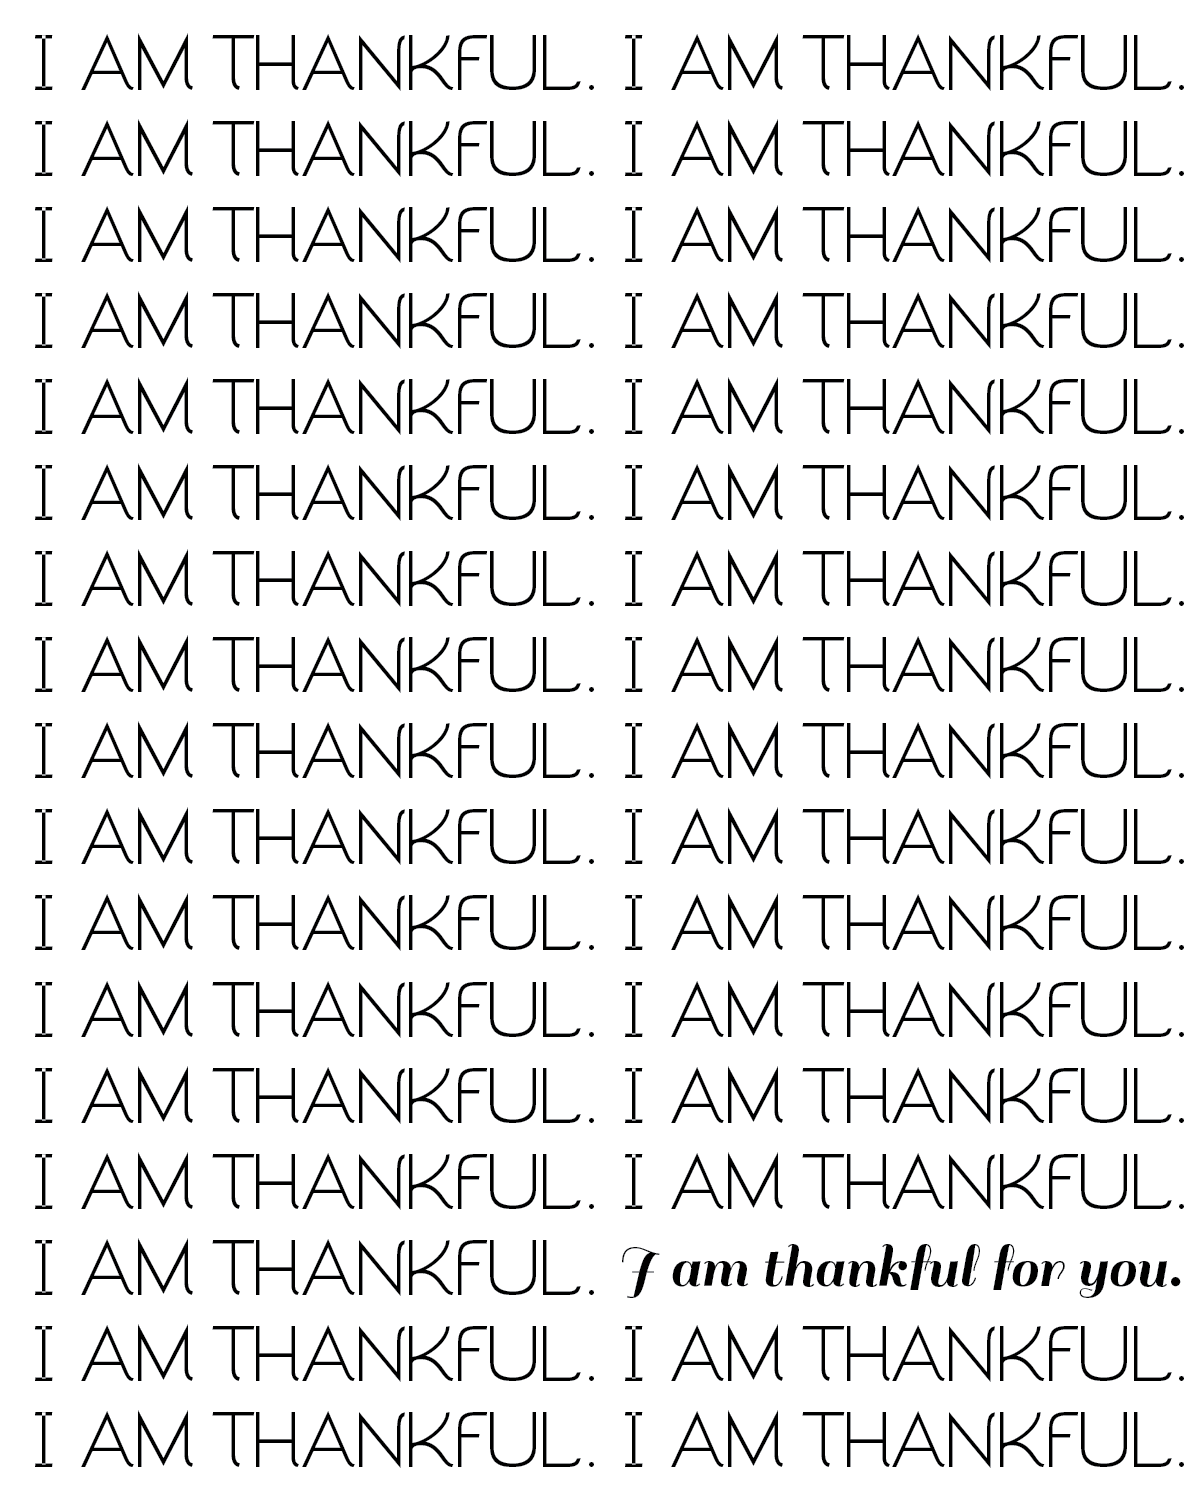
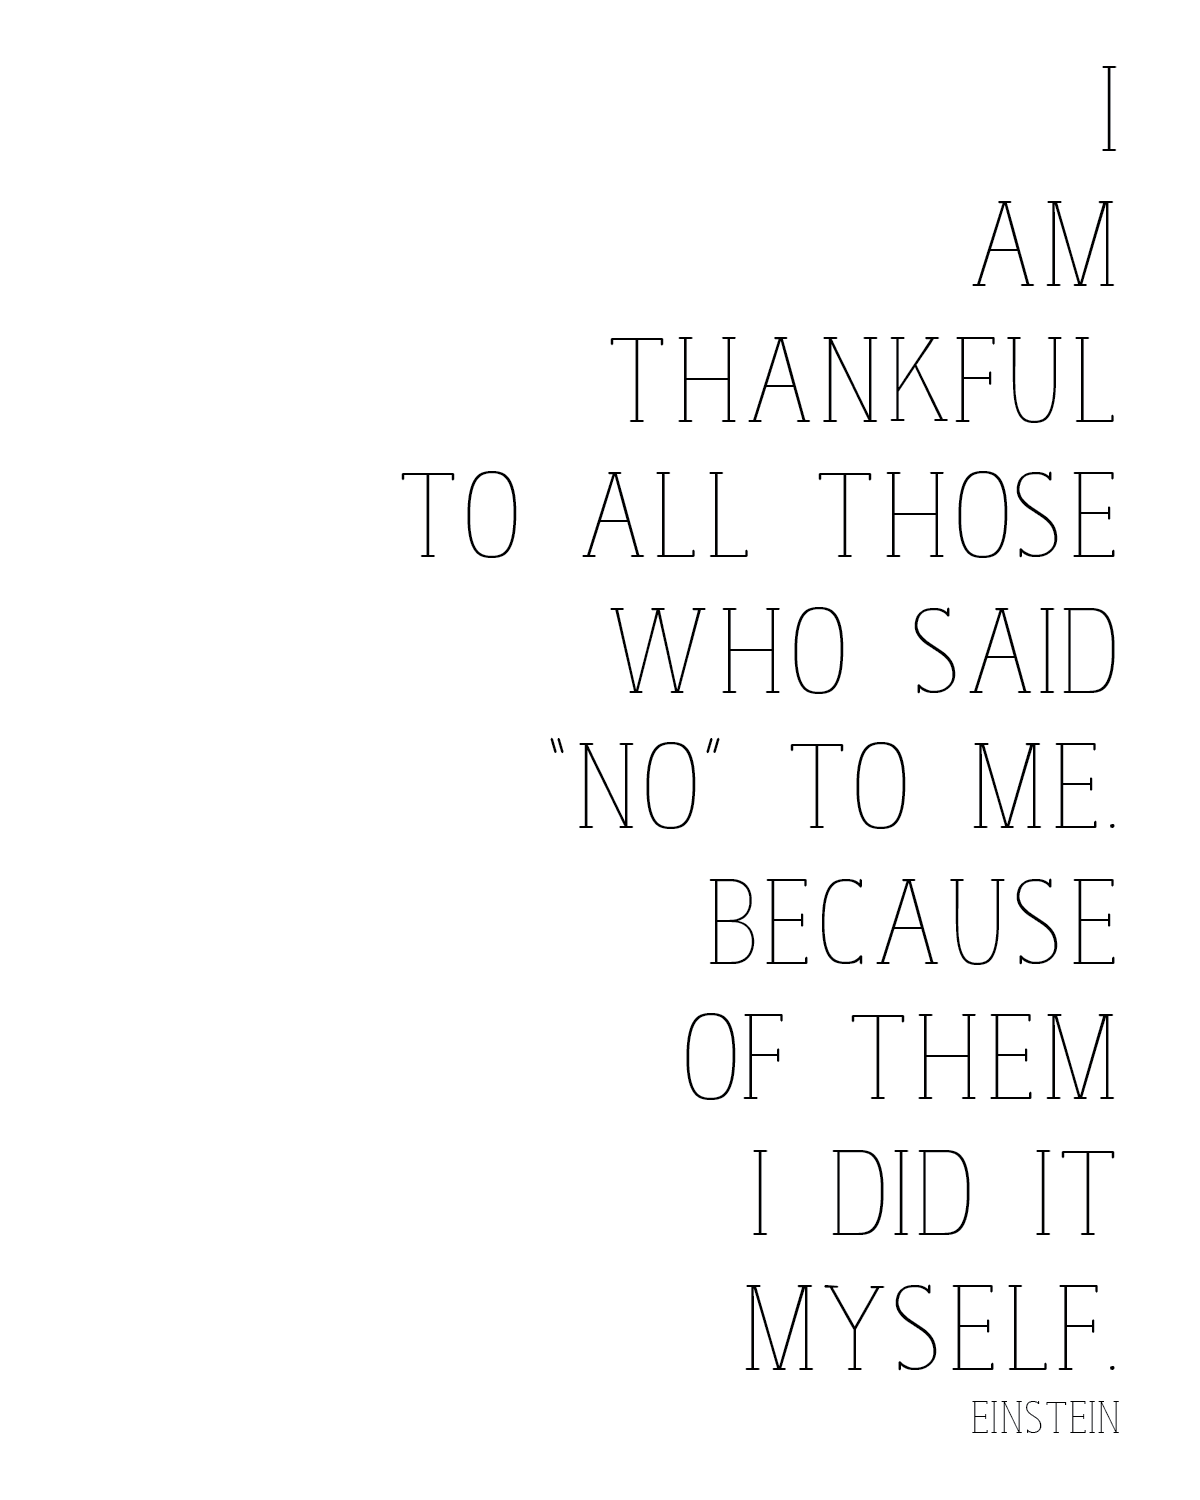
Just for fun, I created a few 8×10 printouts. You can use these for Thanksgiving or anytime of the year!
ENJOY!
Click on the image to get the full download size. If you have any questions, please email me!
