
by heather | fun finds, quotes and toasts
Happy Monday everyone. I don’t know about you, but it is a gloomy day here in Charlotte, NC with thunderstorms. I’ve been trying to readjust to east coast time this morning, after just returning from a fantastic vacation at Lake Tahoe. Promise to share more about the trip next week!
This beautiful video of flowers opening in timelapse perked me right up! Enjoy 🙂
Flowers opening timelapse from David de los Santos Gil on Vimeo.

And, It’s Monday. Don’t Forget to be AWESOME!

by Guest | featured guests, recipes
Today rounds out my amazing week of guest blogging for Sunny Slide Up! I’ve had a wonderful time sharing some of my favorite recipes and hope you will feel inspired to be experimental in your kitchens! Speaking of experiments, here is one more recipe that will knock your socks off: Homemade Fruit Roll-ups
I imagine almost everyone has a favorite childhood memory with fruit roll-ups involved. I loved eating Fruit by The Foot and Gushes galore! Now that I’m grown up (ah hem, sort of) I avoid eating packaged products with ingredients that are unnatural and contain preservatives, chemicals, and dyes. Needless to say, those old gummy friends and I have parted ways. Instead, I prefer to put the fruit back into fruit roll-ups by making my own at home using all-natural ingredients that taste great and are an overall healthier choice.
Homemade fruit roll-ups are easy to make and a great wholesome snack! I used a mix of strawberries, raspberries, and blackberries for this recipe, and I encourage you to personalize the recipe by using your favorite fruits. Strawberry and peach are both popular flavors. There is a time commitment needed to create these fruity and fun snacks (5-7 hours), but the satisfaction of making your own and eating well is worth the wait.
Homemade Fruit Roll-ups
Ingredients:
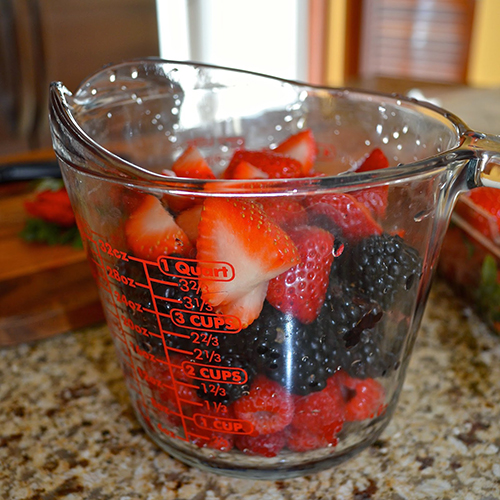
- 3 cups berries (I used a mix of raspberries, strawberries, and blackberries)
- 1/2 cup unsweetened apple juice or water
- 1 tablespoon lemon juice
- 1/2 tablespoon lemon zest
- 1 tablespoon Agave (organic honey or granulated sugar work also)

Directions:
Preheat oven to 150 degrees or the lowest temperature your oven will go. My oven go as low as 170, as long as the temperature is 200 or under your fruit roll-up will dehydrate properly. Line a baking sheet with a Silpat or parchment paper and set aside.
Combine all ingredients in a saucepan over medium-high heat. Simmer for 20 minutes, until the berries have popped and the liquid has thickened.
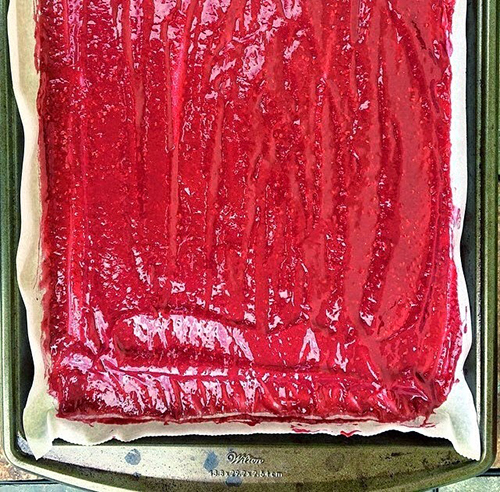
Pour the hot mixture into a blender and blend until smooth. Pour the fruit mixture onto the baking sheet and use a spatula to spread the mixture evenly, about 1/4 inch thick.
Place baking sheet in the oven and bake for 5-7 hours. You will know they’re done when you touch them lightly with your finger and they are no longer sticky. If the edges get a little too brittle and dry, you can brush a tiny bit of water over it and will be good as new.
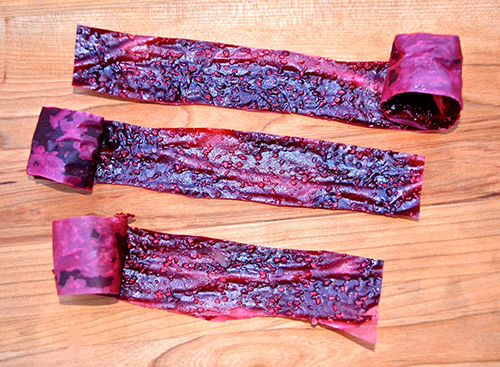
Remove from oven and let cool to room temperature. Cut into squares or strips using a pizza cutter, knife, or scissors. If you want to make fruit roll-ups, roll the strips in parchment paper. Store in an airtight container.
Referring link: https://sunnyslideup.com/homemade-fruit-roll-ups-alivia-jane/
Thanks for having me Sunny Slide Up! Be sure to stay in touch with Facebook, Twitter, Instagram and Pinterest. Happy eating everyone!

by Guest | featured guests, recipes
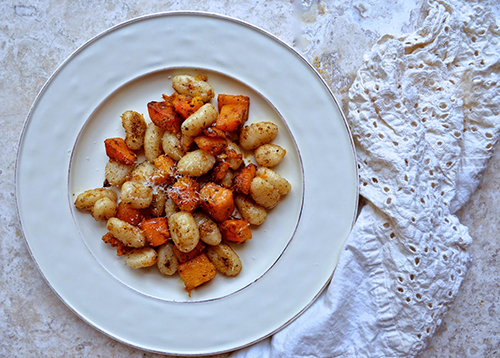
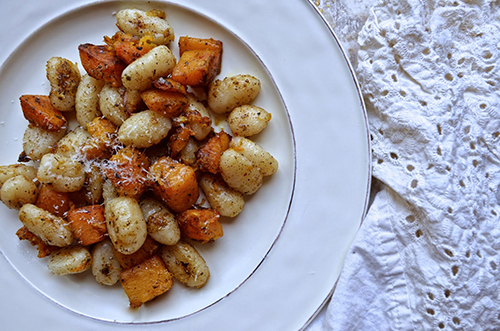
Hello there Sunny Slide Up readers! Thank you for stopping by! I am SUPER excited to be sharing another new recipe with you today. Although I have not been the biggest fan of gnocchi in the past, my desire to continuously experiment and try new things lured me in to giving the pasta another try. I’m so happy I did, because the outcome resulted in this lovely dish for Butternut Squash Gnocchi with Sage Brown Butter. Although I love to make recipes from scratch, I used packaged pasta and pre-cut butternut squash cubes to save time and cut to the chase. This dish is a perfect comfort food and easy to recreate. I used warm spices like sage, nutmeg and cinnamon that gave the house an incredible scent and brought the gnocchi and butternut squash to life. I hope you enjoy!

Butternut Squash Gnocchi with Sage Brown Butter
Ingredients:
- 16 oz. package of gnocchi
- 1 pound butternut squash cubes (buy these pre-cut to save time)
- 1 teaspoon salt
- 1/2 cup (1 stick) unsalted butter
- 2 tablespoons chopped fresh sage
- 1 1/2 teaspoons freshly grated nutmeg
- 1 teaspoon cinnamon
- 3/4 cup finely grated Parmesan cheese, for serving
Directions:
Prepare gnocchi as package indicates and set aside.
In a medium saucepan, brown the butter by cooking it over medium heat until golden, stirring often, for about 3-4 minutes. Add in butternut squash cubes, sage, salt, nutmeg, and cinnamon and allow mixture to simmer for 10-12 minutes until butternut squash becomes tender. Taste test the mixture to ensure the spices are to your liking.
Add gnocchi; cook until heated through and coated with butter mixture, 2-3 minutes. Transfer to serving bowl and top with a sprinkle with Parmesan cheese. Serve warm.
Referring link: http://www.seasonallyjane.com/2014/06/butternut-squash-gnocchi-with-sage.html
One more awesome recipe coming up tomorrow for you!


