by heather | diy
Need a last minute gift idea? If you save up your wine corks, I have one perfect for you!
I have been saving wine corks for over ten years. It all started back in my bartending days and I have kept it going since. I have two huge containers full of them, so I am always on the lookout for a great cork craft project.

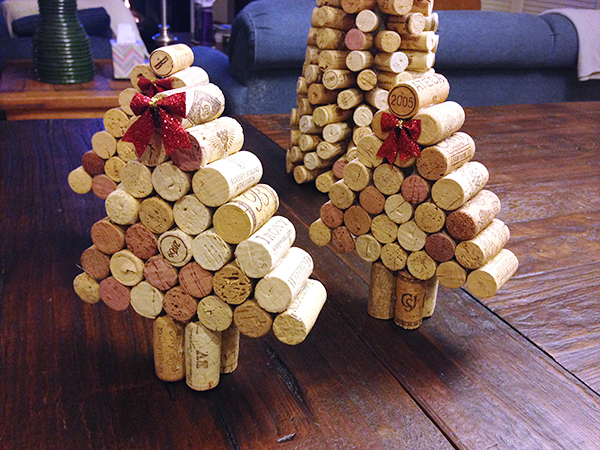
The small ones were super easy and quick to make. You basically just glue wine corks together as shown in the photo above. I purchased these little red bows at my local craft shop. So, all you need is a glue gun and some corks for this project – with an optional tree topper.
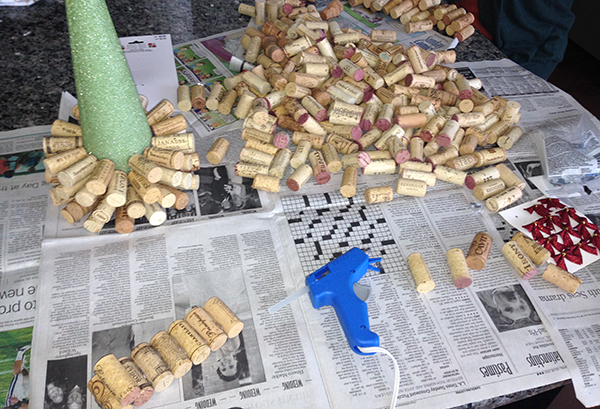
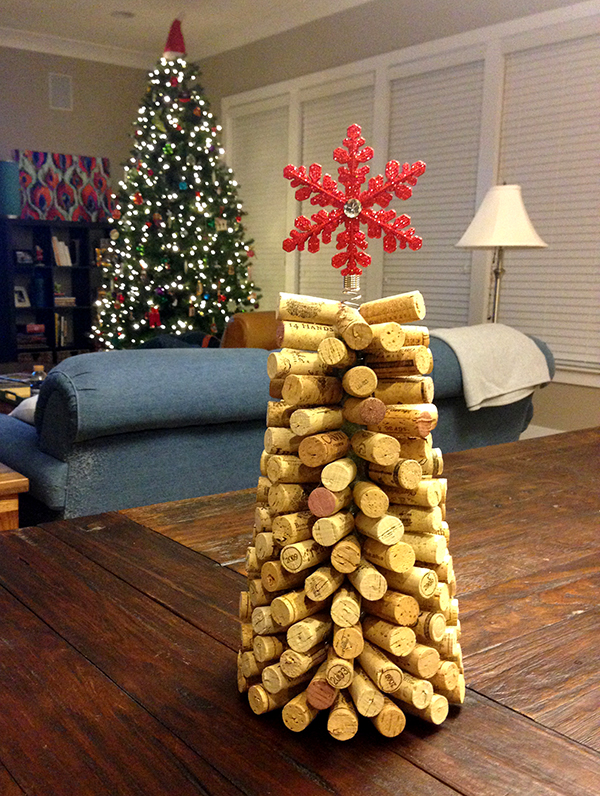
For the larger tree, you will want to use a styrofoam tree shape as the base and glue your corks around in a circle. Then you just glue the corks all the way to the top going in a circle trying not to leave many gaps. I found the large tree topper at my local craft store that had a wire spring at the bottom, so I was able to easily attach it to the top of the styrofoam.

Cute, huh? These make perfect gifts for a wine lover. I already gifted some to my mom as an early Christmas gift 🙂
Happy Holidays Everyone!

by Stella Lancaster | diy
It’s the last weekend of holiday parties. Are you ready for DIY scrambles, lasting impressions, endless merriment, and too much eggnog?
WE ARE!!!
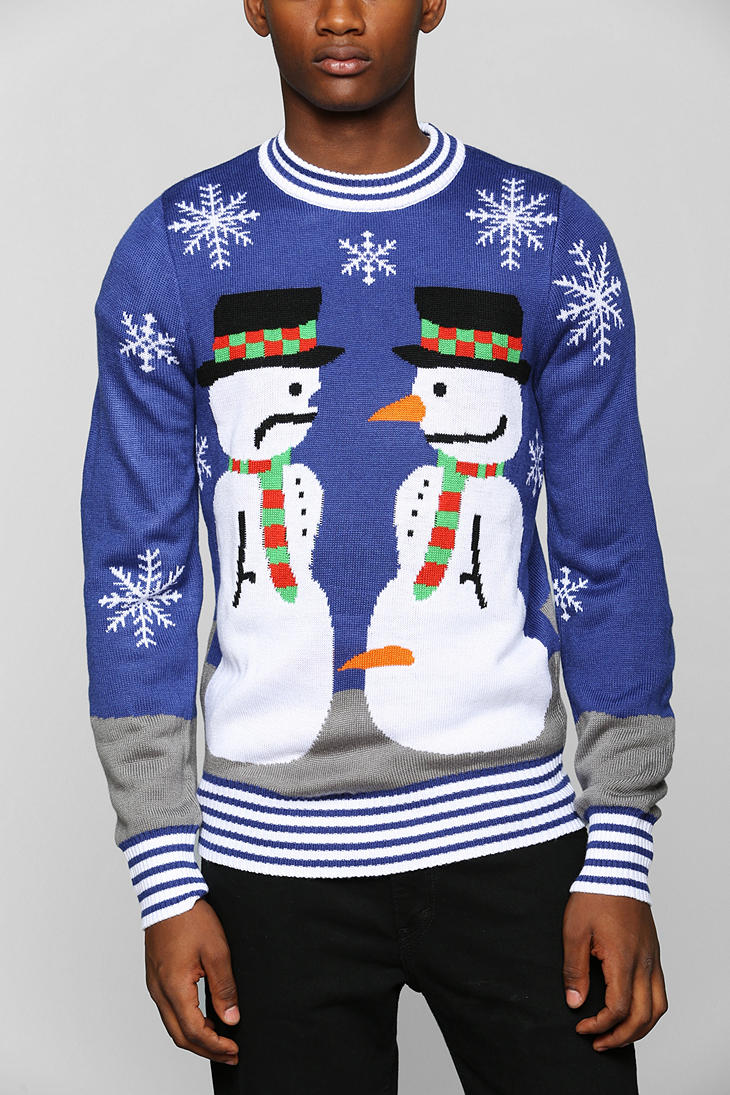
Get out the glue, glitter, and scissors!! Here are some redunkalous holiday sweaters for inspiration.
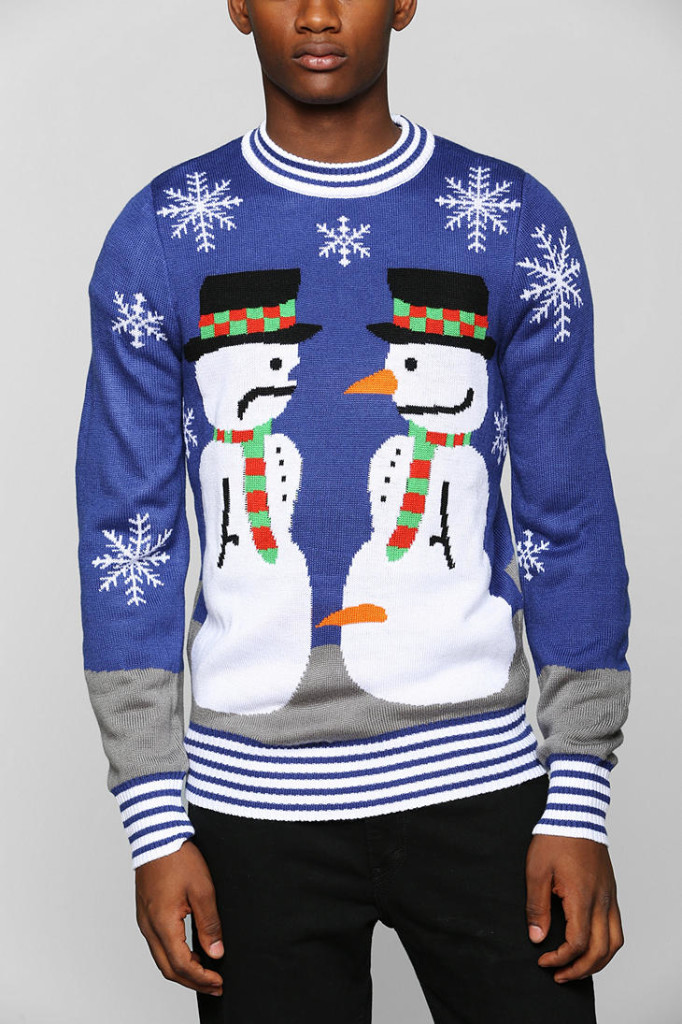
Snowman Poke – Urban Outfitters
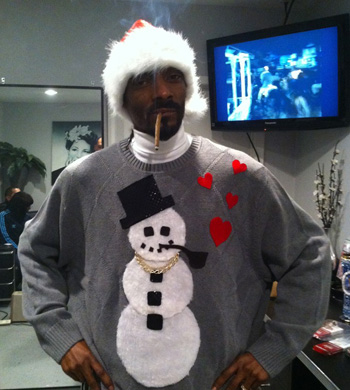
DIY Snoop Dogg classic

Reindeer Threesome
NEED MORE CHEER??
Cheech and Chong’s share my favorite rendition of Santa Claus and His Old Lady. Santa’s guise was simple: “Oh, well, man, he had some magic dust, man.”
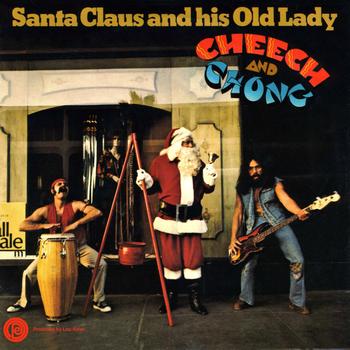
Listen on iTunes here. Video here.
My favorite Christmas song is hands down Bing Crosby’s song Mele Kalikimaka … inspired by travel and tropical weather. It’s also my favorite karaoke song!
Even better? The same song sung by the fabulous Alvin and the Chipmunks!!
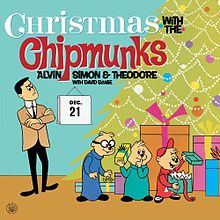
Get your holiday chipmunk cheer on here!!
#hohoho
-Stella
***disclaimer we own all three sweaters depicted in this post. HA!!!!
by Mandi | diy
My wedding is officially 5 months from yesterday… That means it is time to get the save the dates out the door, and for me that means its time for calligraphy – hand addressing all of my envelopes!
I love calligraphy. I have done it for years after learning it from watching my dad and his mother. You can see some of my styles here on my facebook page.
Sometimes however, I do not feel like getting out a special pen. That is how I came up with my easy way to cheat yourself to a calligraphy look. I promise you this is something ANYONE that can write in cursive can do! I promise!

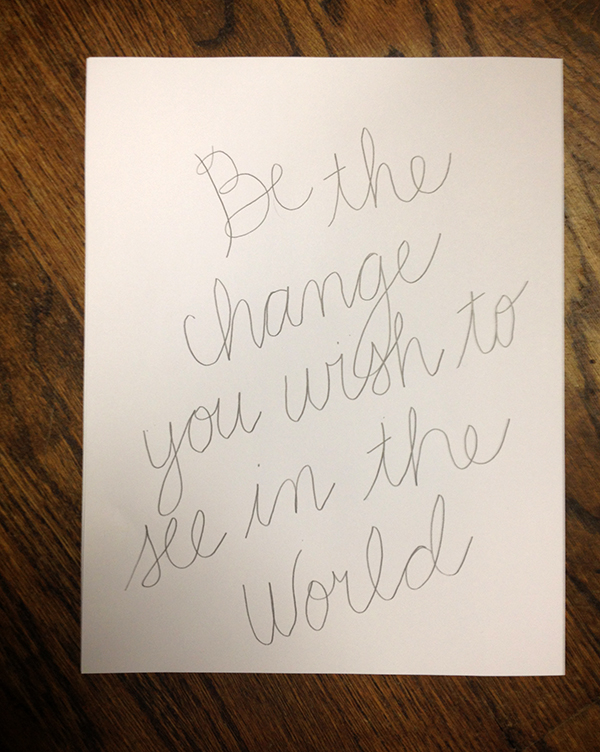
First write out what you want in cursive. This could be someone’s name on an envelope, a quote, a gift tag, etc. For the purpose of this tutorial, I did a quote that is special to me. See easy right! My suggestion is to keep it as simple as you can as there is no real need to get crazy with the letters.
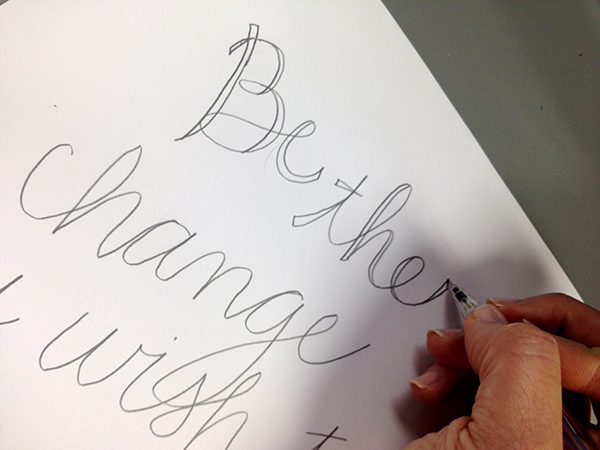
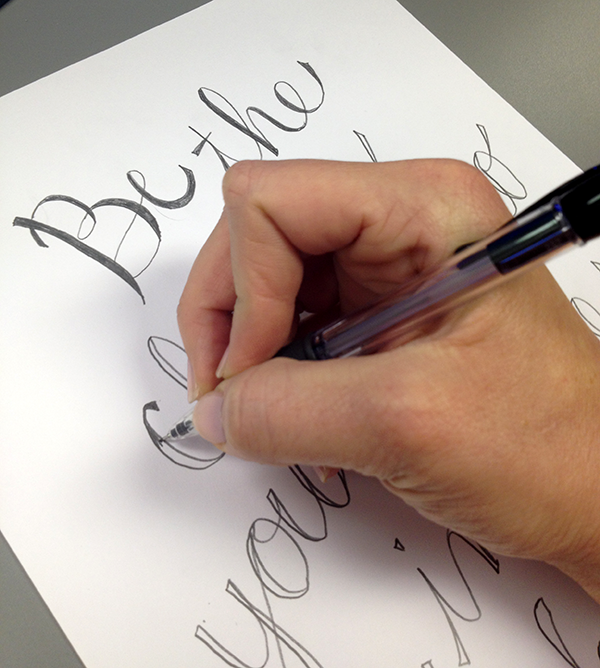
Next you will outline the letters, adding “weight” to them – almost where a shadow would fall. I typically do this on the left hand side of the letters.
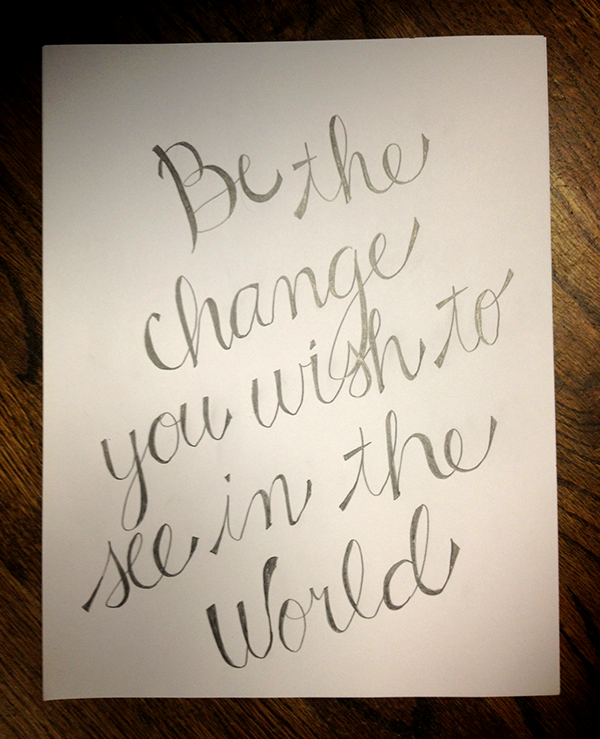
The final product should look something like this. – Nothing special right?
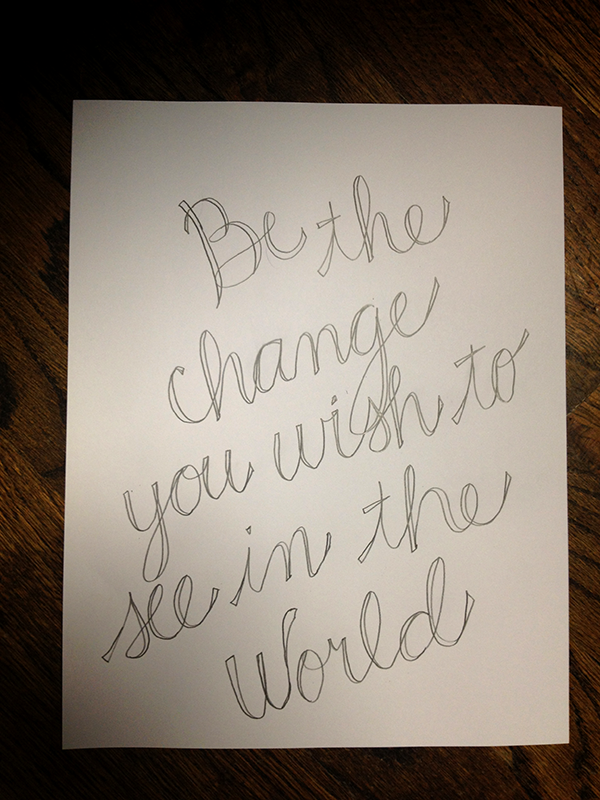
Then just go in and color in the spaces that you created!
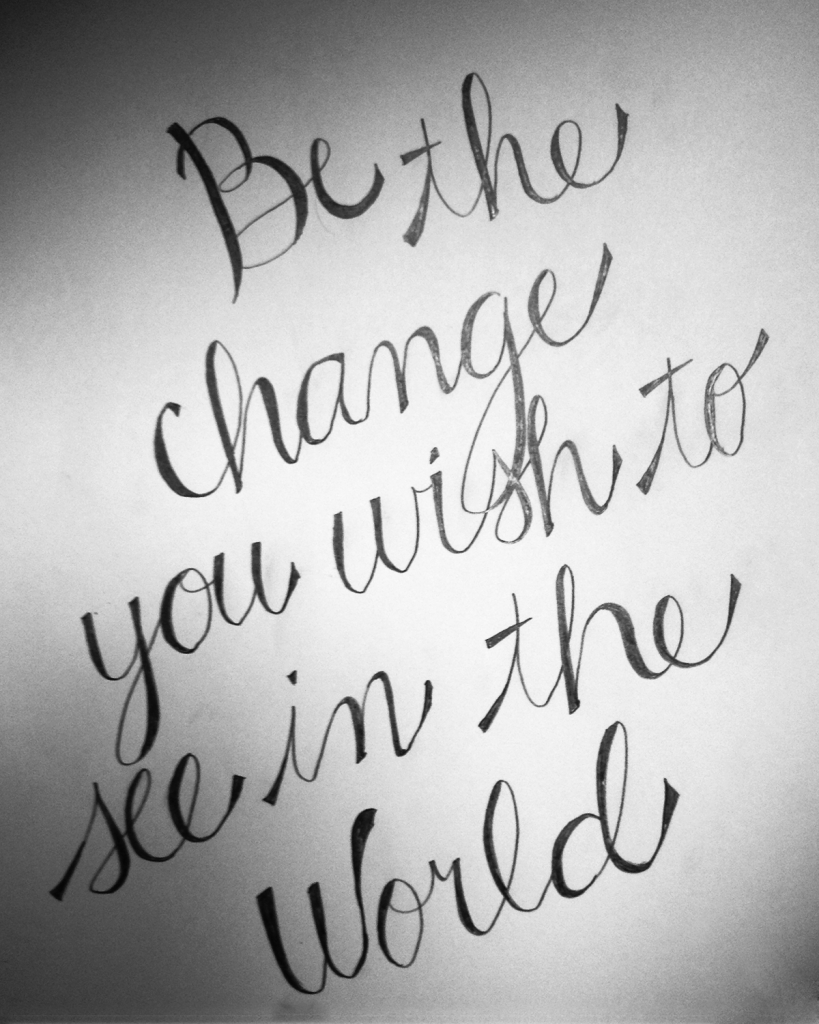
The final product should look like this.
pretty good huh?
I would love to see other tutorials that you have to make easy calligraphy – better yet… do you have any projects that you have done yourself with calligrahy?


