by heather | diy, fun finds
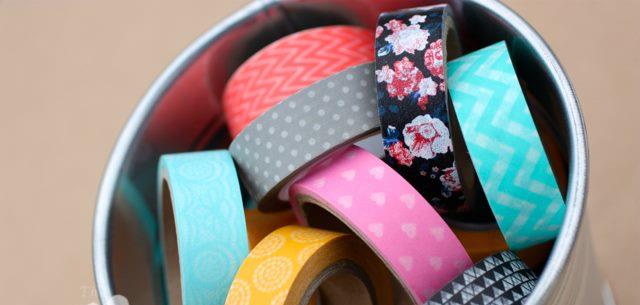
Washi tape is all the rage now. I must confess, I have become a little obsessed with it myself.
Perfect to spruce up letters or packages, gift tags and gift wrap.

(Image curtsey of
The Plaid Barn, a great place to find Washi Tape deals)
In case you are wondering what all of this “washi” talk is about, let me catch you up…
“Washi” is a style of paper that originated out of Japan. Fast forward about 1000+ years and now the process has been applied to tape.
It is the latest crafting craze and this stuff is popping up everywhere. I even saw a coupon in my Sunday paper the other weekend for Scotch Tape’s “Expressions” that looks very similar to washi tape. They cost about $2-5 a roll – check out Etsy.com for a ton of great washi tape stores. I bought the ones I have from a daily deal on The Plaid Barn.
Washi tape is basically decorative thin masking tape. You can get it in a million styles. And it’s very easy to use and can be used to dress up just about anything! Now, let me show you some of the cool stuff you can do with washi tape, most of them so simple and quick!
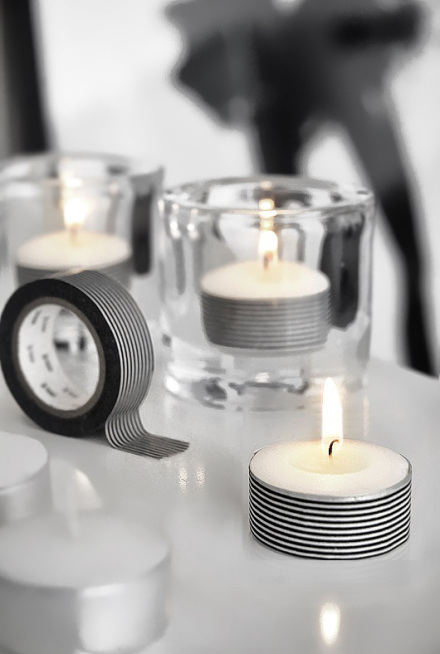
Cover Your Tea Light Candles!
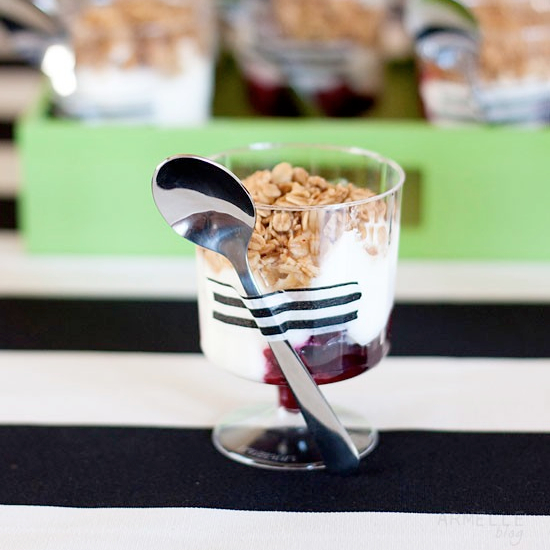
Tape Plastic Utensils to Cups at Your Party!
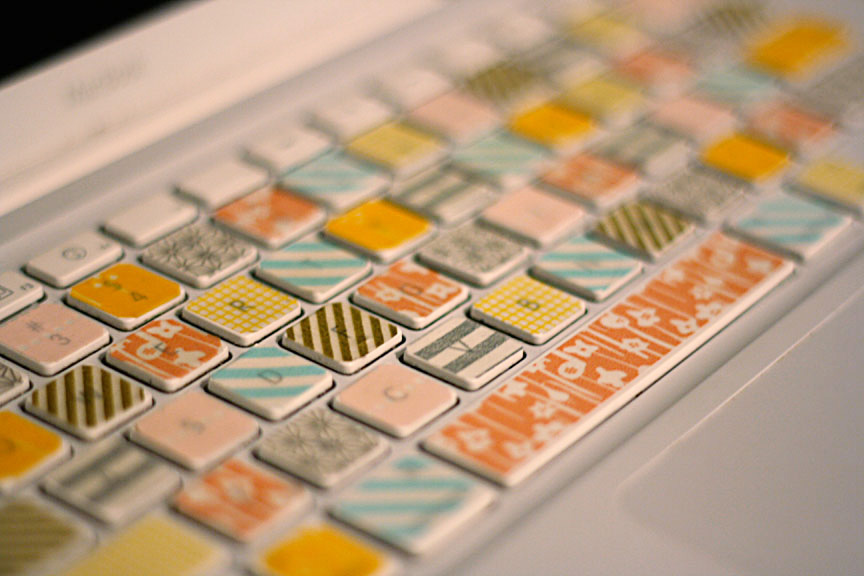
Spruce Up Your Keyboard!
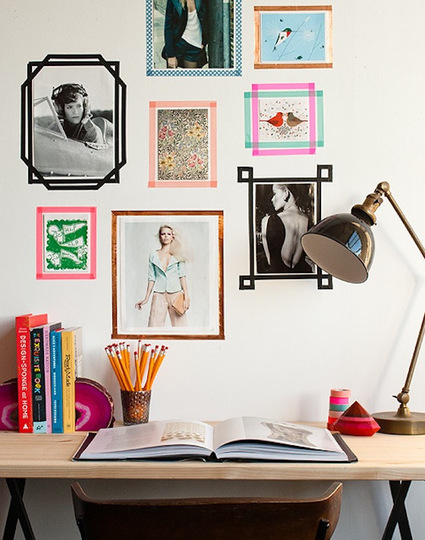
Washi Wall Art!
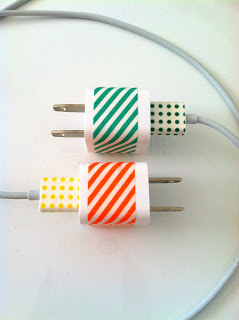
Decorate Your Plain iPhone Charger!
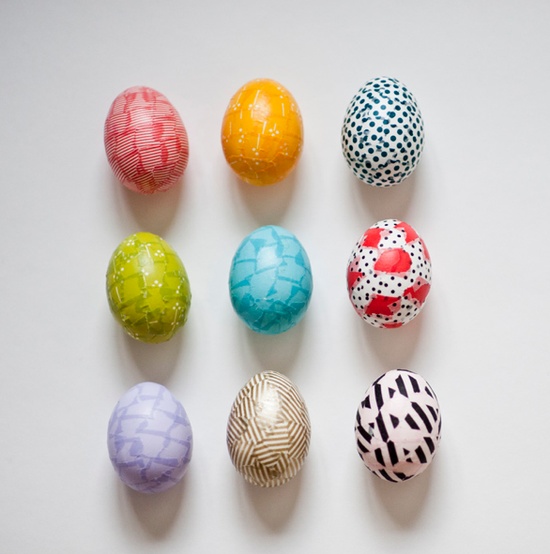
Washi Tape Your Easter Eggs!
Feeling inspired yet? There are TONS of great ideas out there, especially on Pinterest. Be sure to
follow our boards while we go crazy for washi tape!
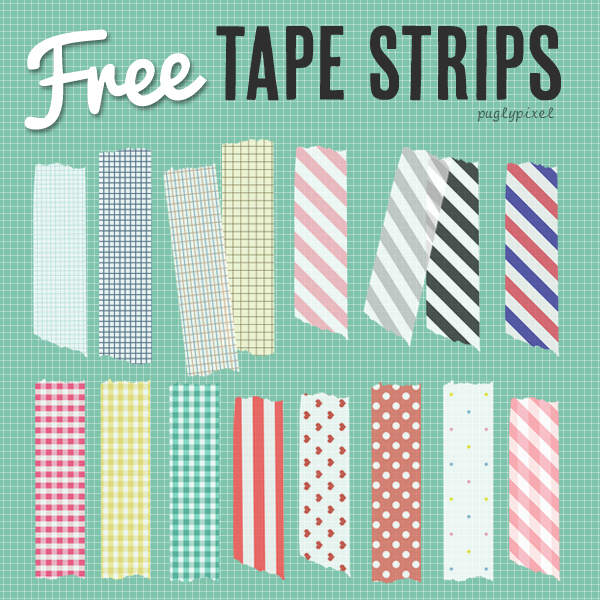
And the graphic designer in me, must provide you with some DIGITAL Washi Tape, so here is a link to some freebie washi tape strips available for download from
Pugly Pixel.
Are you crazy for washi tape yet?
by heather | fun finds
Hey, it’s Monday. We could all use a little laugh to get our week going, right?
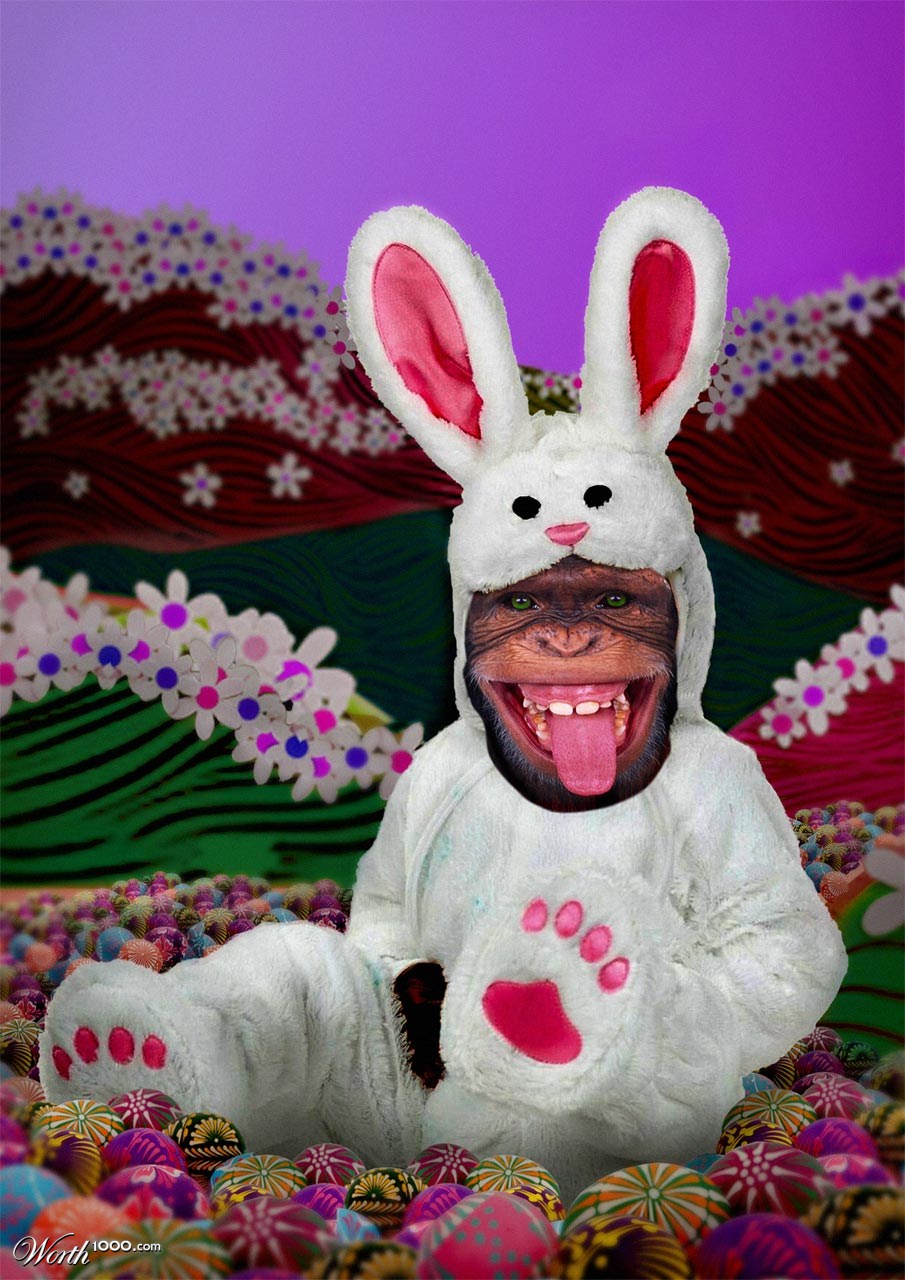
And with Easter approaching, it is only appropriate that bunnies be envolved. Here are some of the funniest bunnies I could find…

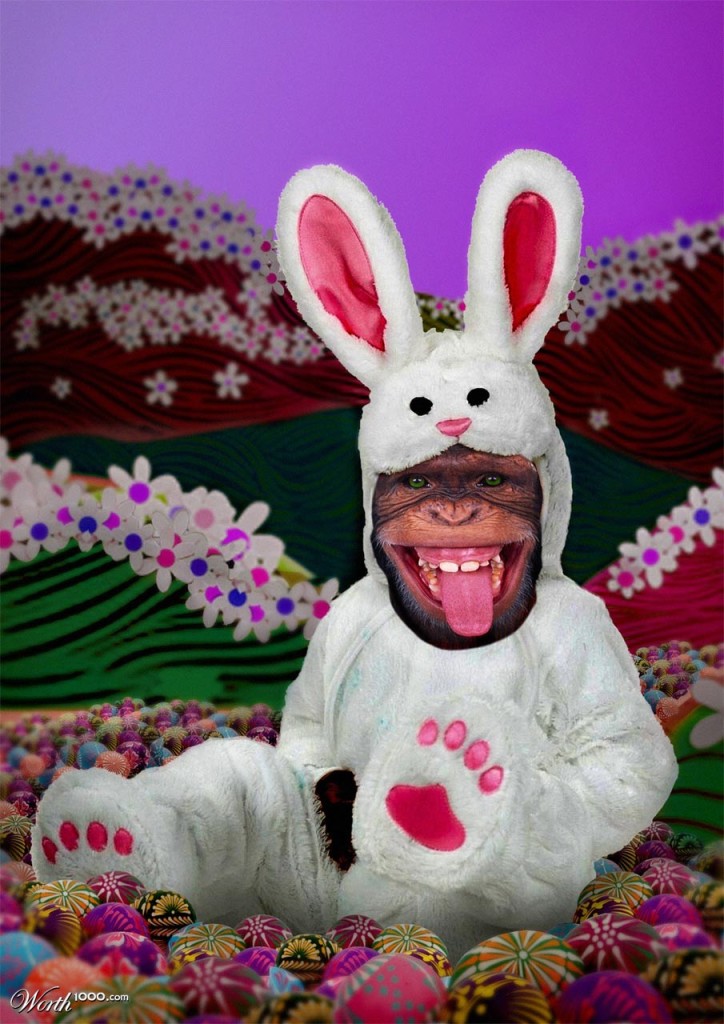
Source from top to bottom: Screaming Bunny | Contemplative Bunny | Bunny Shopping Kung Fu Bunnies | Little Bunny, Big Carrot | Emo Bunny | Monkey Bunny
Funny, right? I bet you at least smiled once. Speaking of funny….Did you see our new Sunny Slide Up Facebook Timeline cover? We are all leprechauns! Check it out HERE.
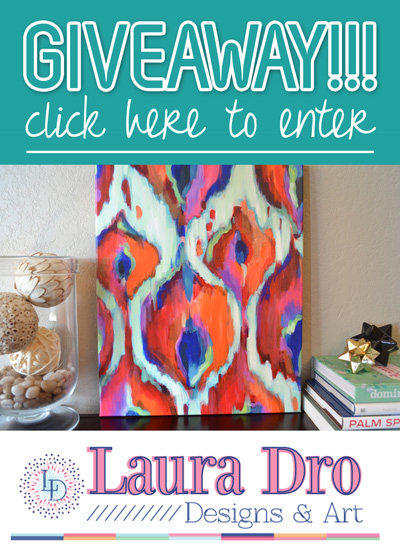
And don’t forget to enter our GIVEAWAY going on this week! You could win this beautiful canvas wrapped print from Laura Dro Designs!
Happy Monday!

by heather | creative tips, diy
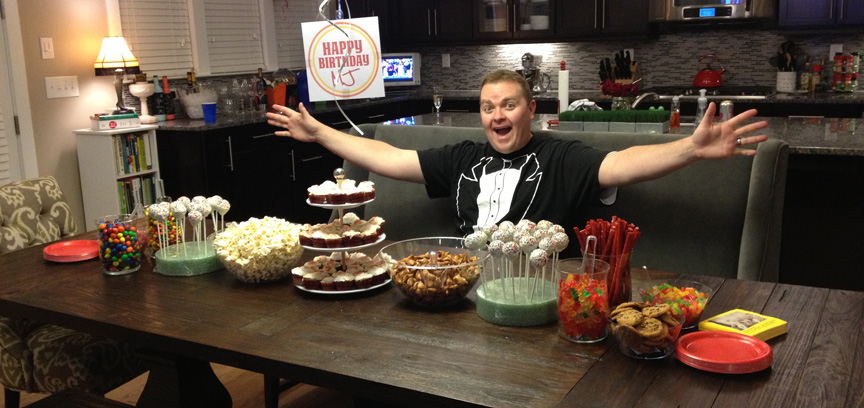
My husband’s birthday was this past weekend and we decided to have a little get together at our house. My husband LOVES candy, so I put together a candy themed event!
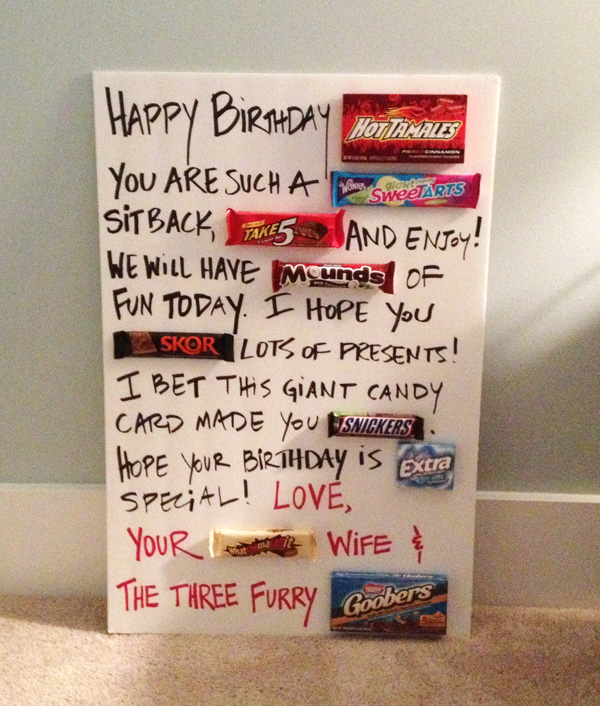
First, when he woke up on the morning of his birthday, I surprised him with this giant candy card. He absolutely loved it – thanks Pinterest for the inspiration!
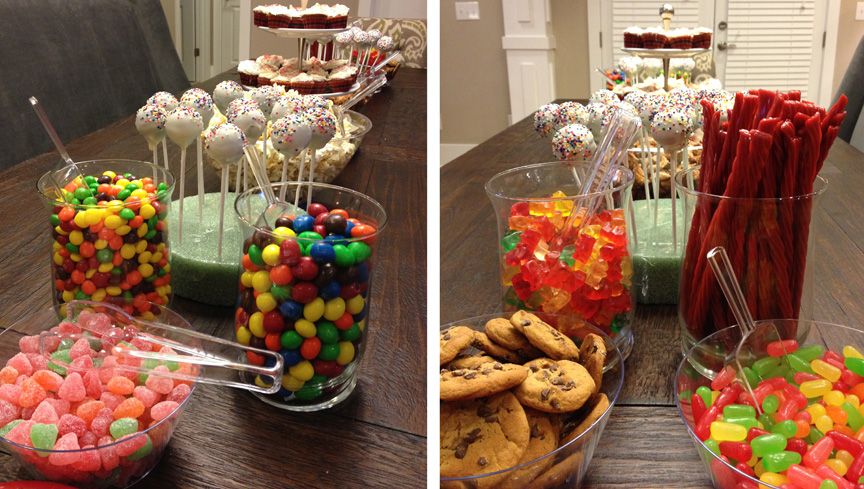
For the birthday party, I set up a big candy/dessert spread. I found a bunch of the clear bowls, candy scoops and tongs at my local dollar store. Then I found the clear plastic jars and at my local craft store. Along with a brand new cake pop machine! (I used a Michael’s 40% off coupon to purchase it. STEAL!
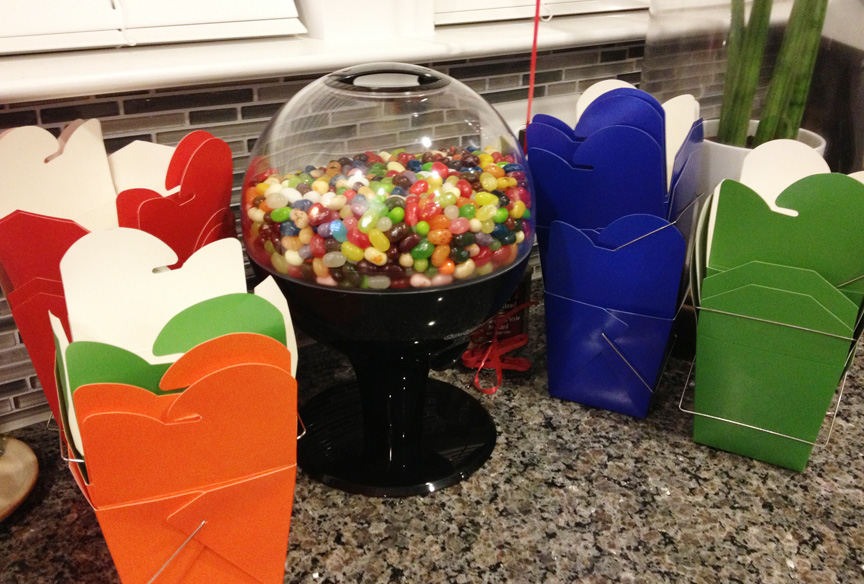

I had to-go boxes so our guest could take some of the treats home and the birthday boy even wore his tuxedo tshirt to the party!
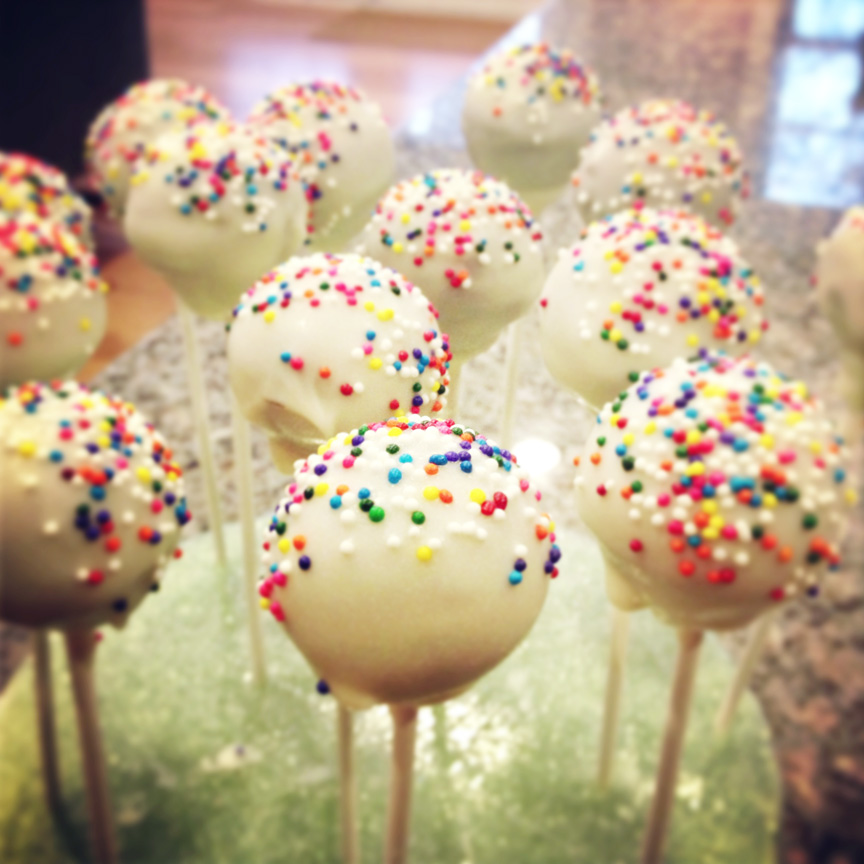
I must say, I was a little nervous making cake pops for the first time. I am not much of a baker, and you can’t use the boxed mix for these things. It was way more time consuming than I thought it would be, but totally worth it. They were delicious! Here are some tips that helped me…

• The recommended amount of batter for each cooking reservoir is approximately 1
tablespoon. Use caution not to overfill the cooking reservoirs.
• After pouring batter into the cooking reservoirs, try not to check the food during the first
minute. Opening the lid may cause the uncooked batter to separate before it is cooked.
• Baked cake pops and donut holes will be darker on the bottom half when compared to
the top half. This is a result of the batter rising. The bottom halves of the cake pops and
donut holes are in closer contact to the cooking plates compared to the upper halves.
• For glazing or coating, use a deep, narrow bowl so cake pops and donut holes can be
submerged completely in the glaze or coating.
• For best decorating results, after cake pops have cooled, place them in the freezer for 15
minutes or until well chilled, then dip quickly in the warm coating or glaze.
• To help keep the cake pop on the paper lollipop stick, dip ½” to 1” of the stick in the
melted candy melts and then insert it into a chilled cake pop. Let this cool for about 5-10 minutes.
• Dip cake pops in the coating or glaze once and hold over the bowl to allow excess to
drip back into the bowl. Work gently so cakes do not break apart or shake off the stick.
Repeat dipping will cause the coating to become thick and heavy.
• To help set the coating or glaze, place the decorated cake pop in the freezer for 5 minutes.
• I purchased a foam block from my local craft store to hold the cake pops. I liked this one because it had plastic over it. I was able to easily wipe up any spilt icing.
Remember that Harlem Shake post from last week I did? Well, I was inspired to make my own at this birthday party. I pulled out the box of costumes from the attic and let everyone have a few drinks before starting the dance party. The video isn’t quite ready yet, but here are a few still shots. It was so much FUN!
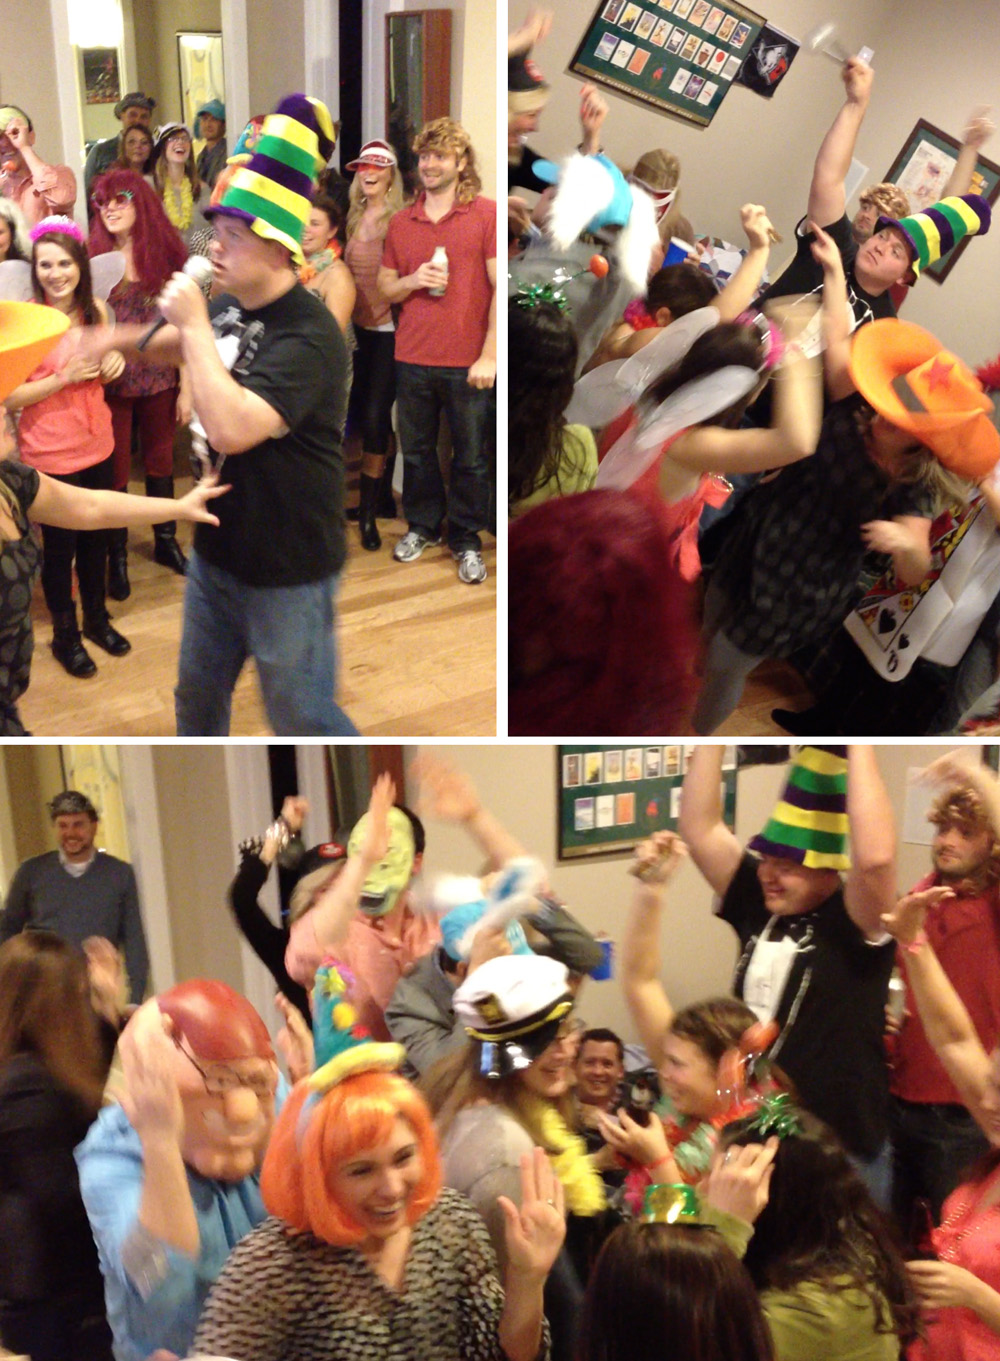
That’s me in the big orange hat 🙂


 (Image curtsey of The Plaid Barn, a great place to find Washi Tape deals)
