by Mandi | diy, sunny slide up
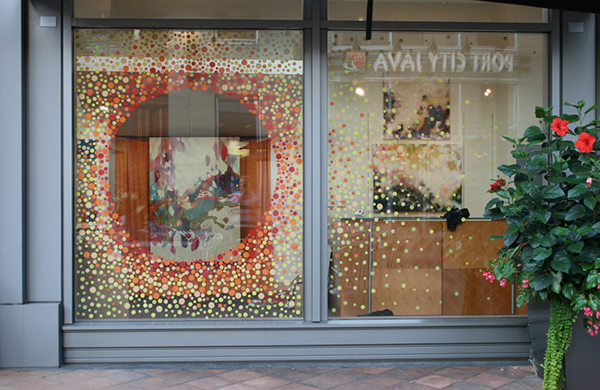
Hey guys. I had the MOST fun this past weekend with a wonderful group of bloggers and Kathryn Godwin making necklaces. Have you heard of her? This girl is like that creative person you wish you could be. You can thank her for many of the amazing Anthropologie storefronts… yep… amazing!
Hand Painted Dots
Coral Reef Display
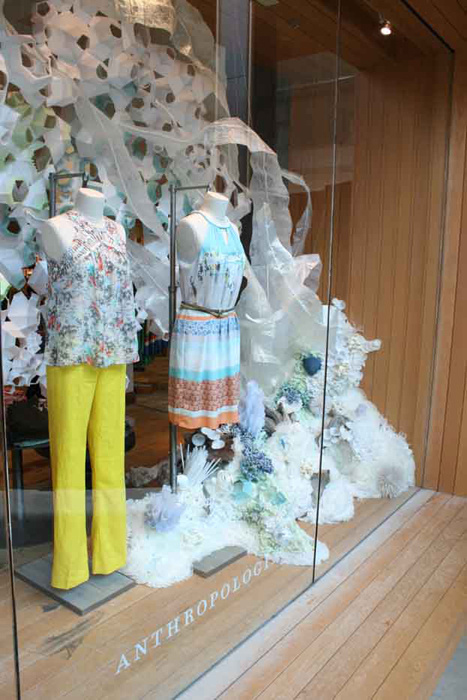 Floral Garden

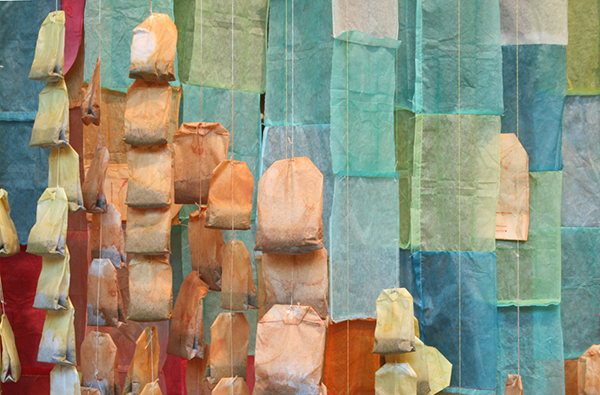
This girl made tea bags look amazing people…. TEA BAGS!!
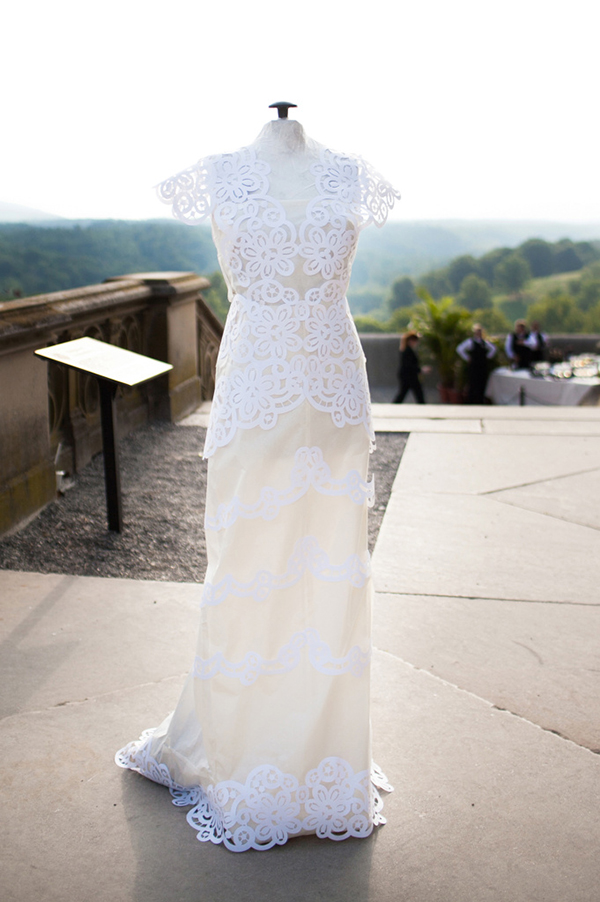
And I can’t even talk about this dress – made of paper… This is what made me start following her. I saw it on a wedding blog while I was planning my wedding.. and holy moly!!! INSPIRATION everywhere!
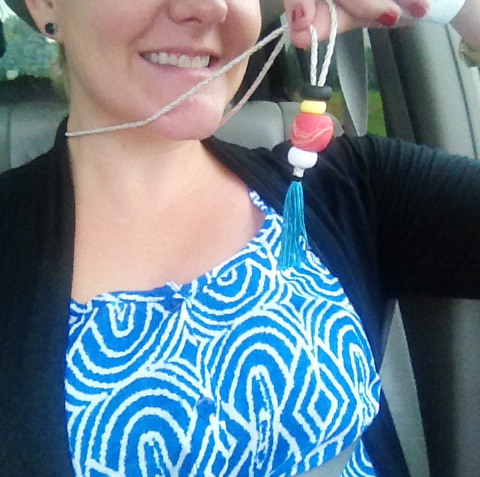
We even had one for our event… check out this rope and tassel display… LOVE

It had been so long since I had actually made a craft out of raw materials, and when I saw her post in instagram… I knew I had to go! Turns out I won a free registration with this lovely lady – Deedie Springer of Springvine Design. And speaking of inspiring and creative, she is the one who is responsible for my wedding flowers – see them here and here ….look at her hard at work! LOVE IT!

It all started out by choosing beads (she handmade) and taping down our string to the table like you used to do when you made friendship bracelets… awe I felt like a kid again!
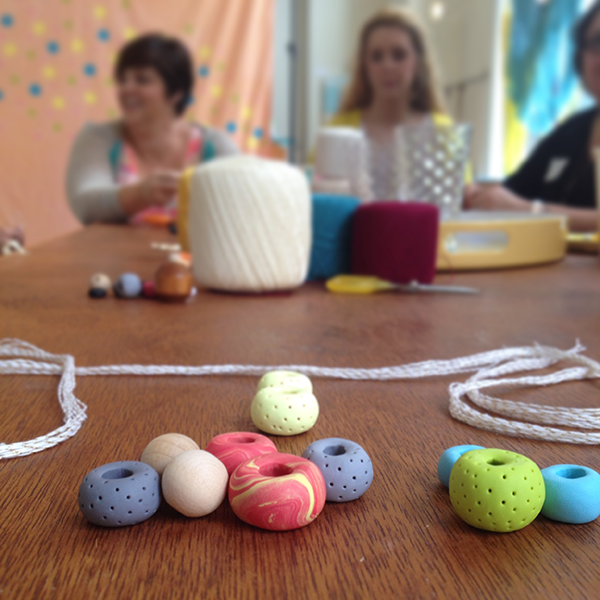
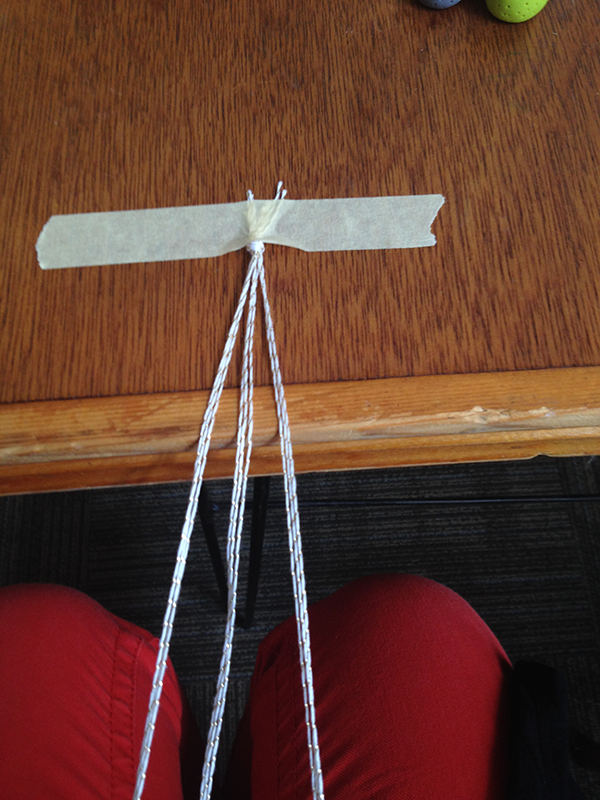
We made the rope by a twisting technique and then added tassels, beads and whatever we wanted. I decided to use my Dry Ink colors and just love how my necklace turned out!
Even better I met some amazing fellow bloggers. Isn’t it funny when you realize you have to introduce yourselves as your company name or instagram handle!? Thank you social media!
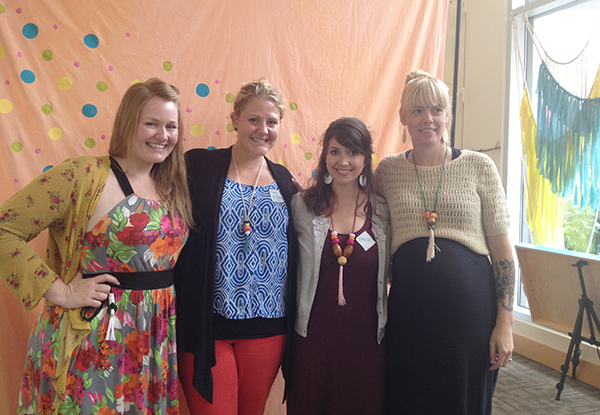
Kathryn of Studio Cultivate, Me, Dawn – co author of Carolina Bride Book and Nikki of Bunch Collective
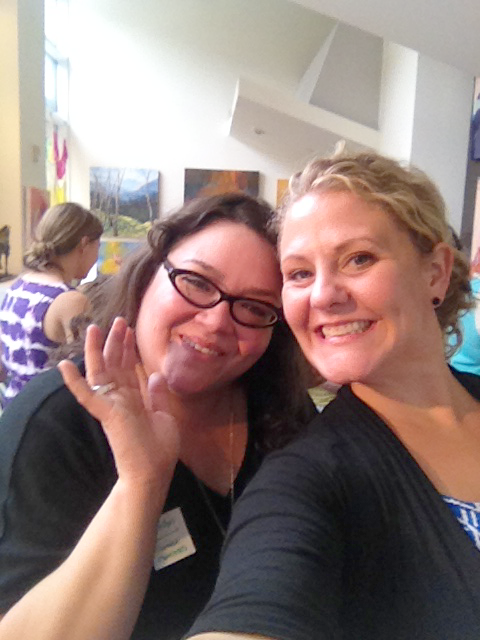
Reconnected with the talented Brellyn of Vintage Concord.
This day was amazing! In just 2 hours I was inspired to create again, to get out there and do something with my hands, to draw, to make jewelry, and to surround myself with other creatives… it so feeds my soul!
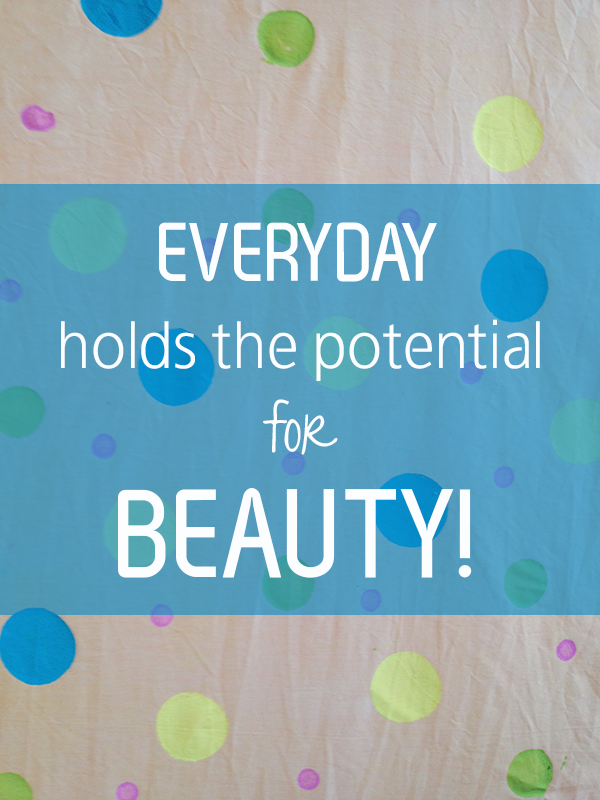
The quote above is made by using a photo of the backdrop created for photos!

by Mandi | diy
I have always loved the look of decorating with letters in homes. I think your home should tell your story, give a glimpse into who you are and this is what I hope to do in my home with my new husband, the mister!
Below are a few ideas of what I am talking about so you can get an idea!
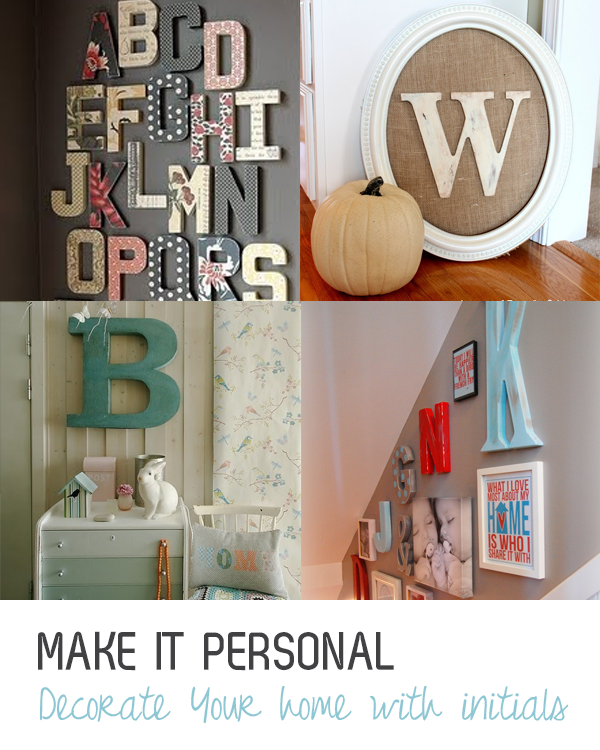
alphabet wall | burlap circle | B in nursery | gallery wall
I took this look into my wedding. I had an organic look and each table was different… some had B’s that I spray painted metallic (here is a blog post from when I made these). It was great to see those come to life!
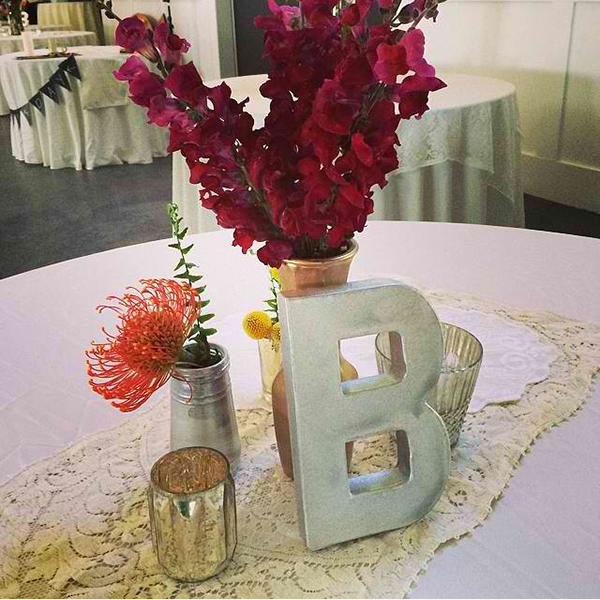
photo by Magnolia Events Staff
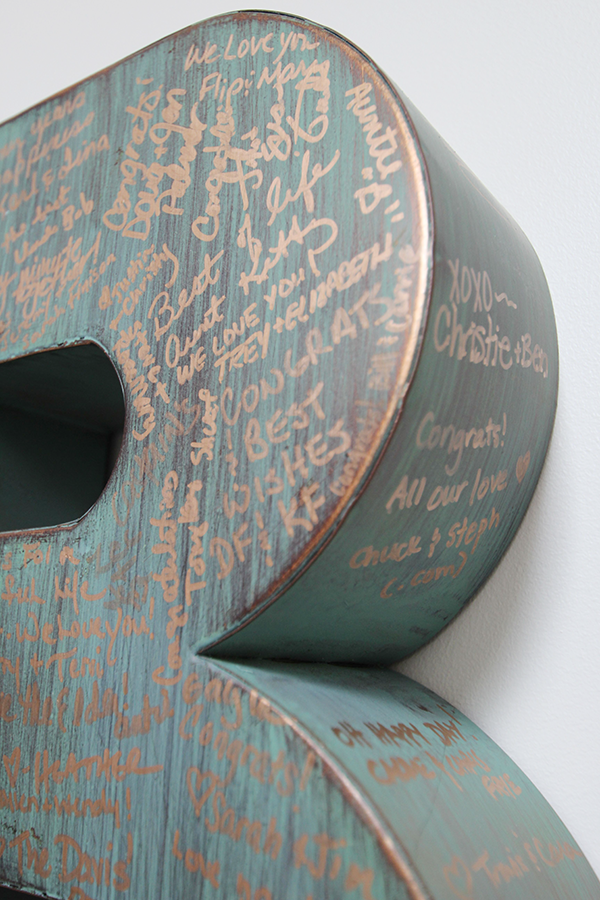
I also had a larger tin “B” that I used for my guest book. I had a vision for this and although I have no idea how it would turn out, it turned out EXACTLY as I hoped! I couldn’t be more happy with it!
The “B” was a green color with a bit of a bronze background, so I bought some bronze sharpies, and asked people to only sign their name. We ended up with a “B” full of a mix of small notes and names of all of the people we love to display in our home. I LOVE IT!

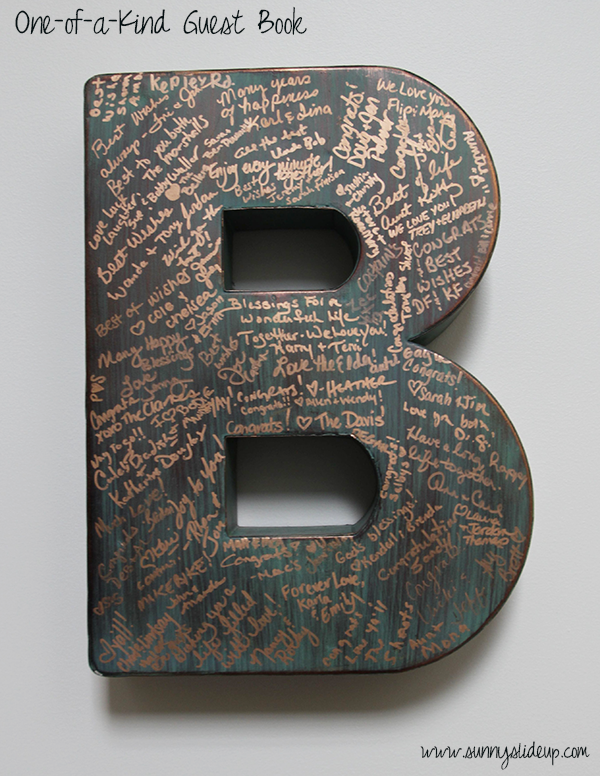
And now, we have it in our house as a daily reminder of our special day! I honestly couldn’t be happier with it and am excited to have it forever!
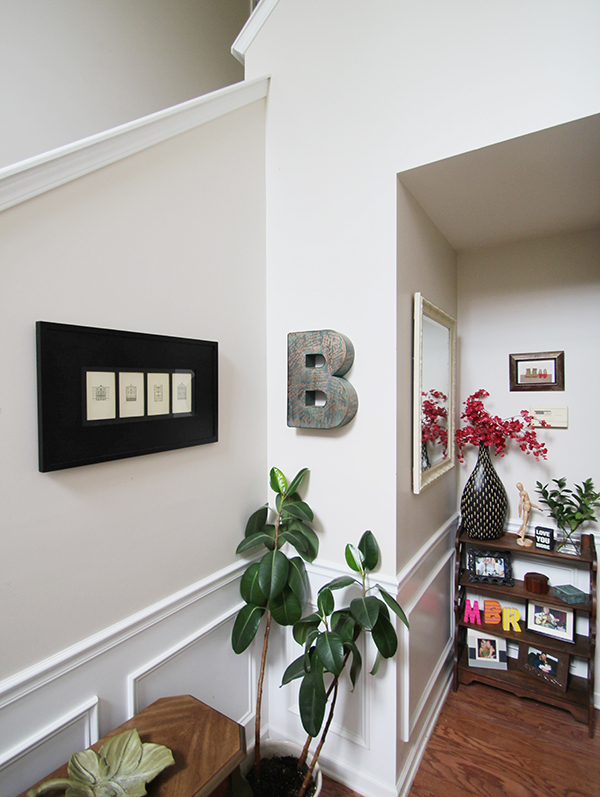
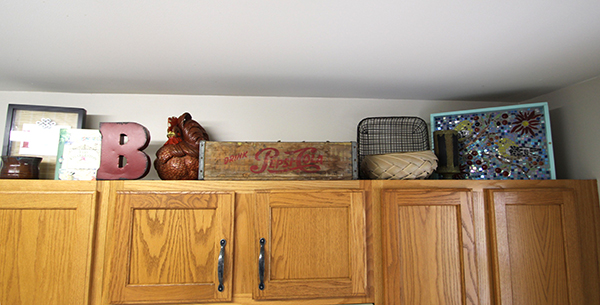
Look closely and you will see a few more letters on my shelf 🙂 Those are from a shower that my sweet friends and family threw!
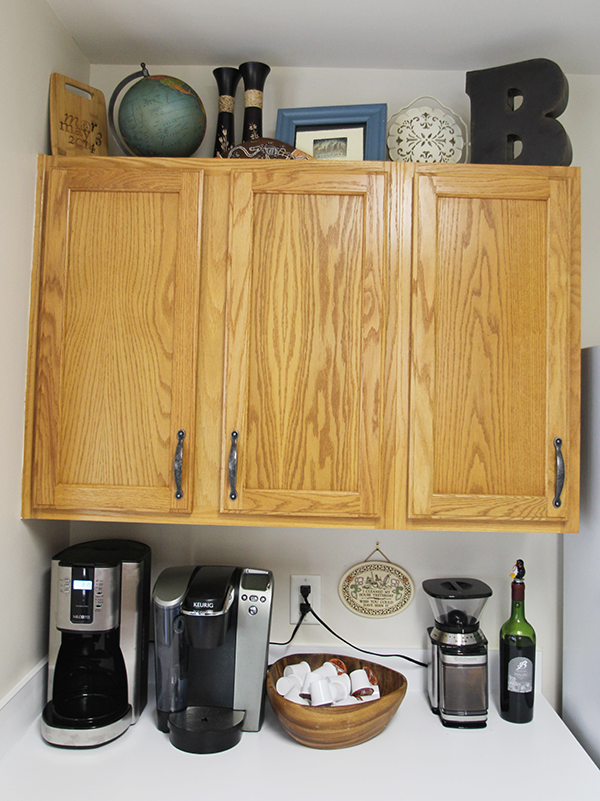
I have a few more “B”s from the wedding sprinkled throughout the house. Right now, they are in the kitchen, because we are still setting the house up, but I am happy with how it looks right now!
What are some unique guest books you have seen? Do you love decorating with initials?
by jenn_davis | diy
Having recently purchased a new home, my husband and I have so many little projects going on. Some we have gotten around to completing, but most continue to be a work in progress. A good friend of mine reminded me to go “slow and steady” when it comes to decorating and renovations, so that’s exactly what I have been (attempting) to do. I did want to share one project that was fairly simple and inexpensive!
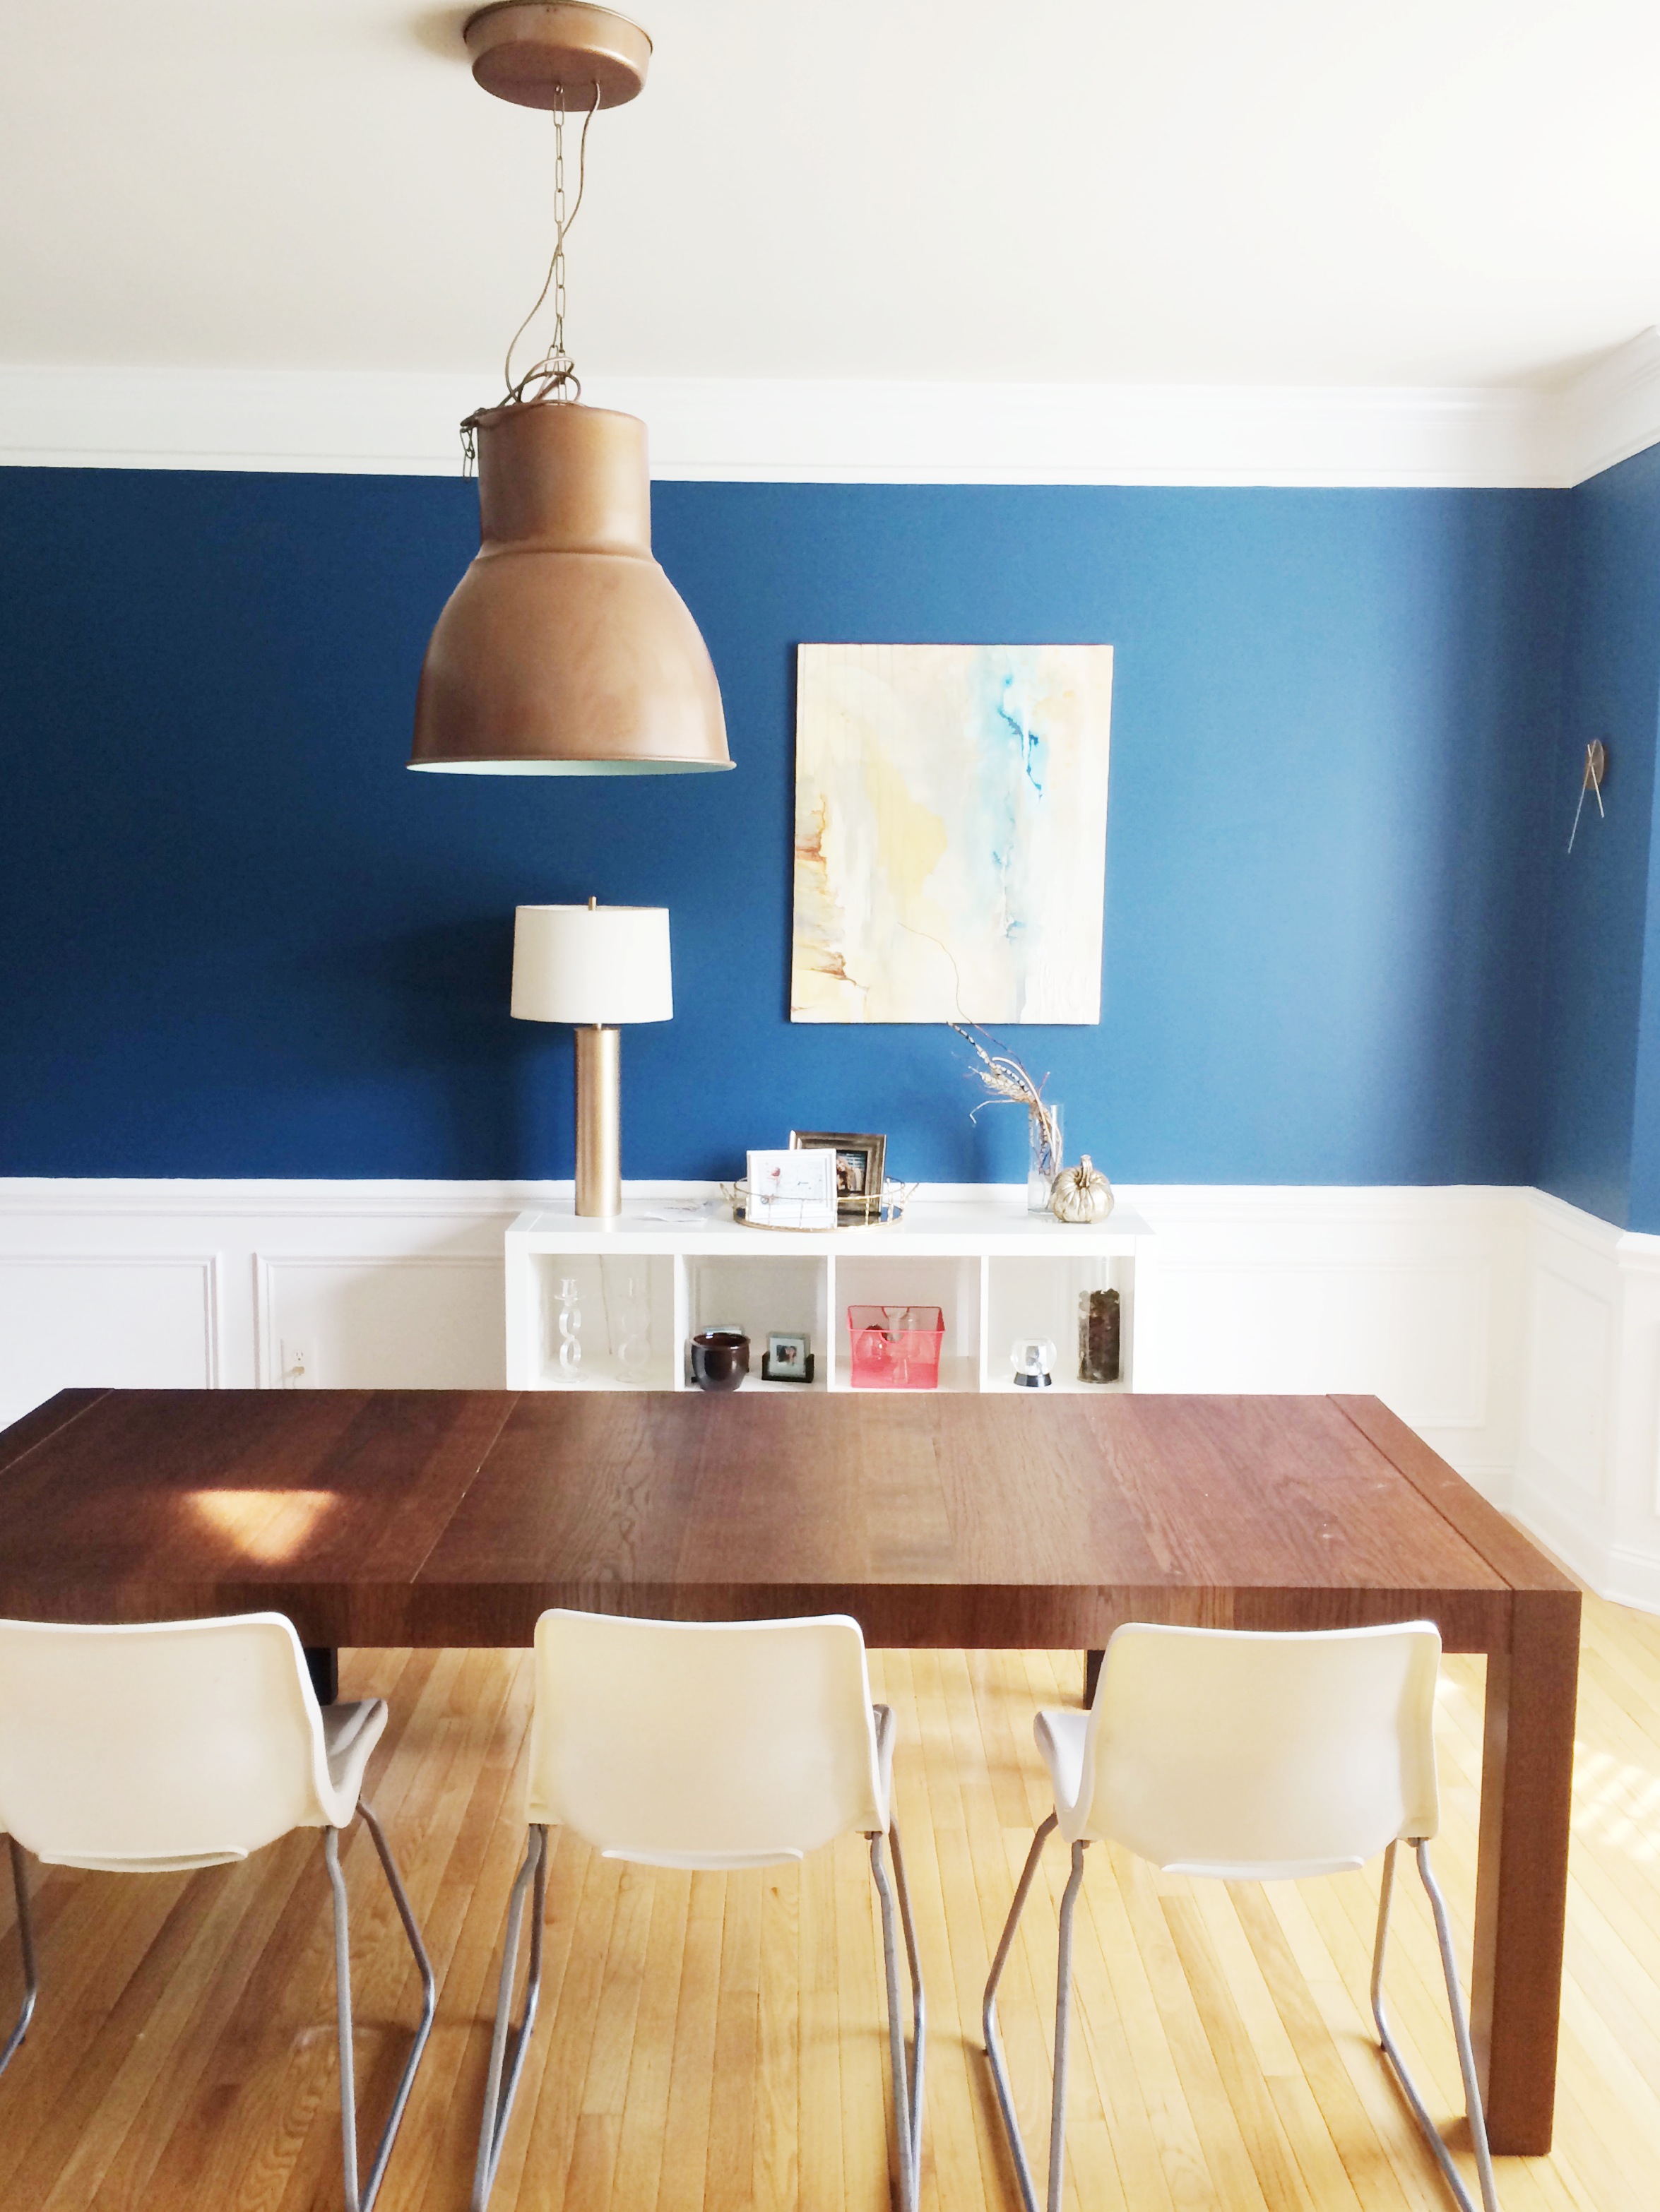
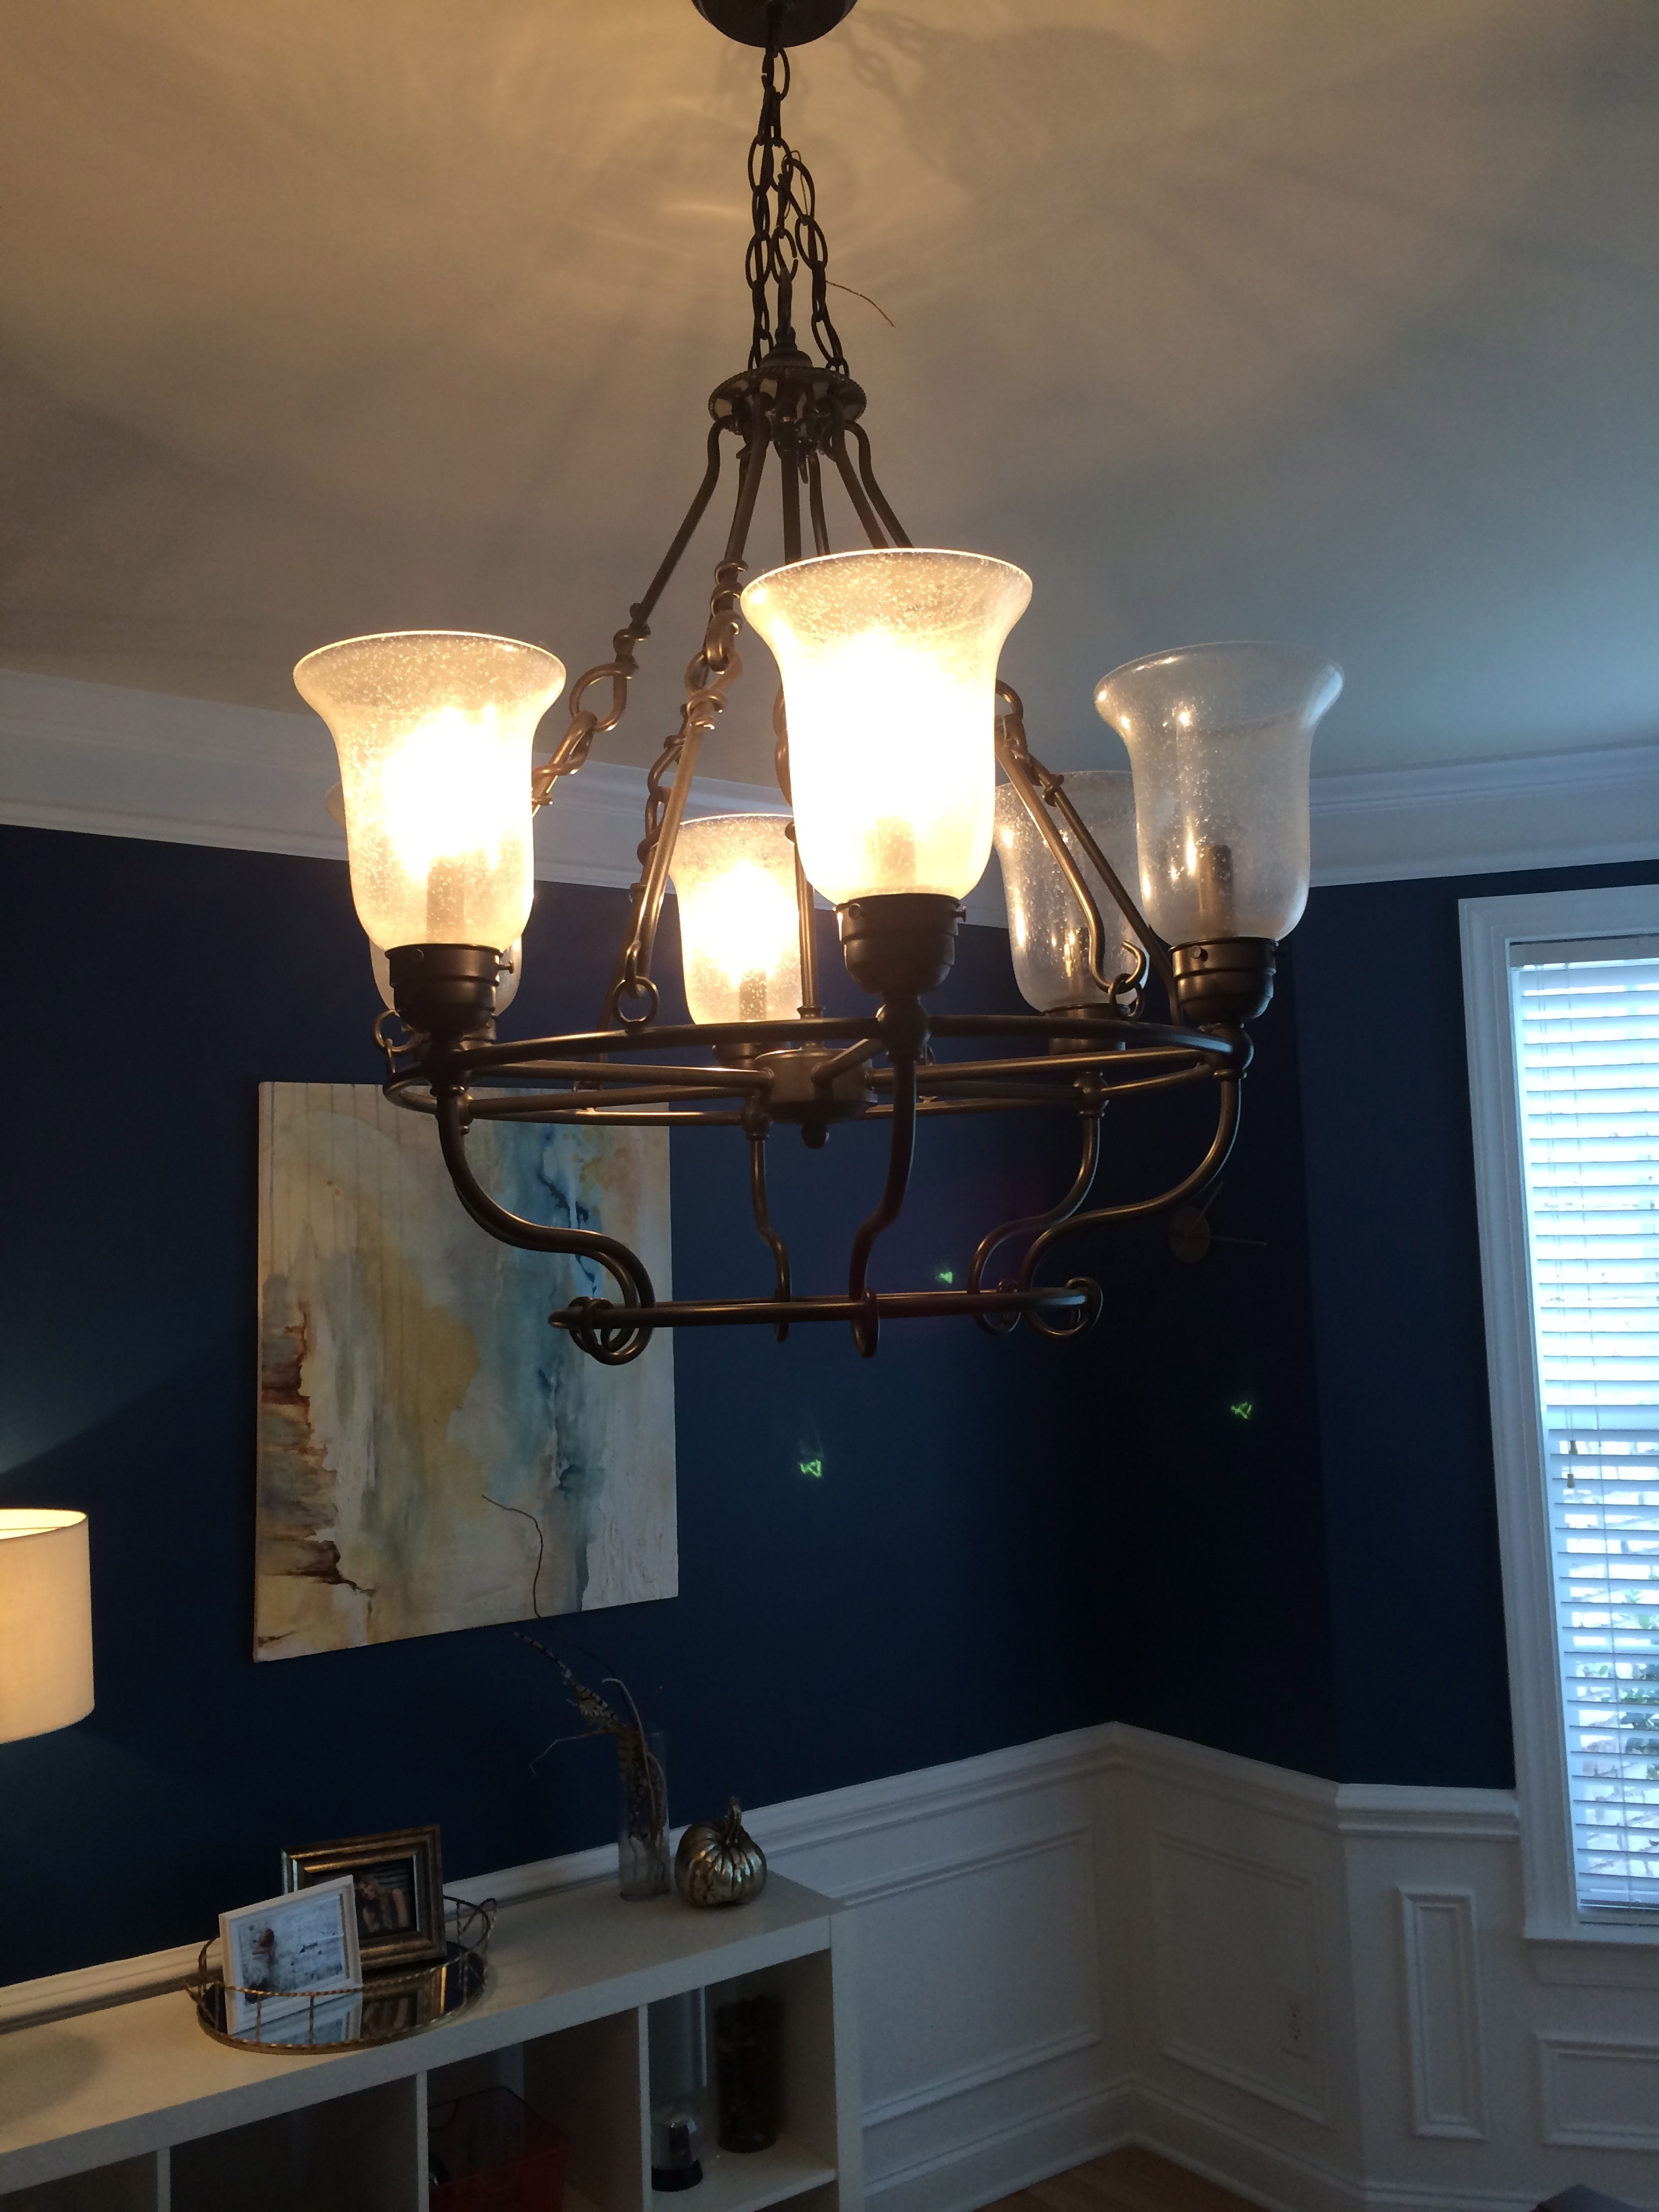
Our home is considerably more traditional than I would prefer, so we have made small changes in decor and details to give it a bit more character. One thing that had to go was the dining room lighting. The old one was just too traditional and a bit dated for my taste. I thought about just painting it and replacing the bulbs, but I wasn’t happy with the height or shape either.
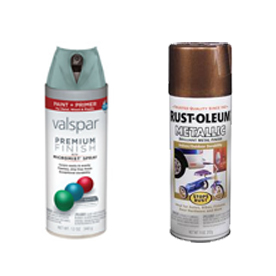
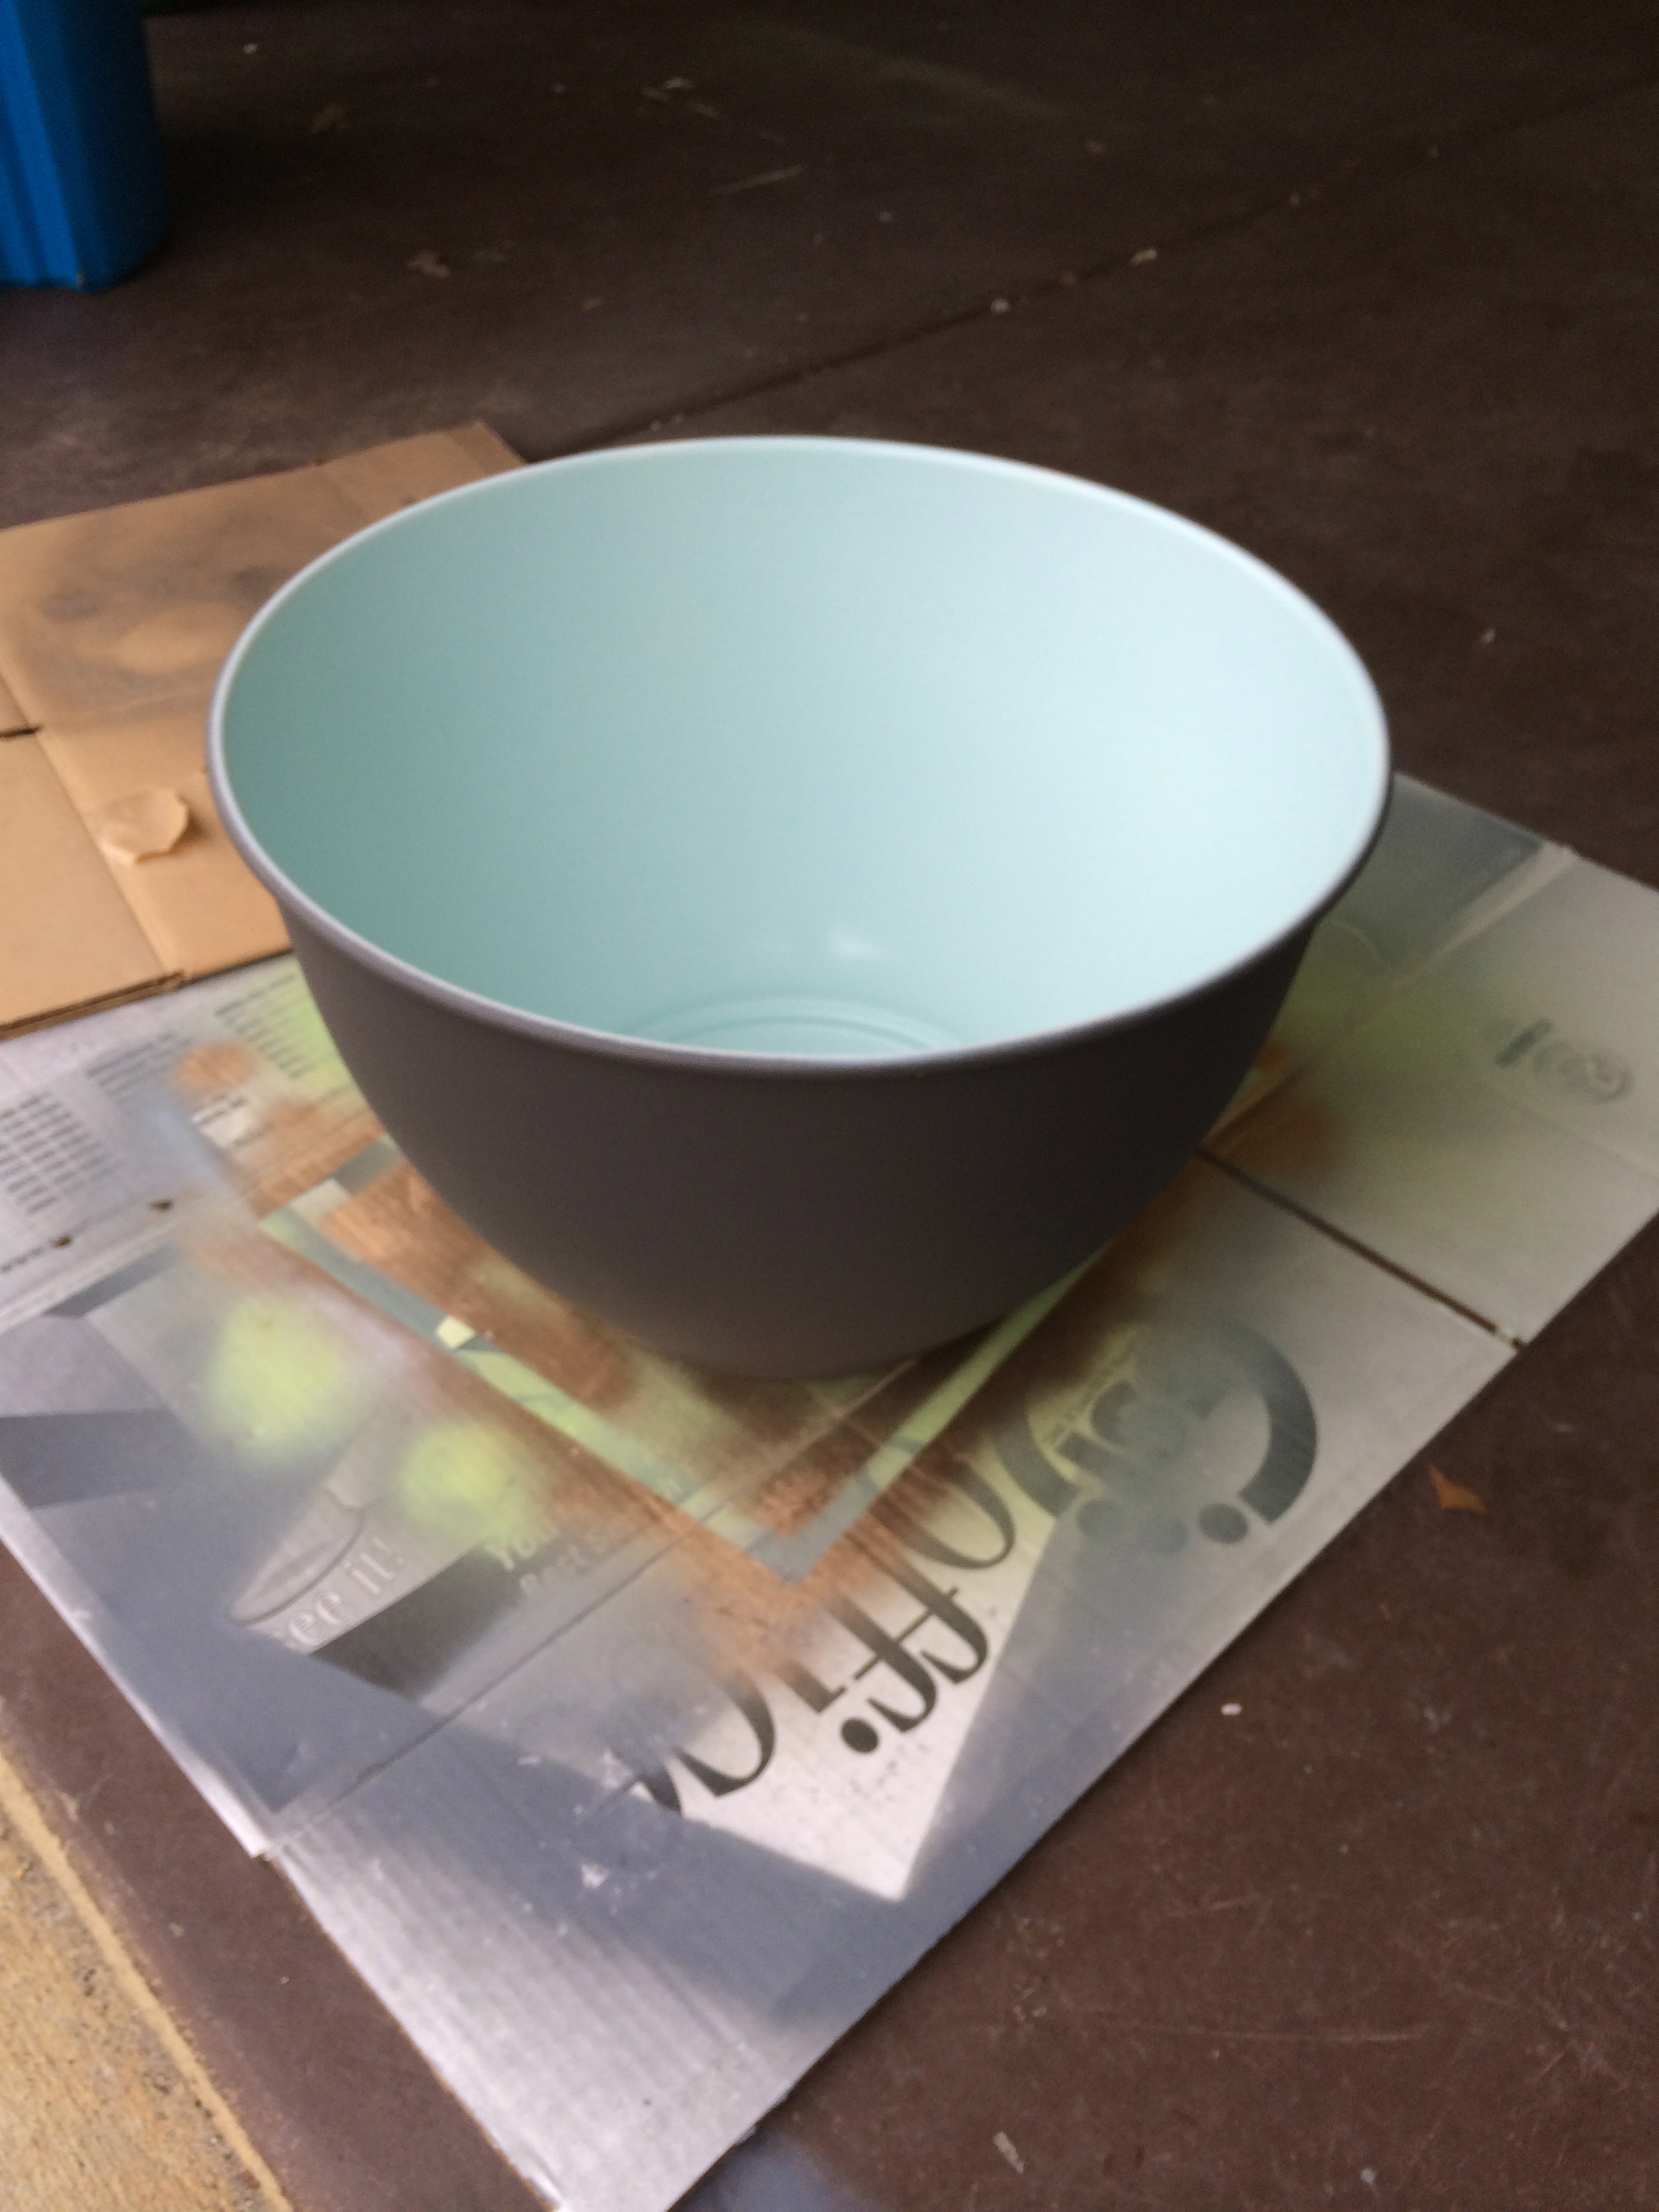
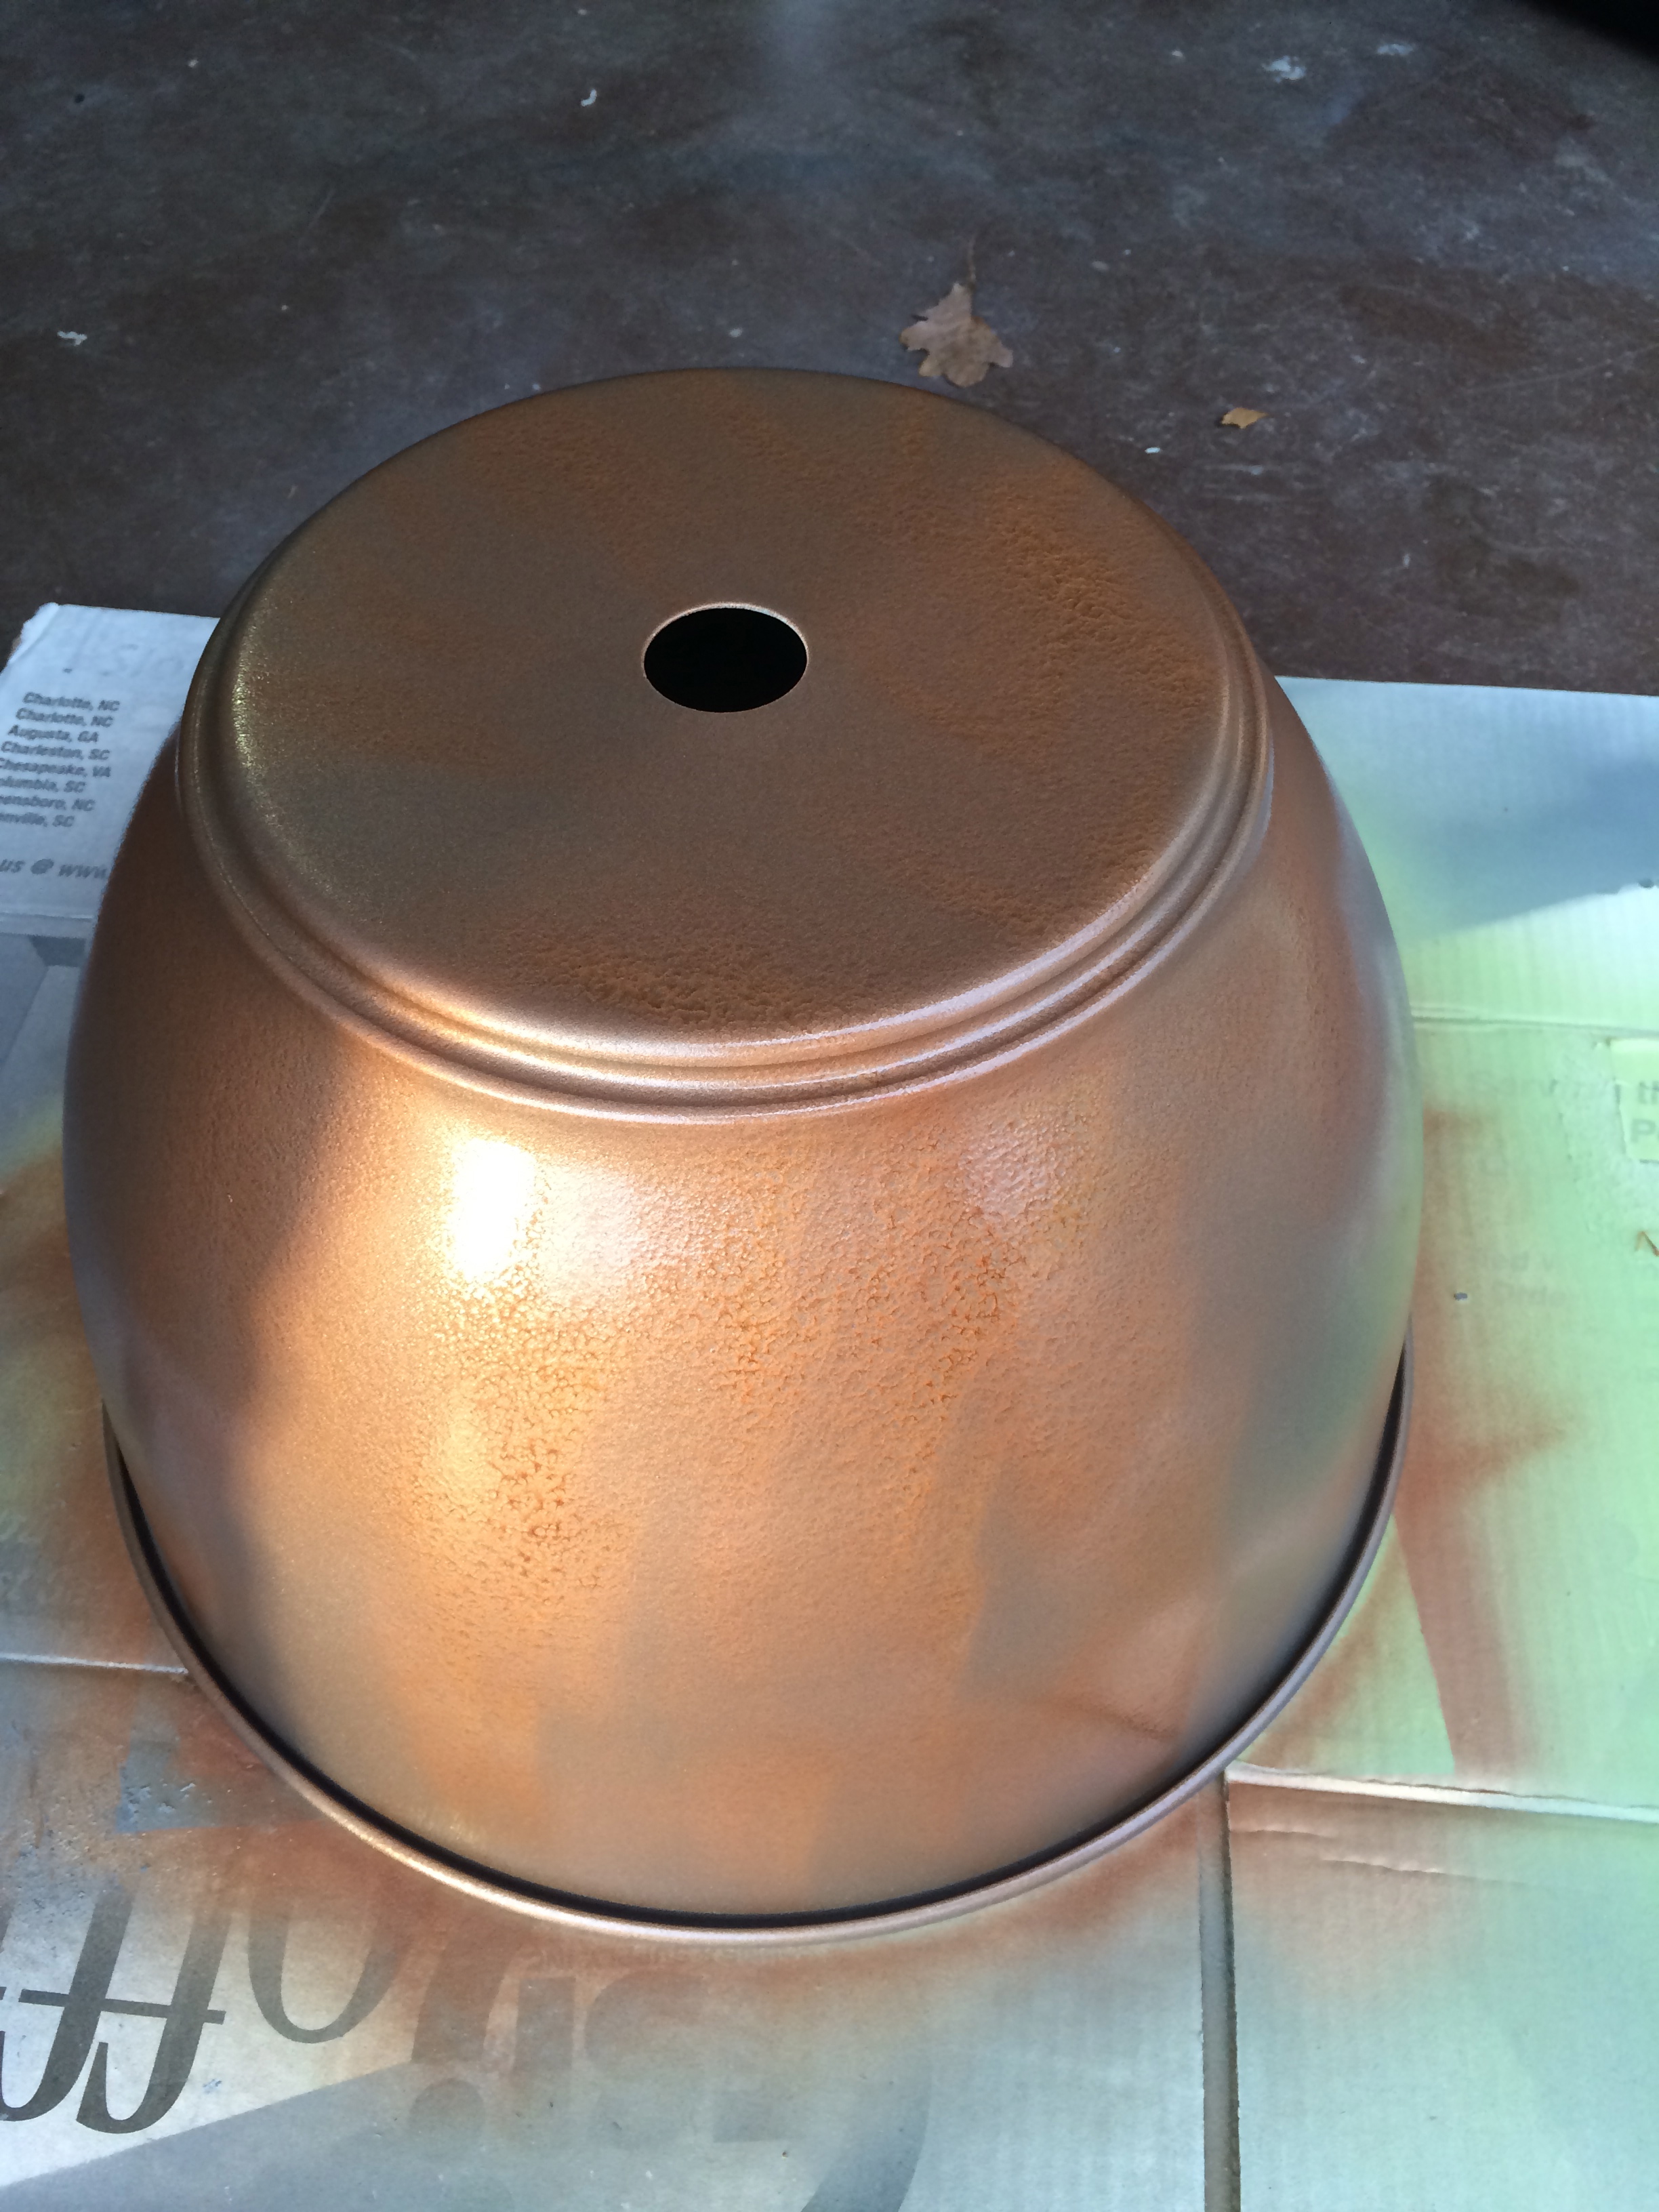
I found a Hektar light from IKEA and although I felt the color was a bit heavy, I liked the shape. So, for roughly $70 I decided I would take a chance and paint it! I purchased some spray paint from Lowes…..a soft Valspar paint for the inside of the light and a textured copper for the exterior:
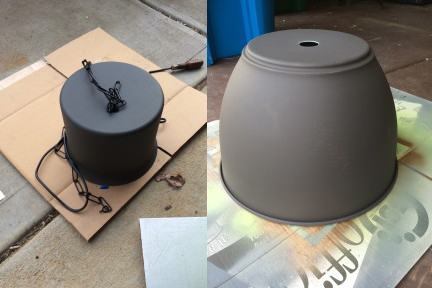
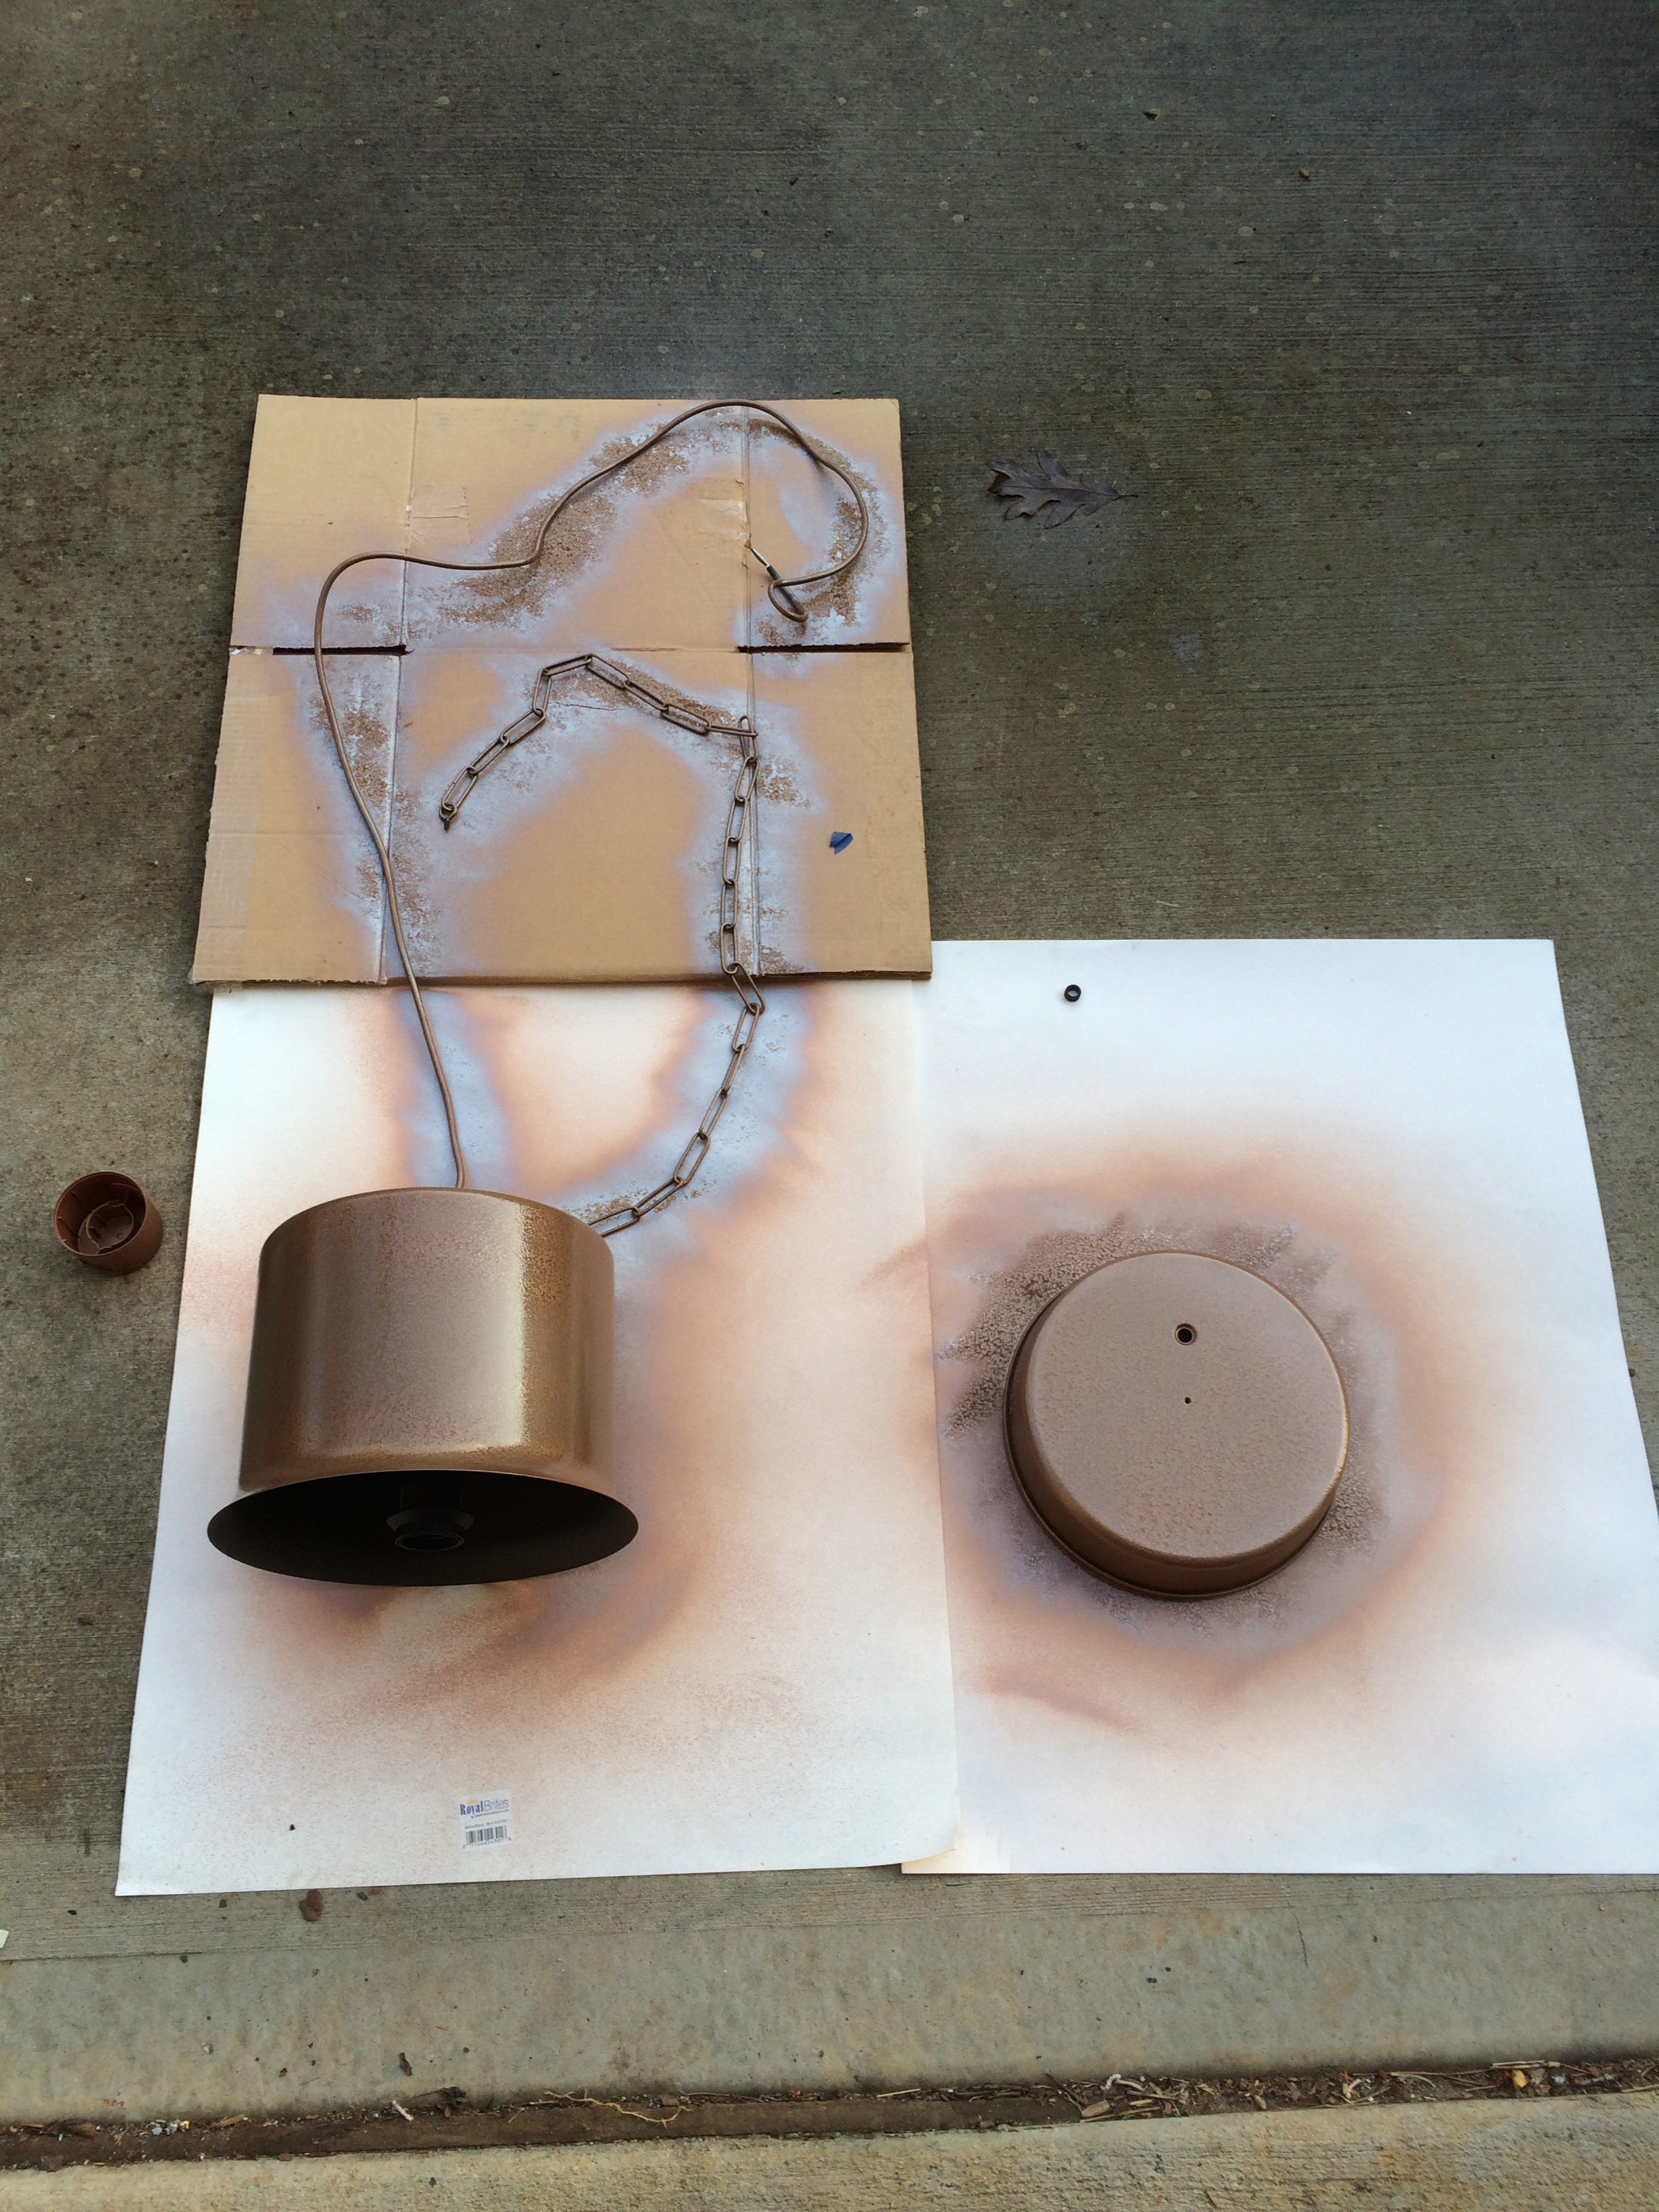
I started by first taking apart the entire light fixture. This would make it easier to paint all the nooks of each piece.
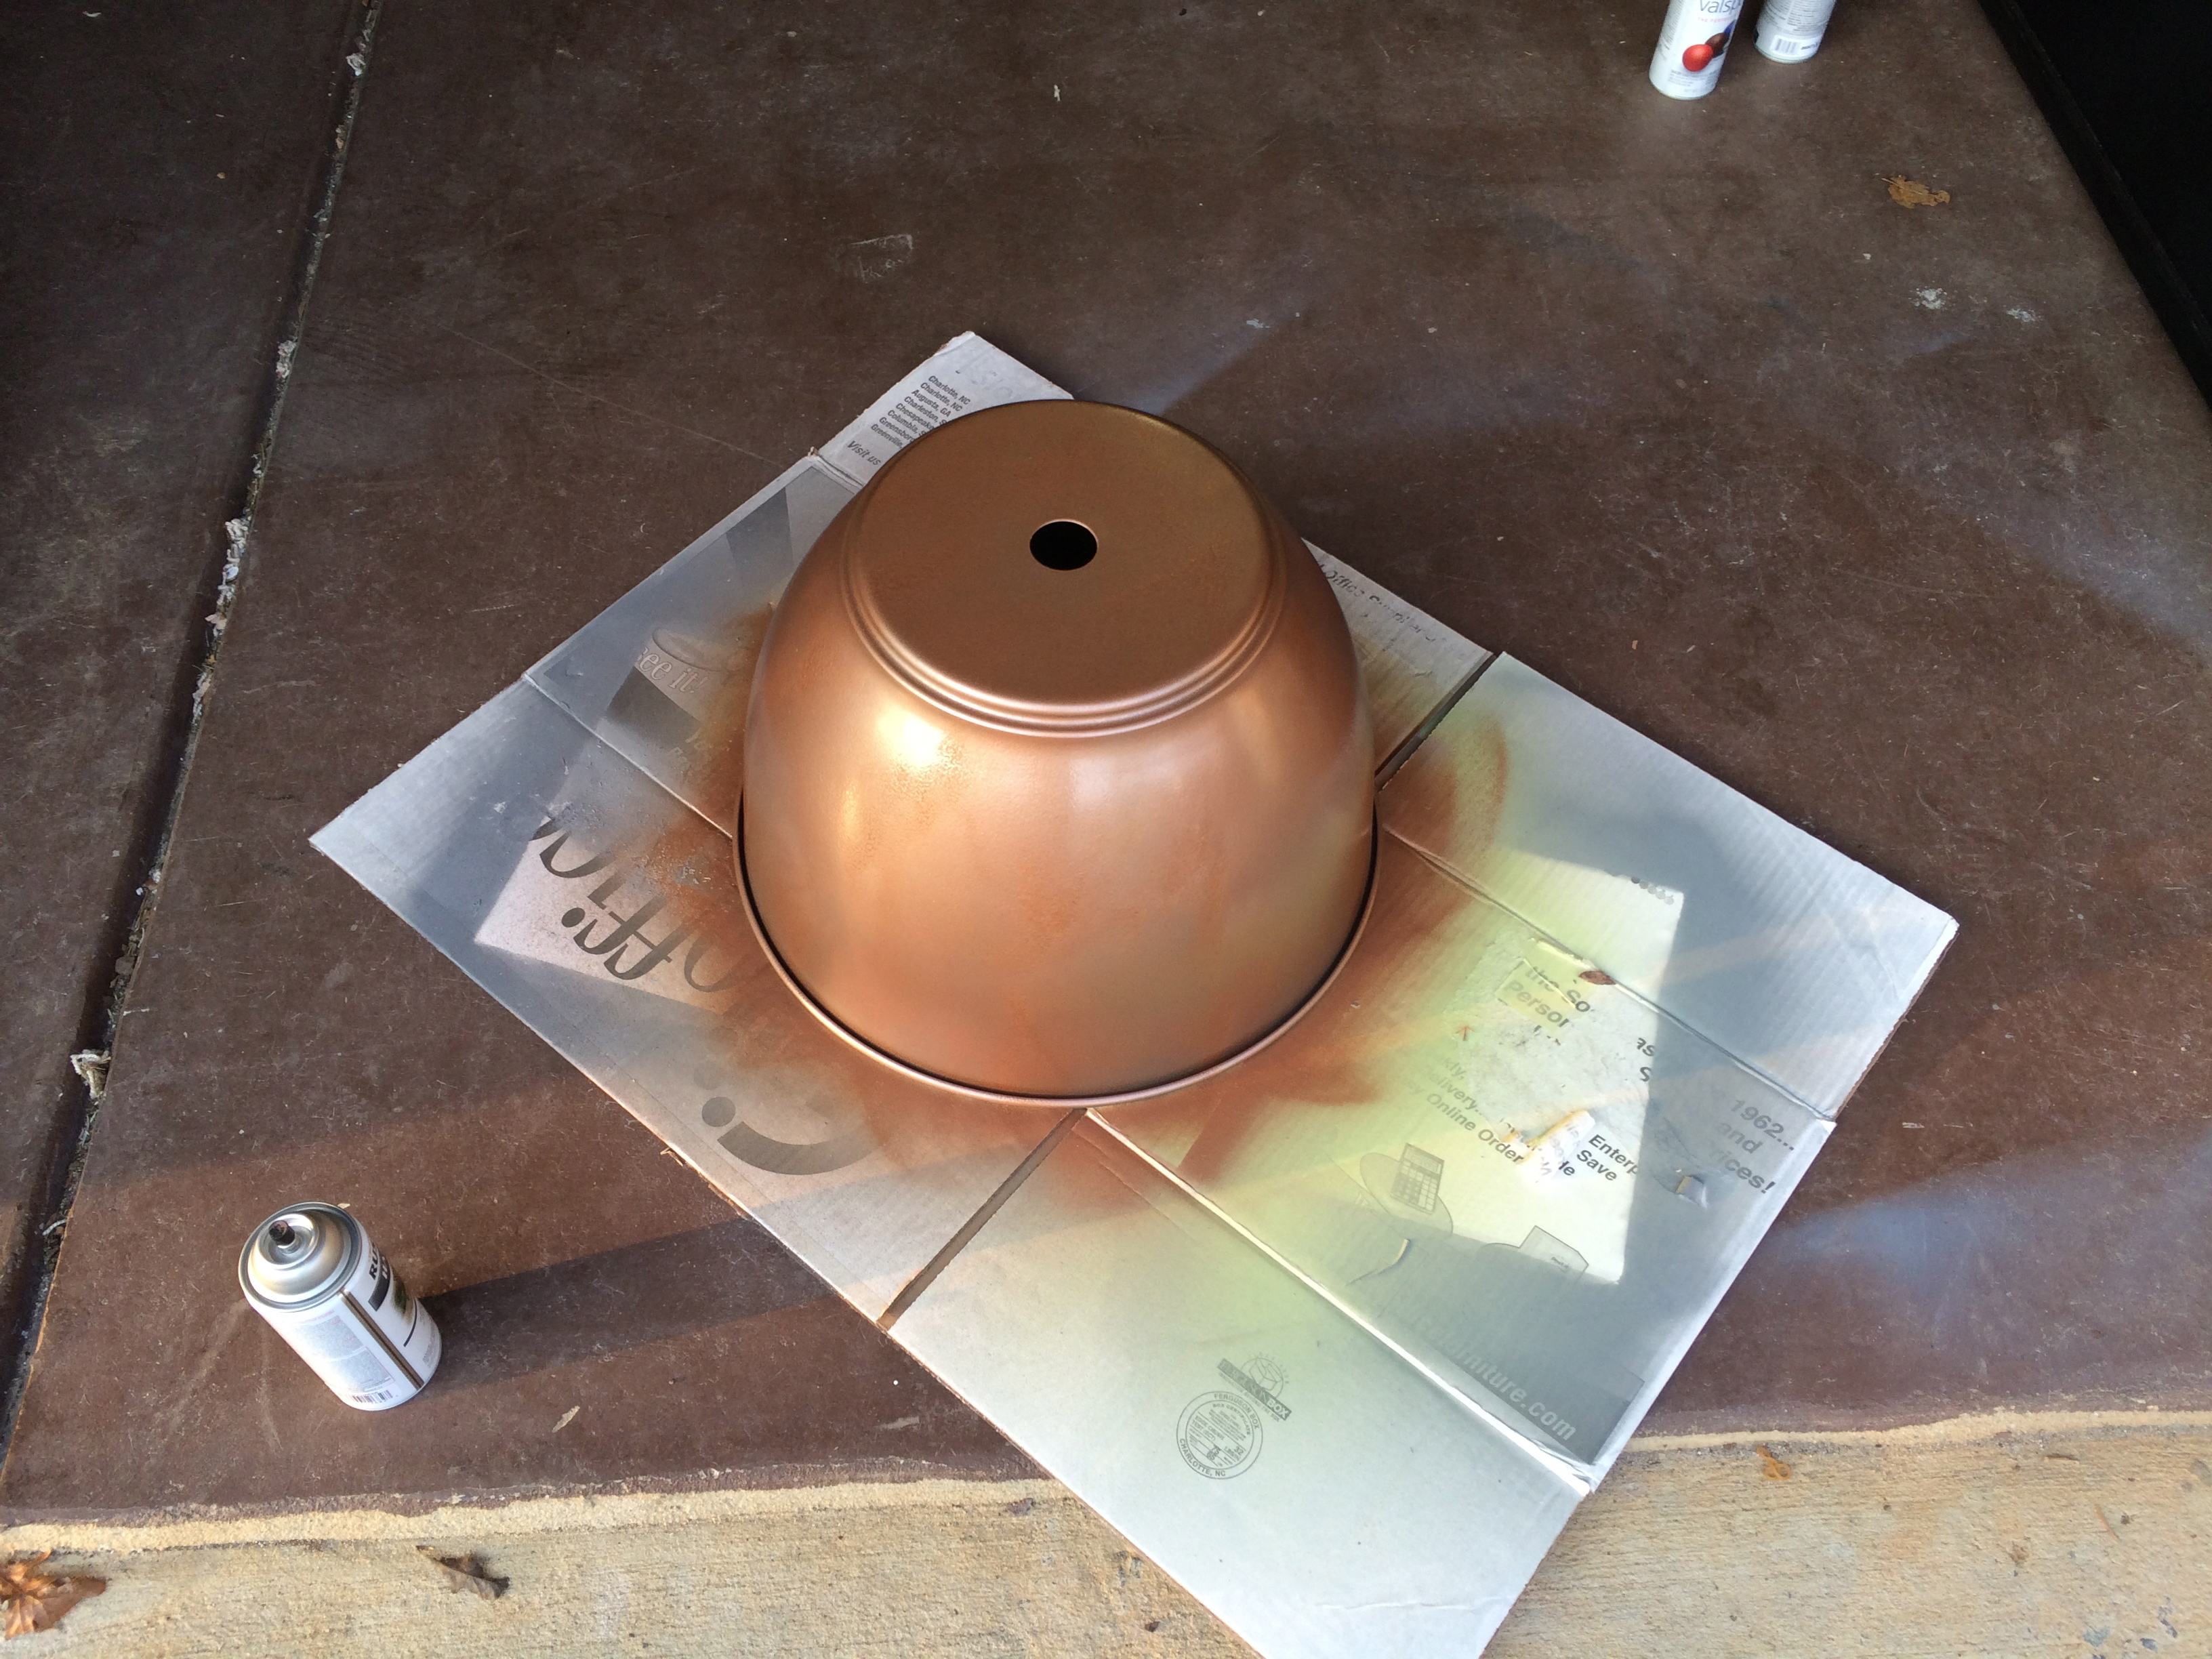
The trick to spray paint is to make several light and even coats. Having said that…..I will confess I am TERRIBLE at this. I always get incredibly anxious and end up rushing the paint. This project was no exception! :/
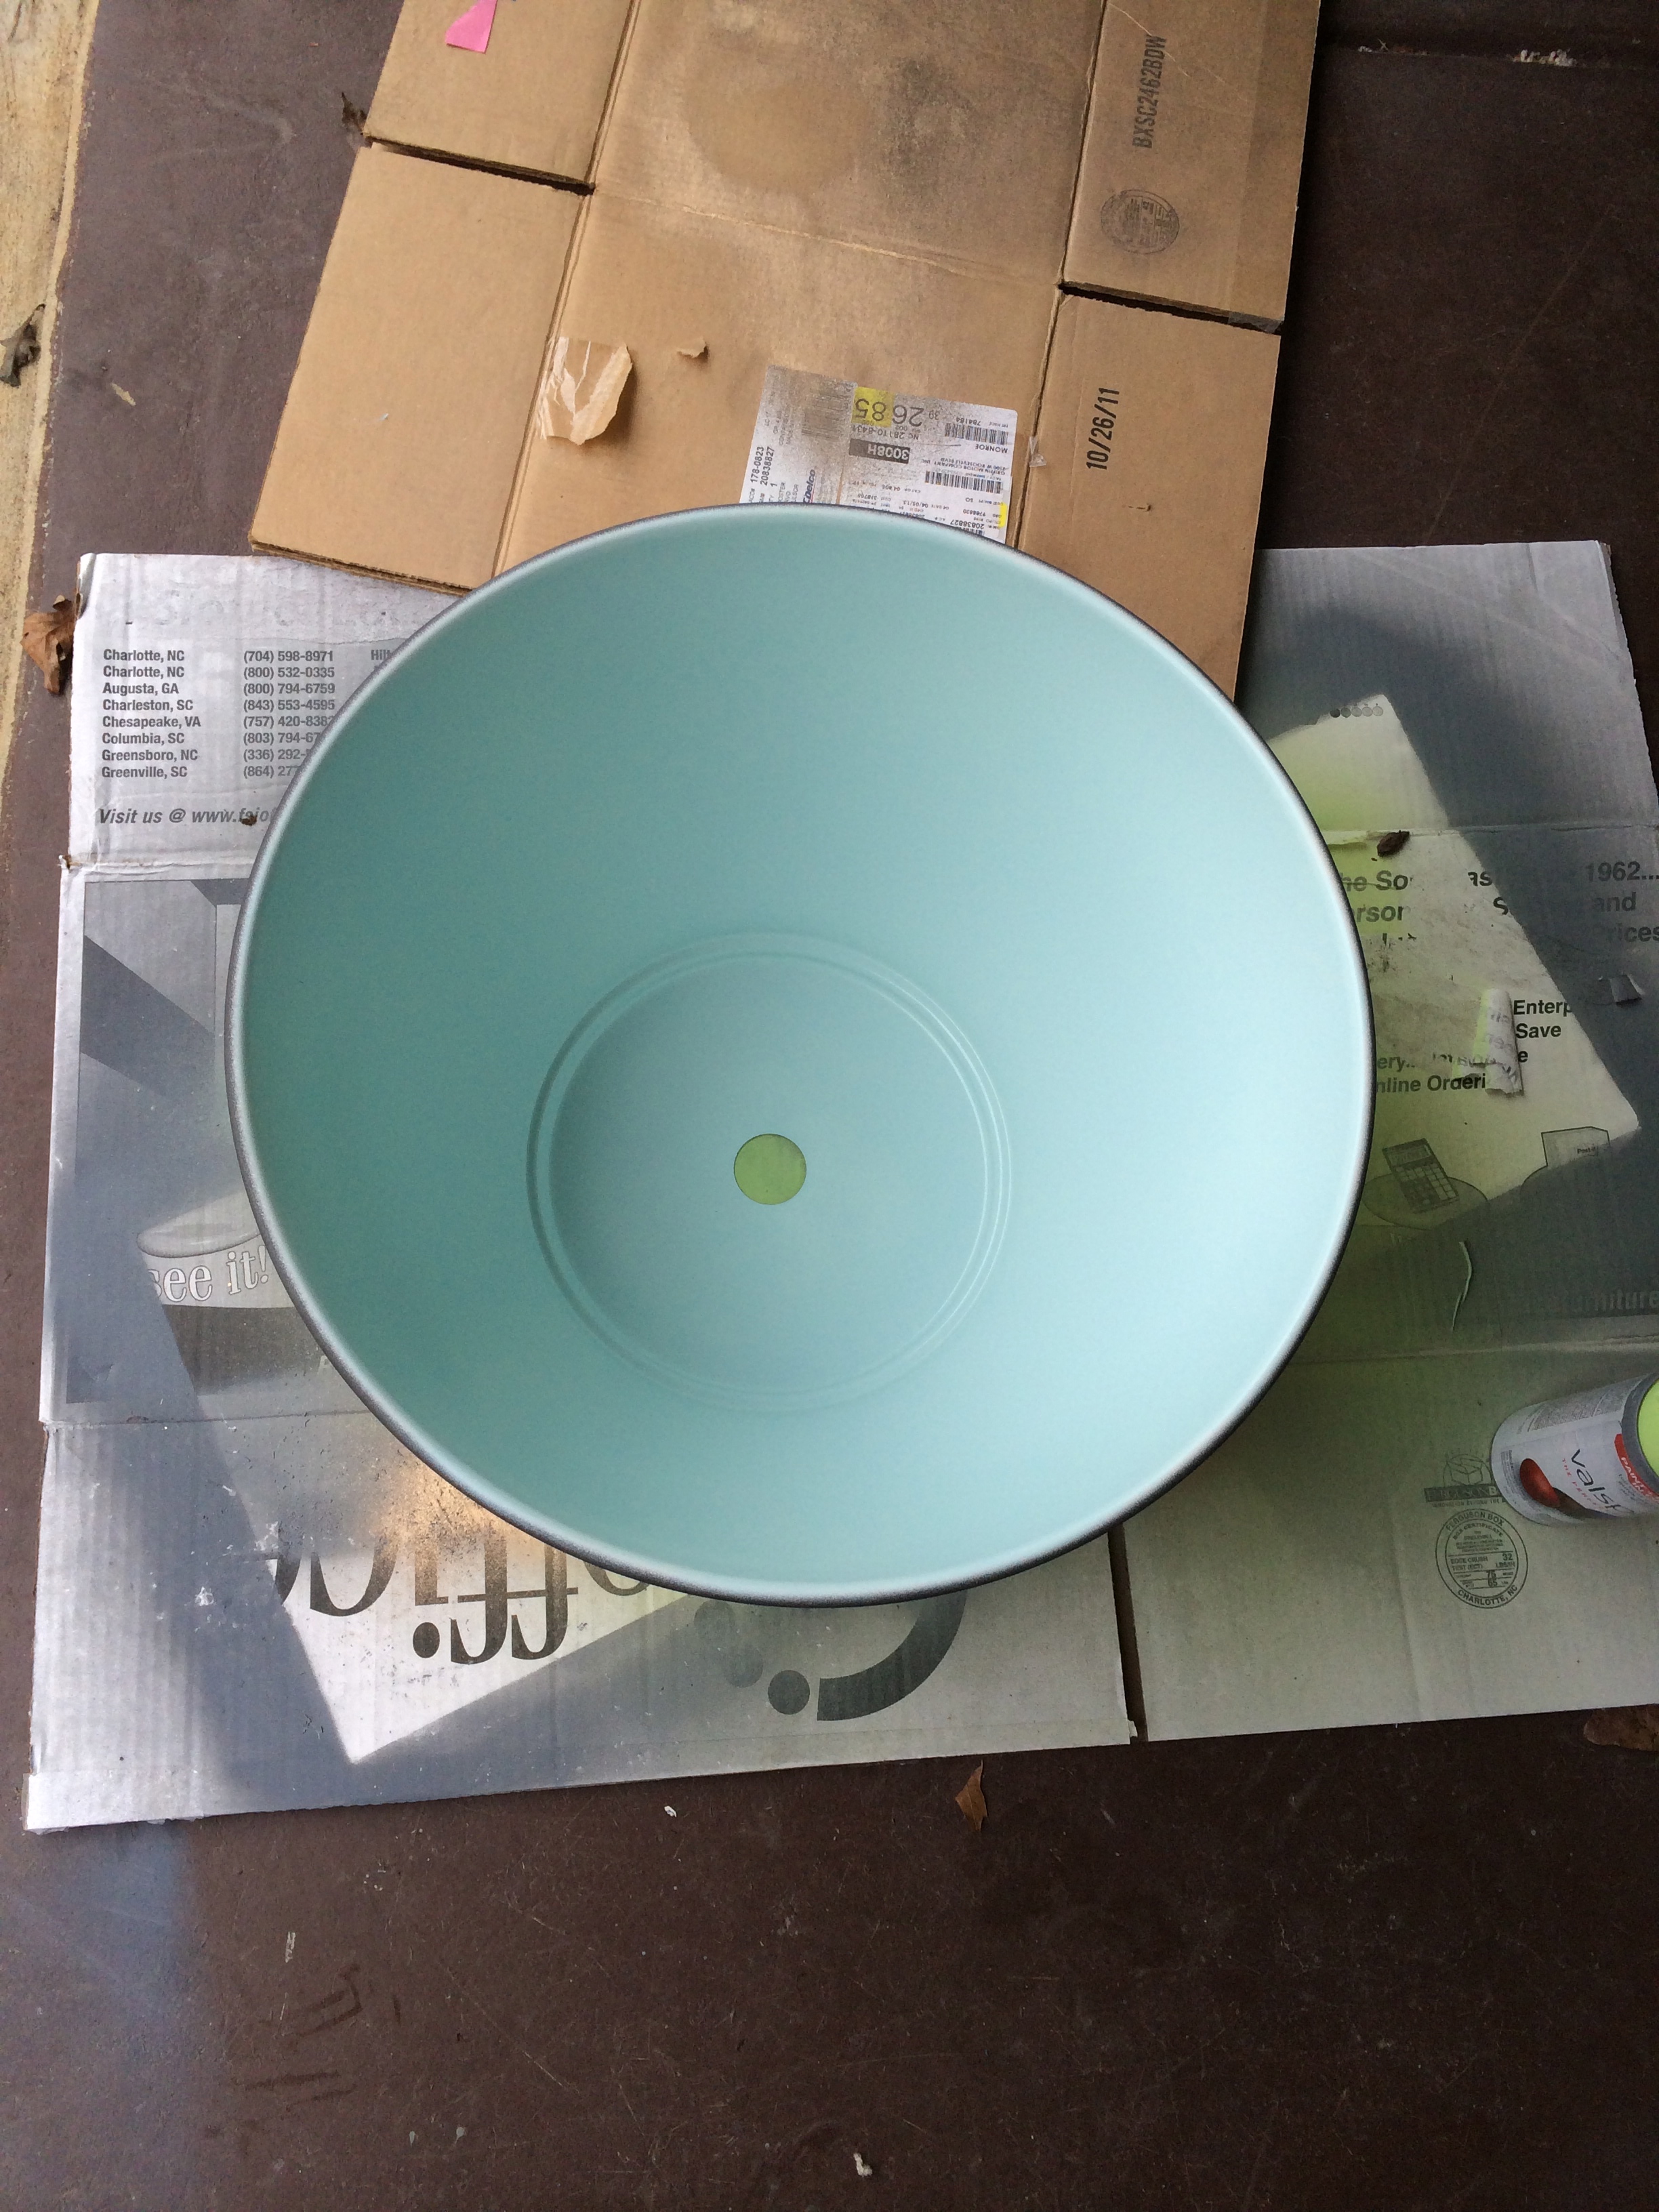
I painted the inside of the fixture first. I did this primarily because I have the most patience in the beginning of any project and I knew I would need it in order to not have paint drips going down the barrel of the dome.
After the blue had dried I flipped the dome over and started the textured copper paint. You can see here that I had to paint several coats in order the get the coverage desired.
After all coats had dried thoroughly I reassembled the fixture and hung!
All in all, I’m pretty pleased with this piece. I have been tossing around the idea of putting a brighter copper coat on and actually hammering the outside of the light. Mainly because I didn’t quite achieve the texture I wanted. The blue is also a little softer than I would have hoped for. It looks great during the day, but with the light on at night it registers somewhat beige. For what little investment this was I can’t complain though!