by heather | recipes
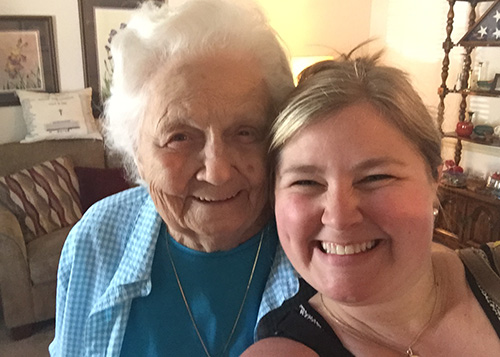
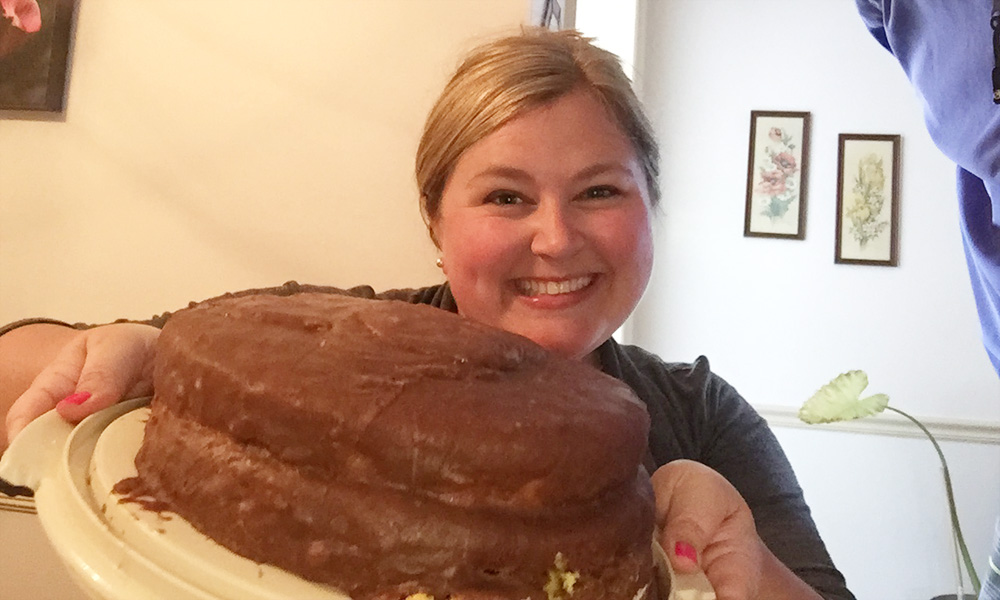
Ma is 91 years young and makes an amazing chocolate cake. She is my husband’s grandmother and she has so kindly been feeding me this cake for the past 11 years. The recipe has been in an old family cookbook for decades, but no one has ever been able to truly master her secret icing technique! I was visiting Ma in Nashville earlier this month and she baked the cake with me step by step for the first time. I documented with photos and got her permission to share with you. She is already known for this cake, and I told her now she was going to be an internet star! 🙂
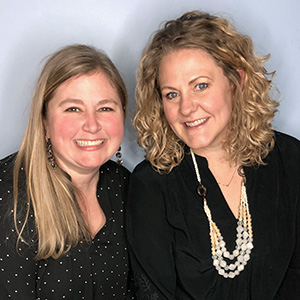
Isn’t Ma the cutest. My grandmothers both passed away when I was younger and she scooped me up as her own granddaughter shortly after my husband and I started dating. I just love her!
Alright, let’s bake a cake!
So, the cake part really isn’t a secret. Just use the easy boxed stuff! You can use yellow, white or chocolate cake mix. Follow the directions on the box to bake the cake. Ma suggests Crisco for greasing the pans before adding the cake mix to bake.
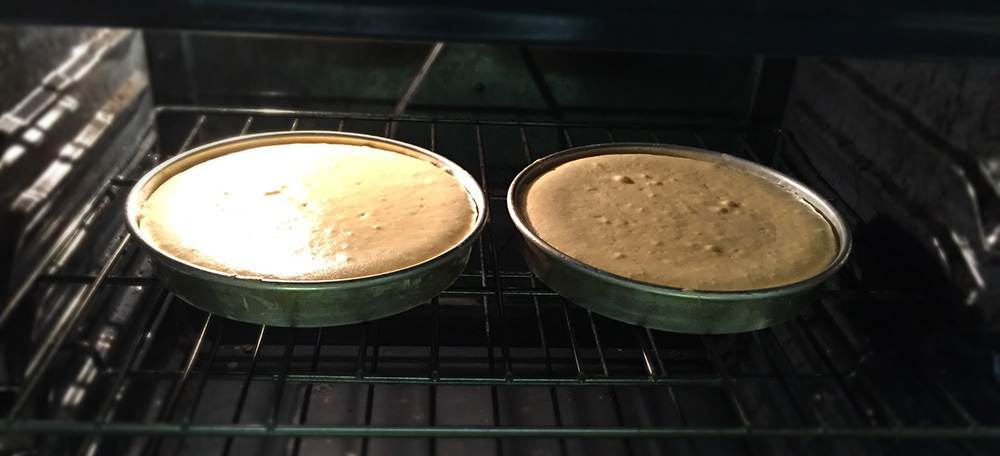
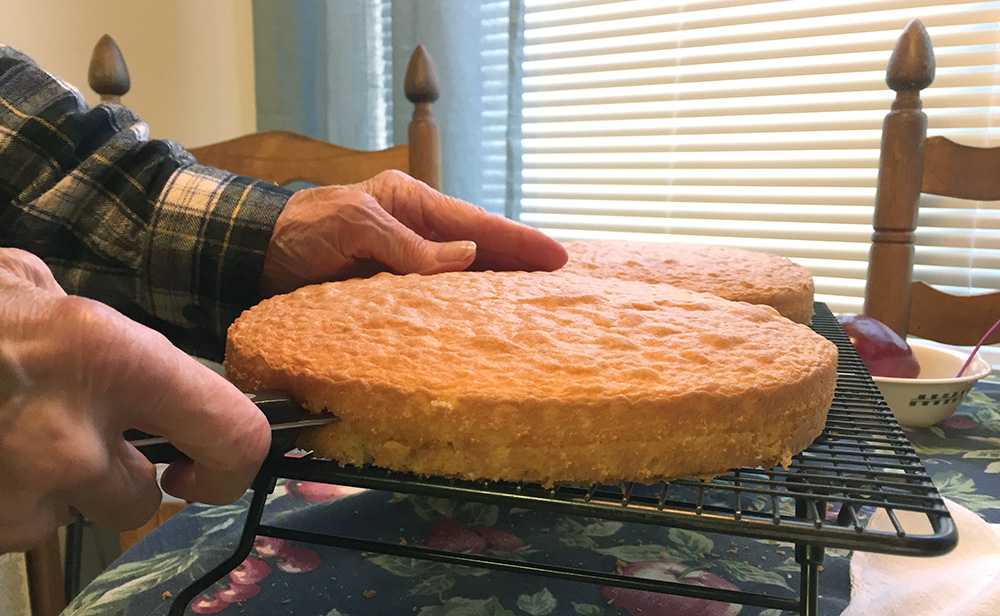
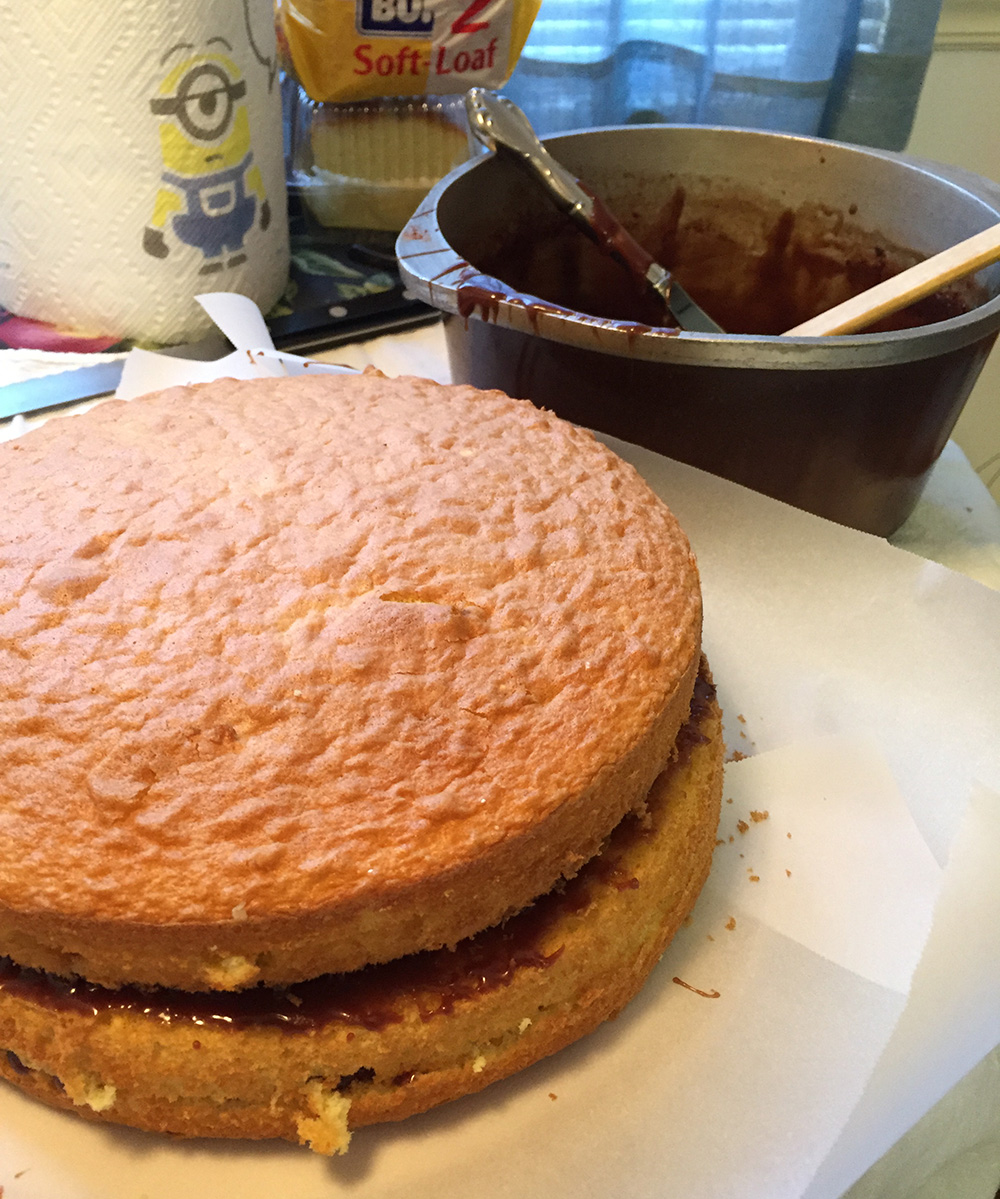
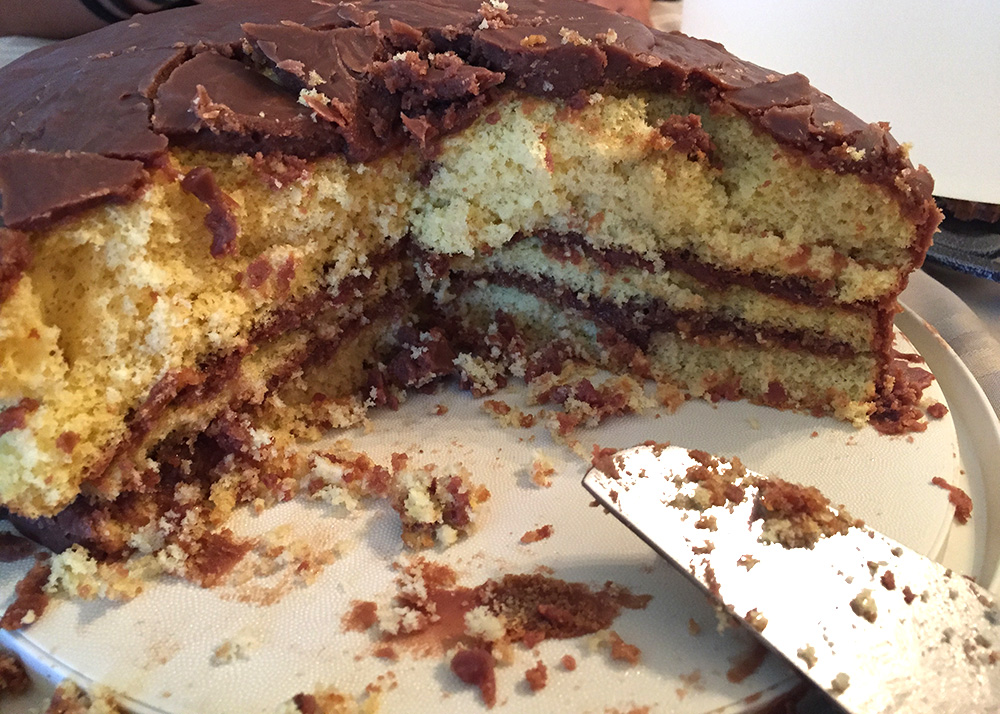
Once the cakes have baked, then let cool on a cooling rack. You can slice each of these in half if you would like to make more layers of the cake.
Now, to the famous chocolate frosting.
STEP ONE: Mix all ingredients in a heavy saucepan. (Scroll to the bottom for recipe)
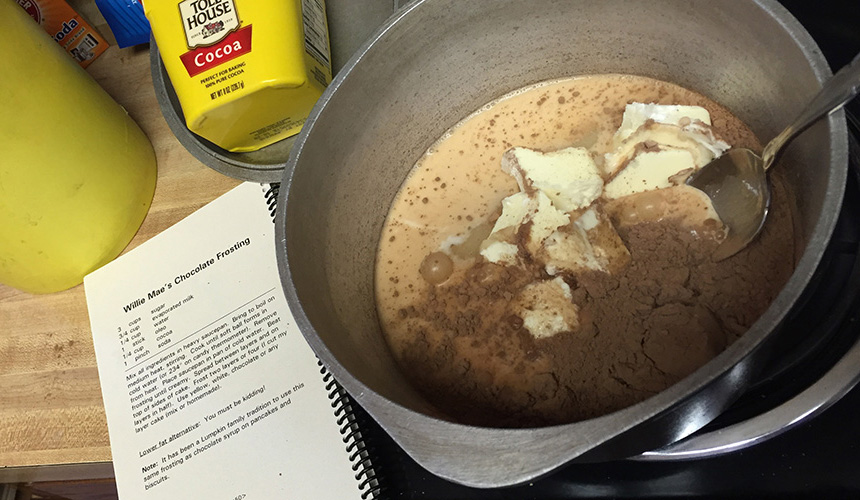
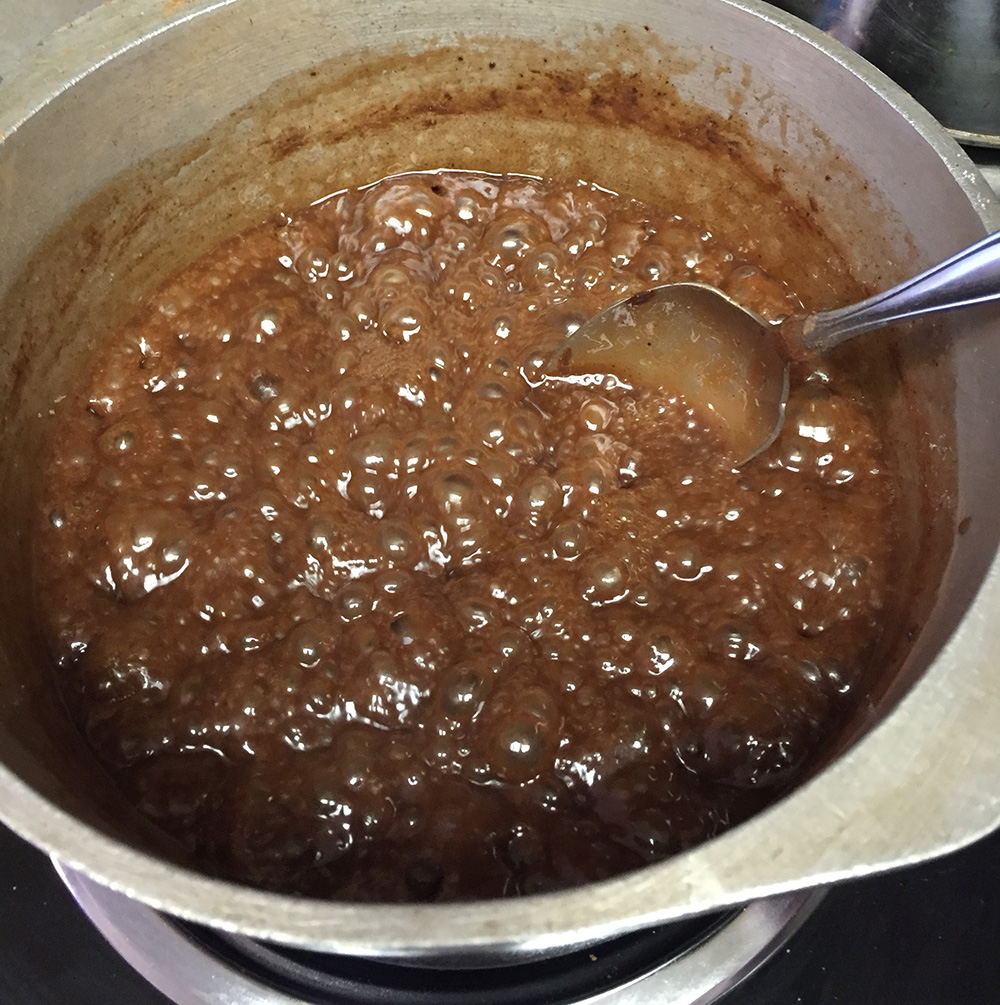
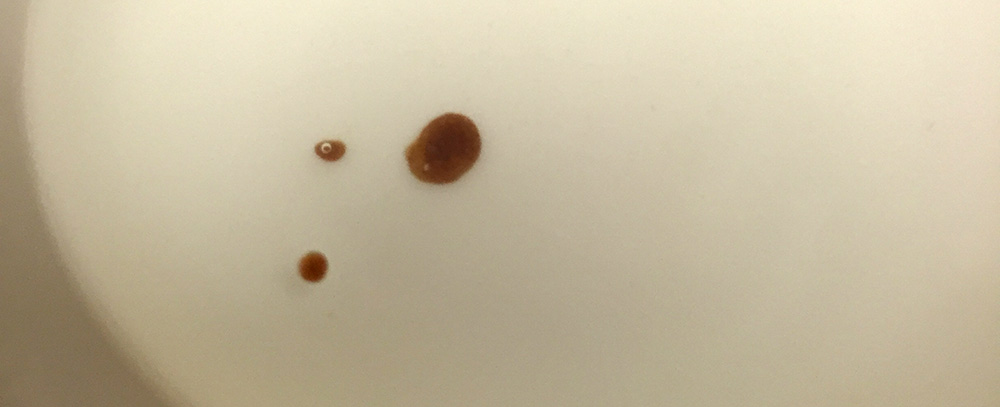
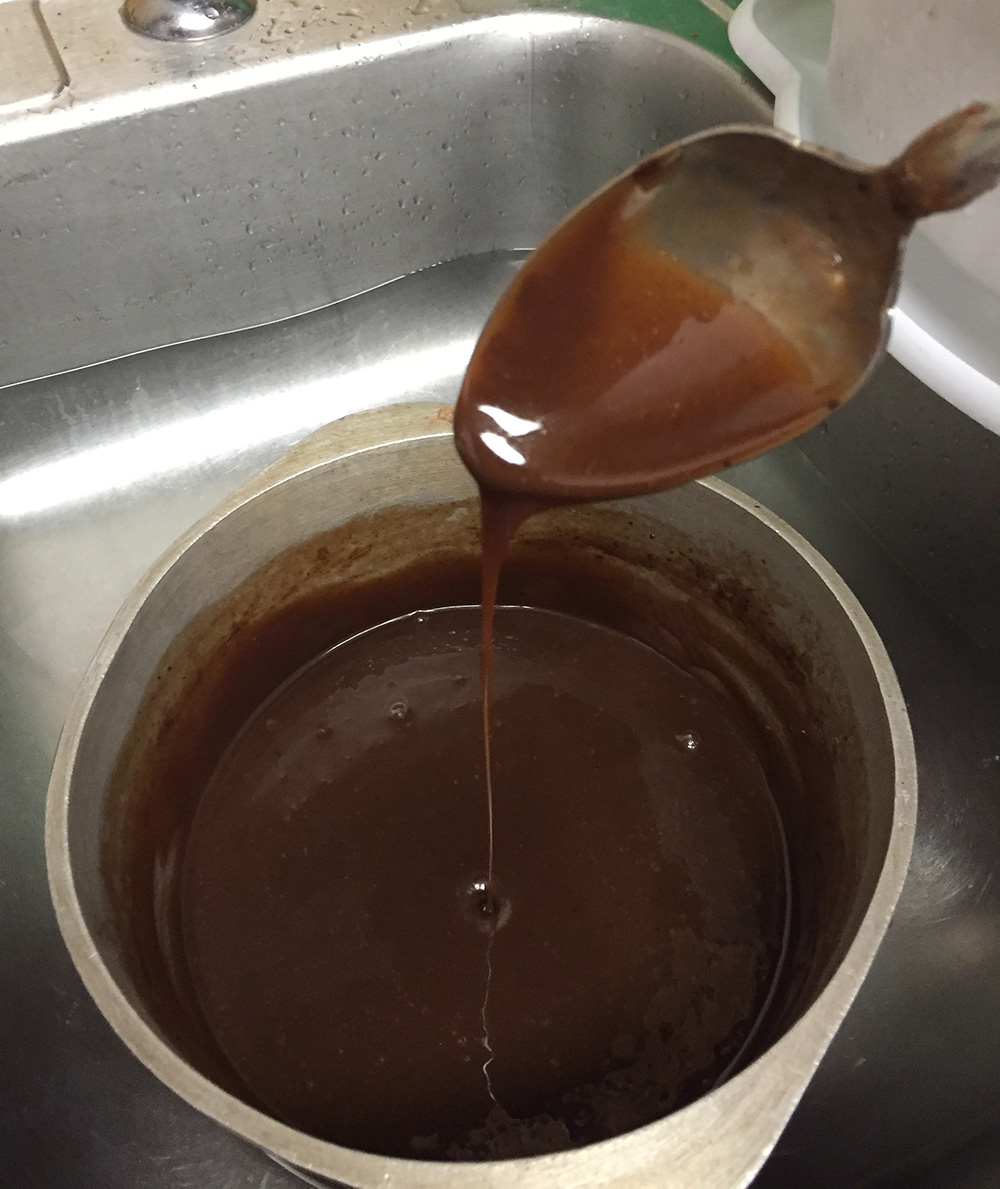
STEP TWO: Bring to a boil on medium heat, stirring. Cook until soft ball forms in cold water (or 234 degrees on candy thermometer). We didn’t use a thermometer – Ma uses the old fashion trick.
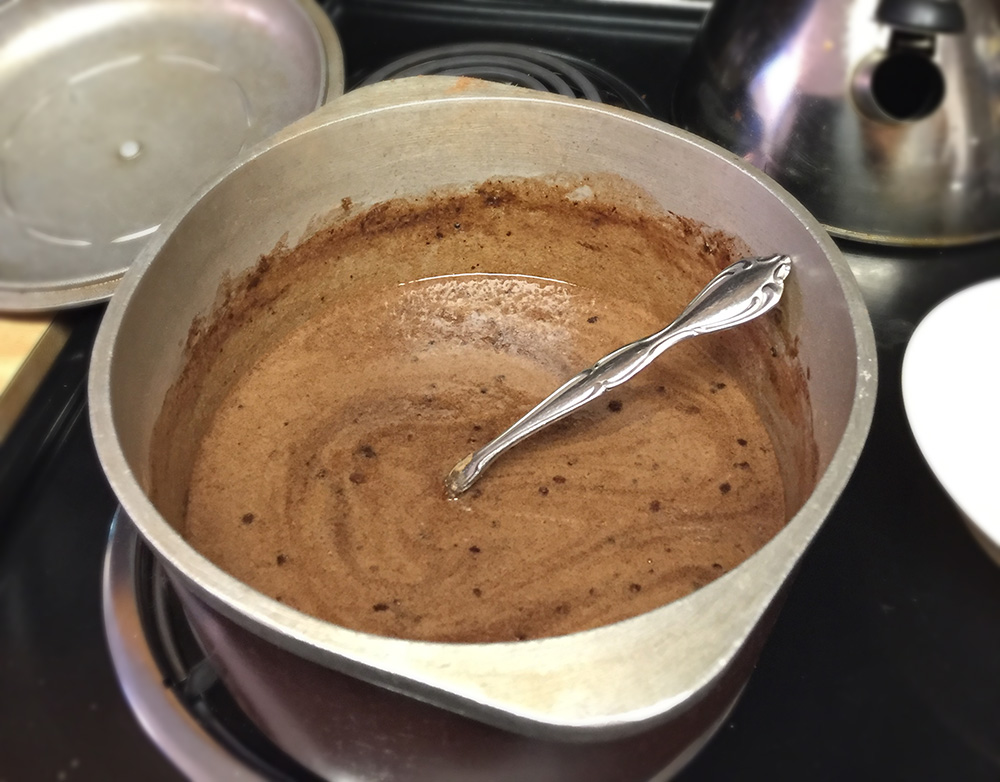
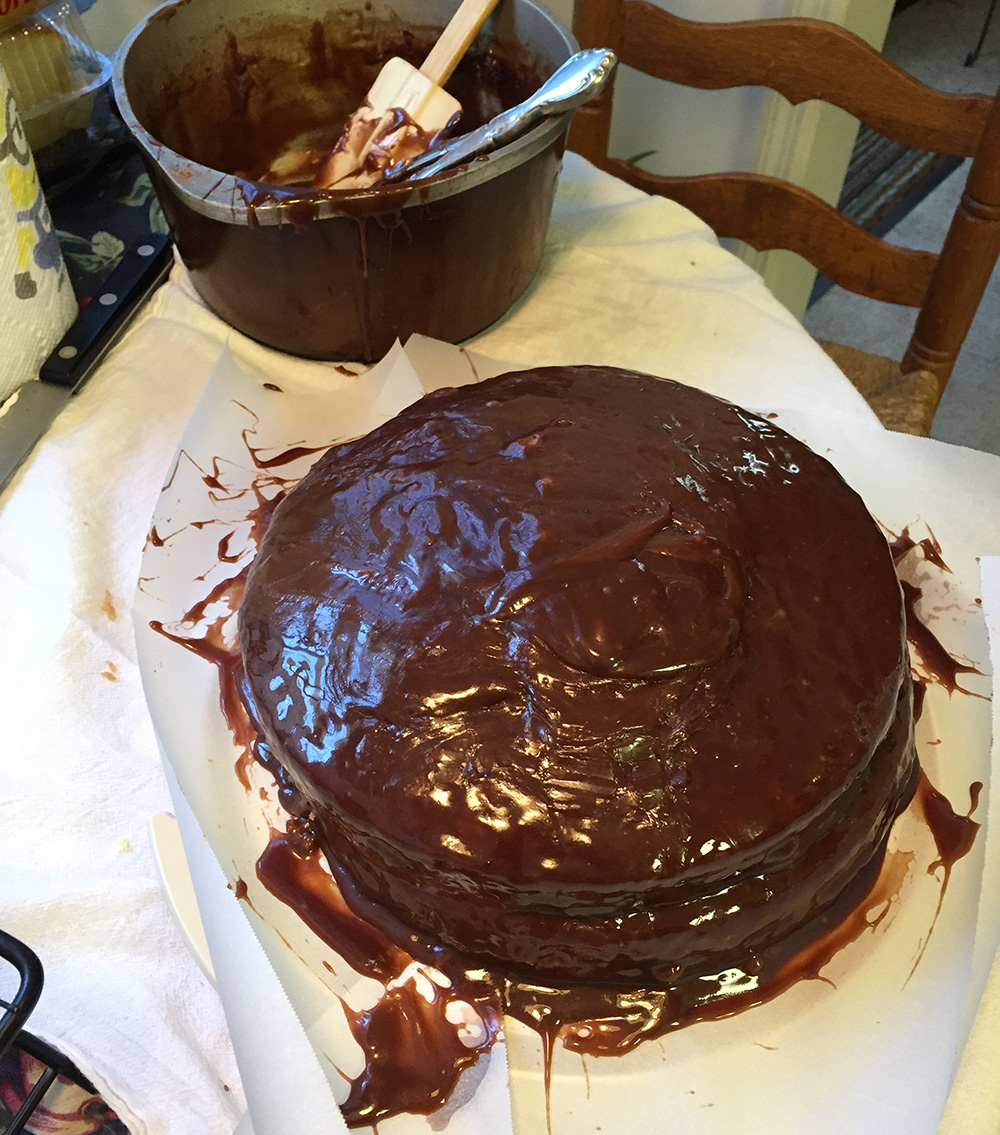
STEP THREE: Remove saucepan from heat. Place saucepan in pan of cold water. (We used Ma’s sink). Stir frosting until creamy.
STEP FOUR: Place parchment paper on cake plate or cake container bottom. This will help so much with clean up! Spread between layers and on top of sides of cake. Frost two layers or four if you cut your bakes cakes in half. (I only cut one in half, so I had three layers)
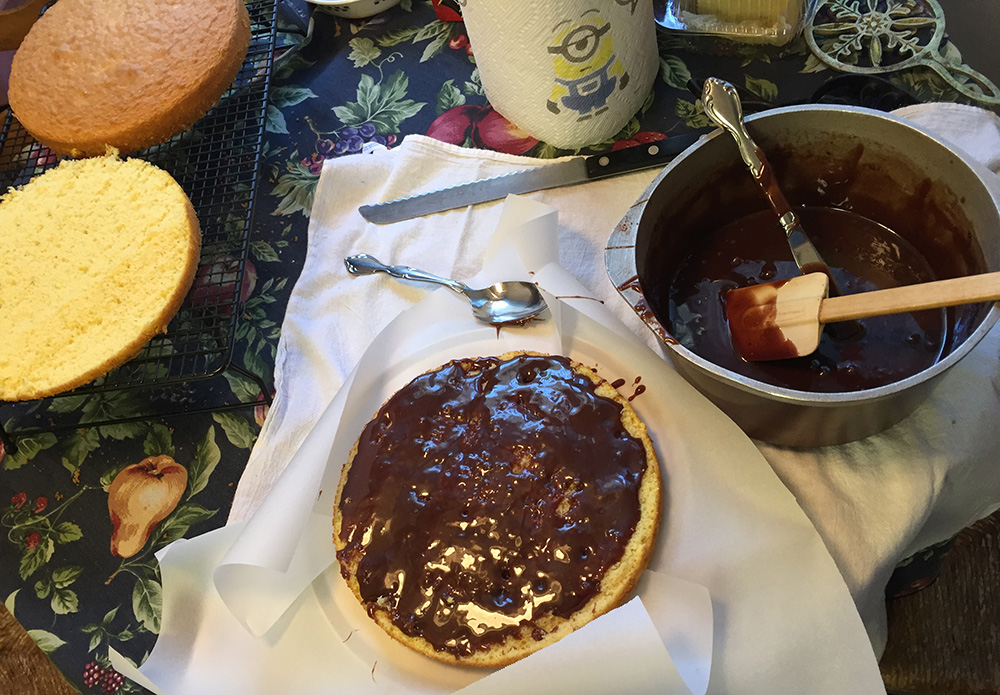
(Don’t you love the minion paper towels! I felt like that little guy was judging my frosting technique!)
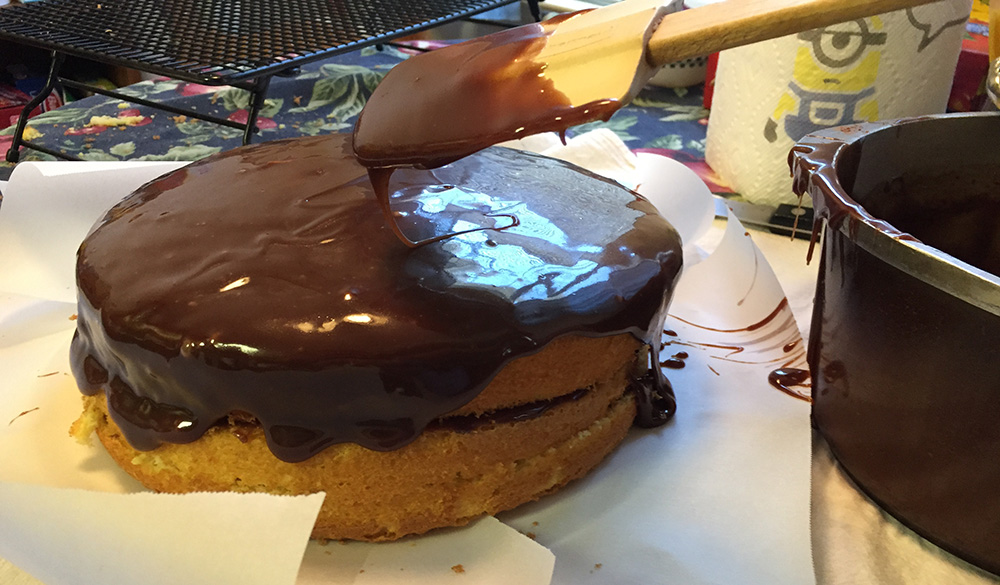
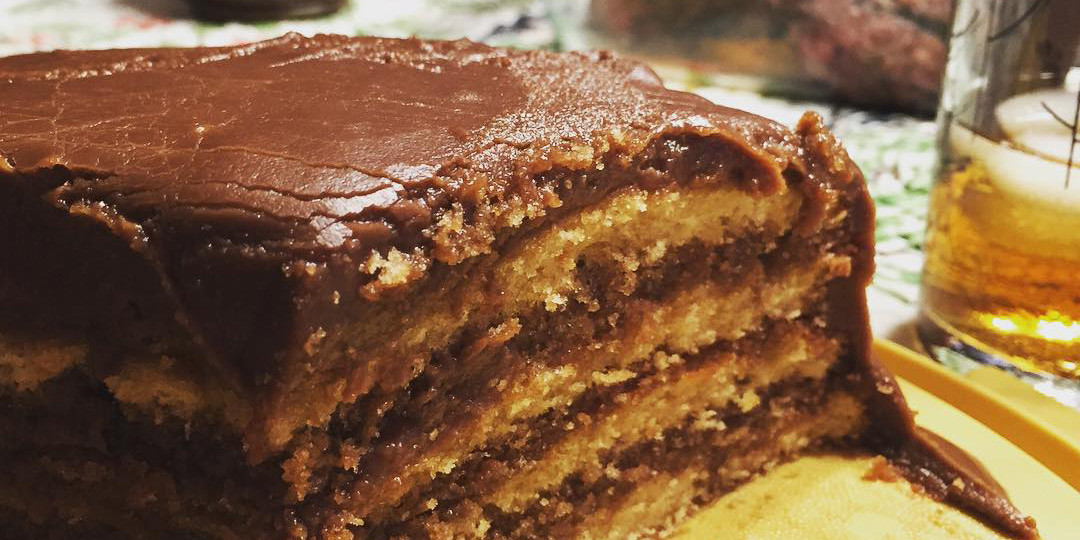
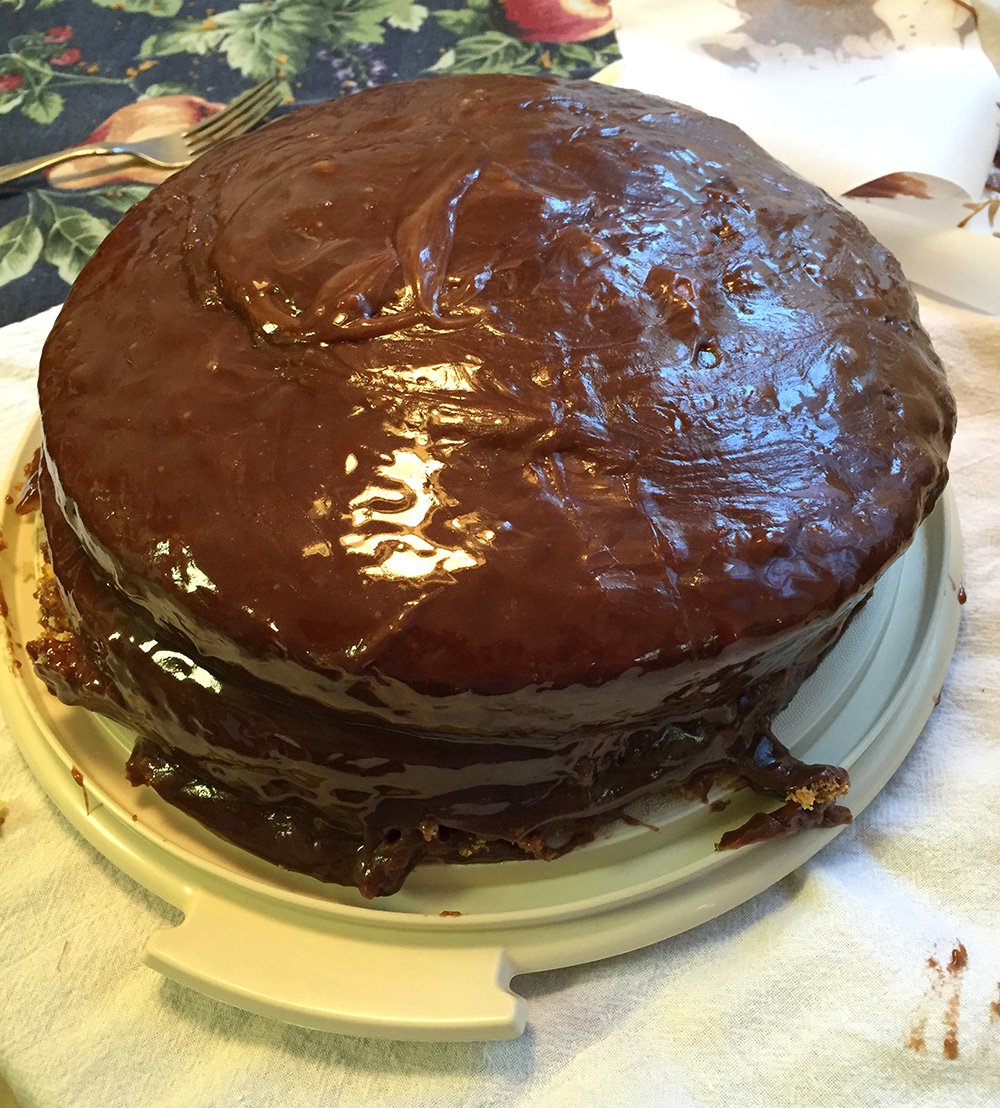
And there you have it! The frosting was definitely tricky. I think I need to make this a few more (dozen) times to even come close to Ma’s perfect version. It’s all about timing with the frosting during boiling/cooling/icing.
Please don’t judge my lopsided cake! I love to cook, but I don’t bake very often. My first cake in quite some time and I didn’t line the layers up just right. You can use toothpicks if you need to hold it together.
As you can see this is messy! But a delicious clean up. Once you have it all iced, slide your cake knife under the cake to lift a tad so you can pull out the parchment paper.
Let cool and then enjoy! YUMMY!
Ma’s Famous Secret Chocolate Cake
Ingredients:
- 3 cups of sugar
- 3/4 cup evaporated milk
- 1/4 cup of water
- 1 stick of butter
- 1/4 cup of cocoa
- 1 pinch of baking soda
Directions:
Mix all ingredients in heavy saucepan. Bring to a boil on medium heat, stirring. Cook until soft ball forms in cold water (or 234 degrees on candy thermometer). Remove from heat. Place saucepan in pan (or sink) of cold water. Stir frosting until creamy. Spread between layers and on top of sides of cake. Frost two layers or four if you cut in half. Cool and enjoy!
Tips for this recipe – see photos and text above
Lower fat alternative – you must be kidding!
I was so proud of myself and my little lopsided cake. I will do better next time. Practice makes perfect, right?
A big thank you to MA for sharing her kitchen and cooking expertise with me and her recipe with all of us!
Enjoy!


by heather | personal, sunny slide up
First, hello. I have missed the Sunny Slide Up blog! It has always been a fun, creative outlet for me. I’m so happy to be back.
What have I been up to? Wow. Where do I start? I can’t believe it has been a year since posting last here! And at the same time – it seems like time has flown by. My dad got very sick at the end of last year. It was very scary and I dropped everything to help him. I was happy to do so. That’s what you do when your family needs you. Especially your parents that helped you through so much of your life. I am happy to report that my dad is doing amazingly well now. The whole experience brought us so much closer together. Love you Dad!
(source)
Can you believe that is it already November? The holidays last year were a complete blur with everything going on. Then before you know it the new year was here. Unfortunately, I found less and less time for my creative outlets like this blog and I was working nonstop. My business was going really well, so I can’t complain…but I needed to slow down. I sometimes think I am superwoman and I can do it all. Don’t we all, ha. Well I am trying to be more realistic these days and stop over-commiting! It is a fault of mine. I stopped saying yes to everything and started adding more turnaround time to by work projects. I schedule my downtime. I need a lazy Sunday every once in a while…or every week. It is amazing how refreshing a day at home with no project deadlines and plans can be!
 (source)
This past summer flew by without enough beach vacations. That is what I always end up saying. I love the beach and will totally live by one someday. Talk about slowing down. I could sit on a beach everyday soaking up the sun. It is one of my favorite things ever.
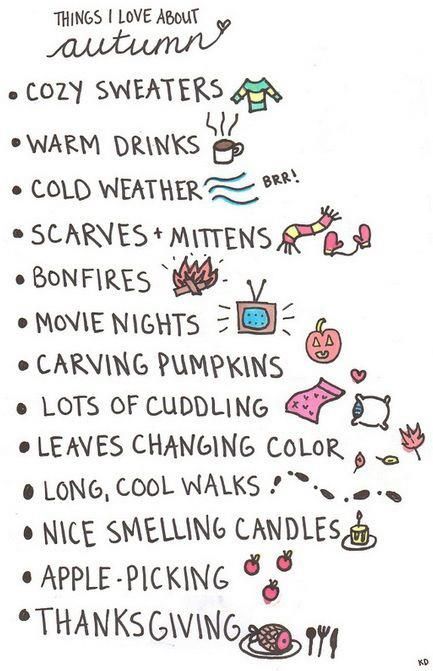
And now fall is here with its beautiful leaves. It has been raining here in Charlotte this week which has been kind of blah, but I welcome the cooler weather when I can wear my fuzzy sweaters and have my fireplace on every evening.
(source)
Halloween is over and the countdown to the holidays begins. Only 22 days until Thanksgiving! Need some turkey day ideas? Here are some from when I hosted Thanksgiving a couple of years ago. Gobble! Gobble!
I’m super excited for this holiday season. I just love buying/making gifts for people. I gather gifts all year long and stuff them in a box in a closet – then it is so exciting when I open the box to see what I have collected all year and start the wrapping! And the decorating – I would leave my Christmas tree up all year long if my husband would let me.
I’m going to try to remember my “slow down” motto through the rest of this year. The holidays can get so rushed. I’m going to sit back a bit and enjoy. And I am really looking forward to sharing some of my favorite finds from this past year with you and playing a bit of catch up here on the blog. More to come. Cheers!
(P.S. – have you entered our giveaway this week yet? There is still time!)
by heather | creative tips, diy, fun finds, quotes and toasts
You know we all love a party over here on Sunny Slide Up! Since we are celebrating our birthday, I thought it was only appropriate to gather some easy DIY party decor ideas. Check out our Pinterest board “Party On” for even more great ideas!
10 Easy DIY Party Decor Ideas
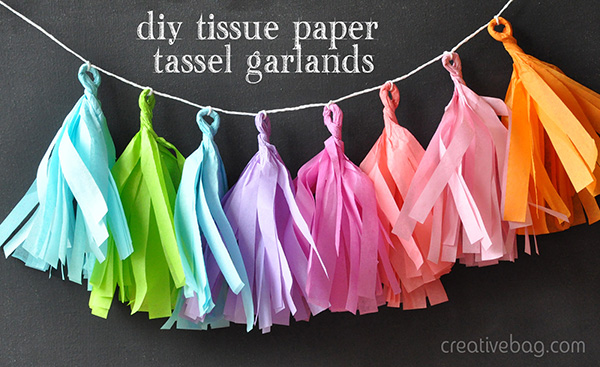
1. DIY Tissue Paper Tassel Garland – Creative Bag
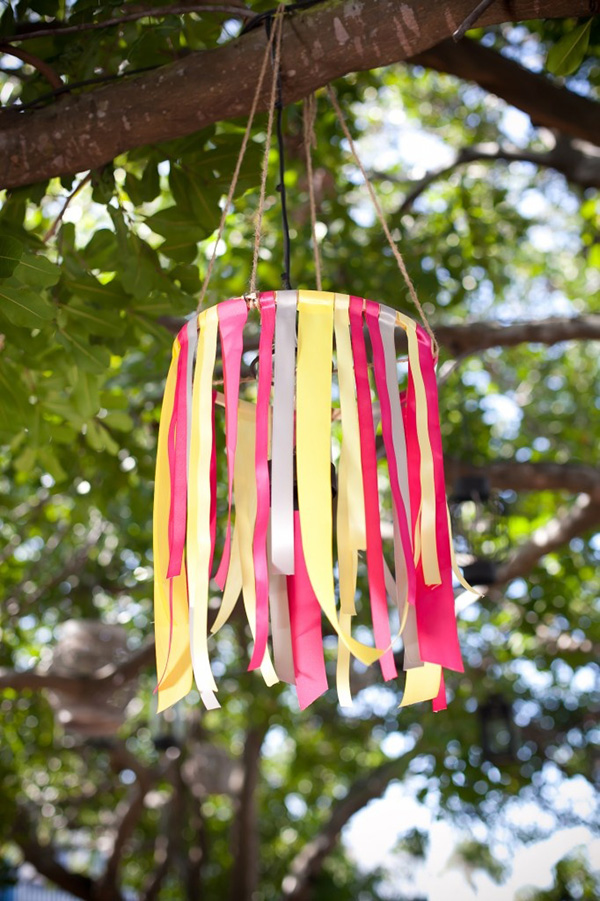
2. DIY Ribbon Chandelier – Every Last Detail
3. DIY Metallic Stroke Balloons – Design Love Fest

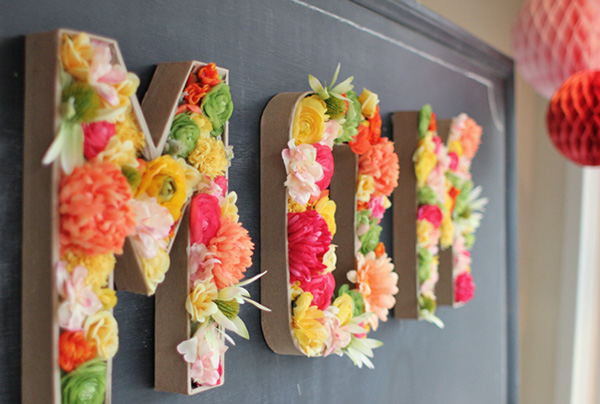
4. DIY Blooming Letters – Urbanic Paper
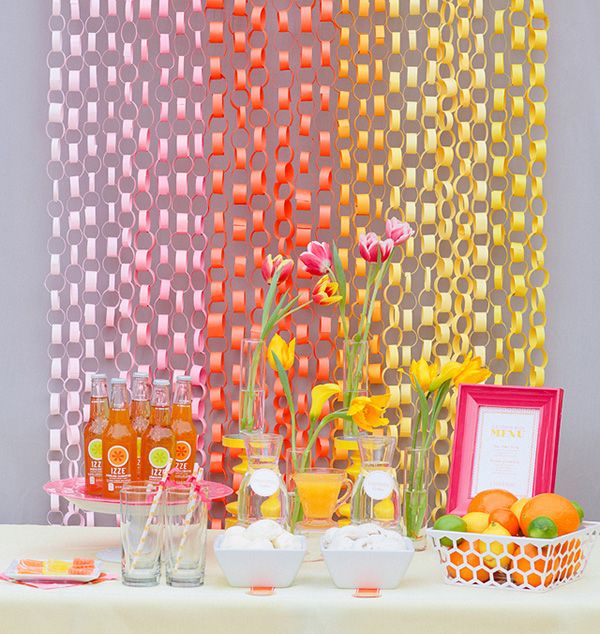
5. DIY Paper Chain Background – Floridian
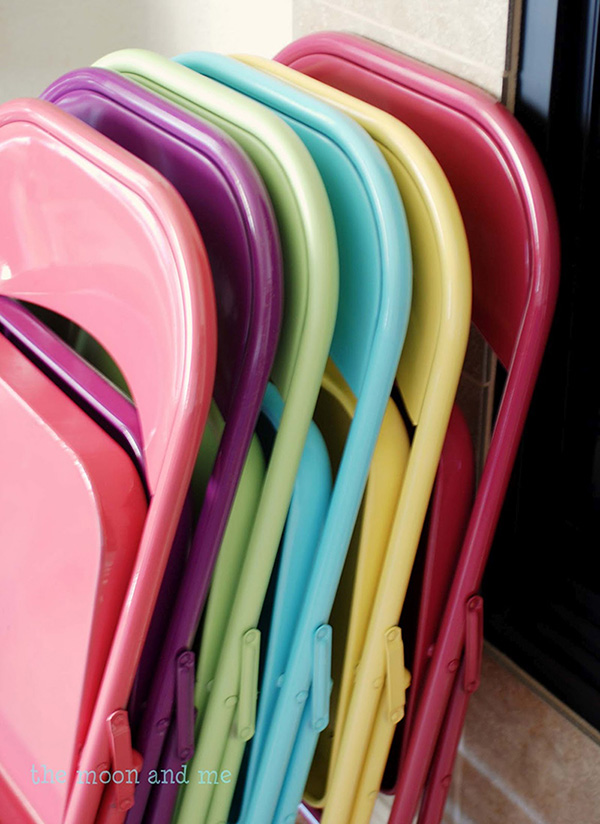
6. DIY Spray Painted Metal Folding Chairs – The Moon and Me
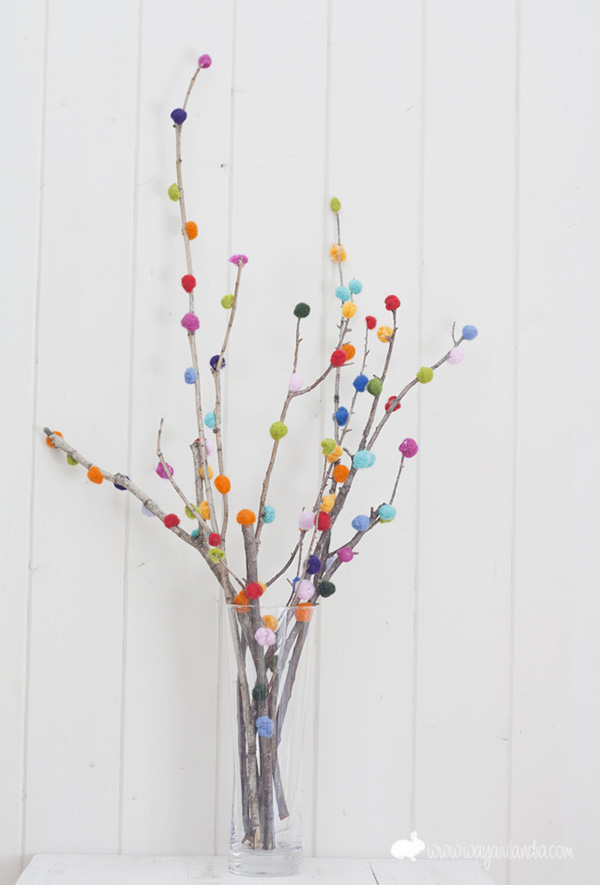
7. DIY – Pom Pom Branches – Wayaiulandia
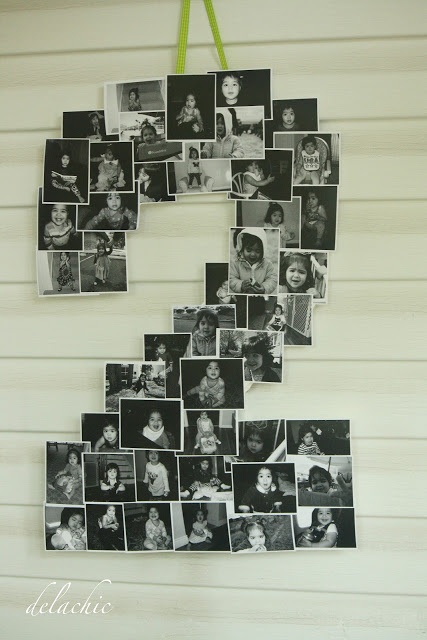
8. DIY Number (or Letter) Photo Display – Just Imagine
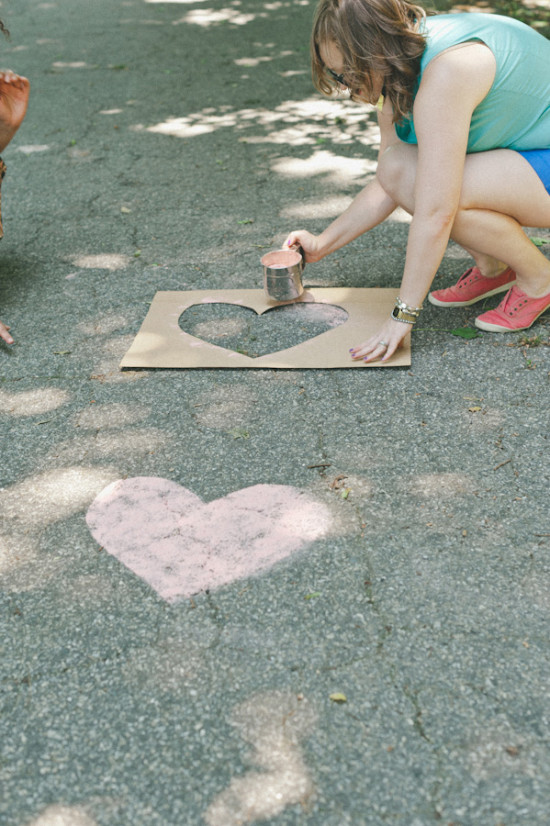
9. DIY Sidewalk/Driveway Party Art – Guerrilla Weddings
10. Washi Tape Everything! – I Heart Nap Time

You know how I love washi tape so much.
I’m in the mood to throw a party now! Speaking of parties, we are throwing one big party here on Sunny Slide Up for the month of October as our blog turns 2! Be sure to keep a lookout for giveaways all month long!